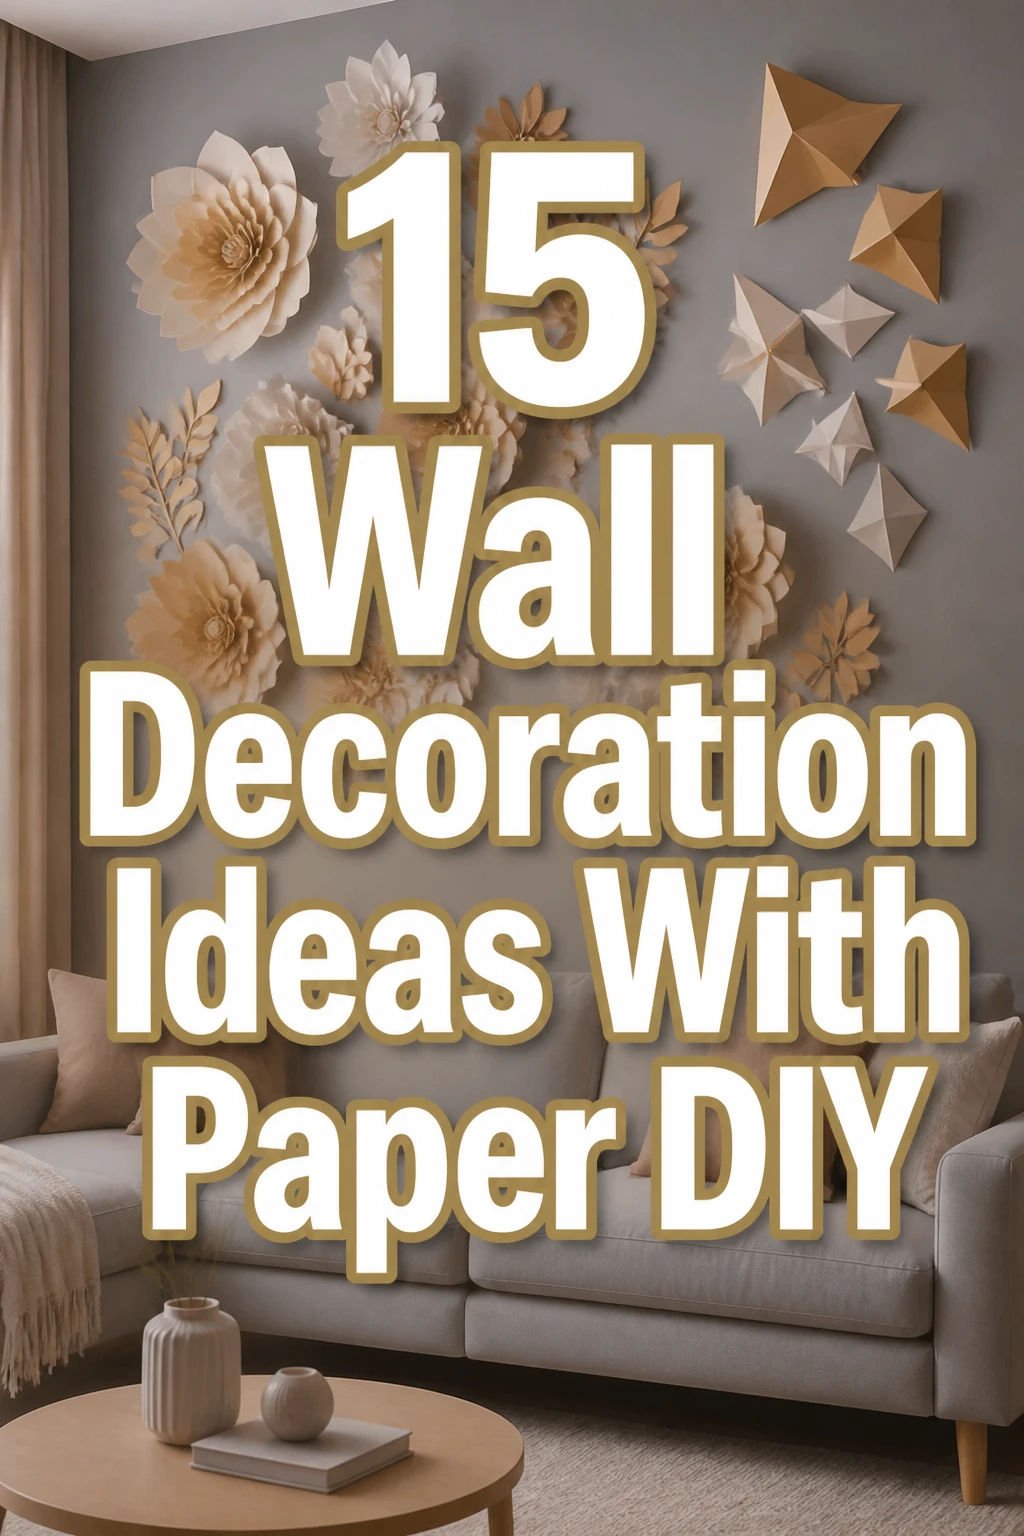
15 Wall Decoration Ideas With Paper DIY
Staring at that blank wall again, feeling the decor-dread creep in? Yeah, we’ve all been there, wondering how to add some personality without emptying our wallets.
Good news, buttercup. We’re diving into some seriously chic and surprisingly simple paper DIY wall decor ideas that will make your space sing.
1. Geometric Paper Mobiles
- Best For: Nurseries, minimalist living rooms, or adding a playful touch.
- Vibe: Whimsical, modern, airy.
- Why it works: They add dynamic movement and visual interest without overwhelming the space.
Forget those chintzy plastic things; we’re talking sophisticated geometric shapes cut from sturdy cardstock.
Think sleek triangles, hexagons, and circles in muted pastels or bold monochromes, strung together with invisible fishing line.
Hang them at varying lengths for a truly mesmerizing effect that catches the slightest breeze. It’s like art that dances.
Pro Tip: Use a cutting mat and a sharp craft knife for crisp edges on your shapes. Your fingers will thank you later.
2. Rolled Paper Art
- Best For: Contemporary spaces, texture lovers.
- Vibe: Organic, sculptural, dimensional.
- Why it works: It creates incredible texture and depth from flat paper, making a bold statement.
Grab a stack of old magazines or colored paper, roll strips tightly, and then glue the coils onto a canvas or sturdy board.
You can arrange them in patterns like spirals, waves, or abstract designs, playing with different paper lengths and colors.
This technique adds serious texture and visual weight, making a simple wall feel incredibly rich. It’s surprisingly therapeutic, too.
Pro Tip: Vary the tightness of your rolls and the angle you glue them down to create even more dynamic shadows and highlights.
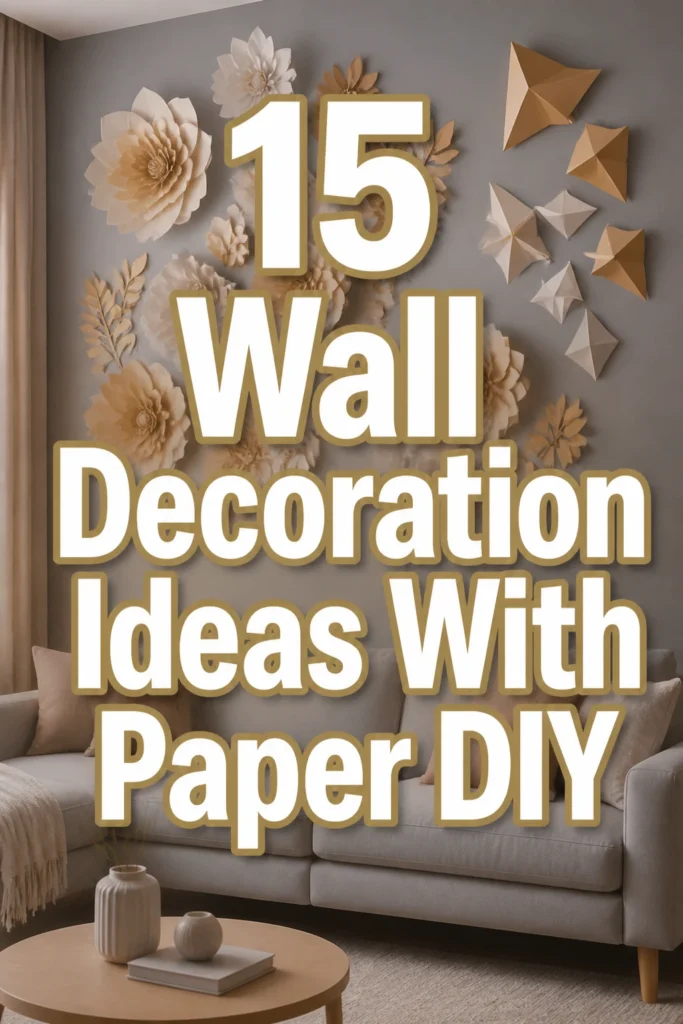
3. Paper Flower Wall
- Best For: Event backdrops, bedrooms, feminine offices.
- Vibe: Romantic, whimsical, grand.
- Why it works: Large-scale paper flowers create an immediate focal point and a stunning, immersive display.
Think giant, fantastical blooms cut from poster board or heavy cardstock, arranged to cover an entire section of your wall.
Layer different sizes and shades of pinks, creams, and greens for a lush, garden-like effect that never wilts.
This transforms a boring wall into an absolute showstopper, perfect for those Instagram-worthy moments. You’ll basically live in a fairy tale.
Pro Tip: Use a simple template for your petals and experiment with curling the edges to give your flowers realistic dimension.
4. Origami Crane Garland
- Best For: Zen spaces, bedrooms, minimalist decor.
- Vibe: Peaceful, delicate, symbolic.
- Why it works: Cranes symbolize peace and longevity, adding a meaningful, elegant touch.
Fold a flock of beautiful origami cranes from patterned or solid-colored paper.
String them onto a delicate thread or thin fishing line, spacing them evenly, and hang horizontally or vertically.
This creates a serene and thoughtful display, especially lovely in soft blues, whites, or a mix of subtle patterns. It’s art with a story.
Pro Tip: Practice your folds on scrap paper first. Patience is a virtue, especially when you’re aiming for a hundred tiny cranes.
5. Abstract Paper Cut-outs
- Best For: Modern homes, art enthusiasts, entryways.
- Vibe: Bold, artistic, graphic.
- Why it works: Simple shapes combine to create complex, gallery-worthy compositions.
Cut organic or geometric shapes from various colored papers – think deep blues, mustard yellows, and earthy greens.
Arrange them directly onto the wall in an abstract composition, overlapping and layering for depth.
This creates a custom art piece that looks like it cost a fortune, but really just required your eye for design and a pair of scissors.
Pro Tip: Lay out your design on the floor first to get the composition just right before committing to the wall with removable adhesive dots.
6. DIY Paper Rosettes
- Best For: Party decor, temporary wall art, kid’s rooms.
- Vibe: Festive, cheerful, retro.
- Why it works: They are quick to make and add instant celebratory flair.
Fold strips of paper accordion-style, then join the ends to form a circle, securing the center with a dab of glue.
Make a bunch in varying sizes and colors, like vibrant oranges, fuchsias, and turquoise, then arrange them on the wall.
These instantly add a pop of playful texture and are perfect for a temporary decor refresh or a themed party. So much fun, so little effort.
Pro Tip: Use double-sided scrapbook paper for rosettes that look great from any angle and offer more visual interest.
7. Newspaper Art Collages
- Best For: Industrial chic, bohemian spaces, budget decorators.
- Vibe: Urban, raw, intellectual.
- Why it works: It repurposes readily available material into unique, textured art.
Tear or cut interesting headlines, images, and text blocks from old newspapers and magazines.
Layer them onto a large canvas or directly onto a wall section using Mod Podge, creating a rich, textured collage.
This gives a fantastic, edgy look that’s incredibly personal and costs practically nothing. Who knew yesterday’s news could be today’s art?
Pro Tip: Seal your finished collage with a layer of Mod Podge for a durable, slightly glossy finish that protects your masterpiece.
8. Woven Paper Panels
- Best For: Feature walls, textured backdrops, contemporary decor.
- Vibe: Sophisticated, handcrafted, architectural.
- Why it works: Weaving creates intricate patterns and a luxurious, textile-like appearance.
Cut long strips of paper in two contrasting colors or textures, like matte black and metallic gold.
Weave them together on a sturdy backing board to create a large panel with a basket-weave or checkerboard pattern.
This offers a seriously upscale look, adding a bespoke, artistic element to any wall without the bespoke art price tag. Take that, gallery prices.
Pro Tip: Use a ruler and a rotary cutter for perfectly straight strips, which makes the weaving process much smoother and the result cleaner.
9. Paper Tassel Garland
- Best For: Bohemian bedrooms, party decorations, playful nurseries.
- Vibe: Festive, relaxed, joyful.
- Why it works: Tassels add a whimsical, celebratory touch with a lot of movement.
Cut strips of tissue paper or thin cardstock, fold them, and then snip fringes to create fluffy tassels.
Attach these tassels to a string or ribbon, mixing colors like soft mints, peaches, and creams for a dreamy effect.
Hang it across a wall, above a bed, or along a shelf for an instant pop of color and texture. It’s like a party in garland form.
Pro Tip: For extra fluffy tassels, use multiple layers of tissue paper for each one. They’ll look much more substantial.
10. Layered Paper Mountains
- Best For: Adventurous spirits, kid’s rooms, cozy nooks.
- Vibe: Serene, adventurous, natural.
- Why it works: Layering different shades creates a sense of depth and a tranquil landscape.
Cut out mountain silhouettes from various shades of gray, blue, and green construction paper or cardstock.
Layer them onto a contrasting background (like a light blue wall), starting with the darkest and largest in the foreground, then lighter shades behind.
This creates a stunning, multi-dimensional landscape that brings the outdoors in, perfect for inspiring wanderlust. No hiking required.
Pro Tip: Use foam adhesive squares between layers to give your mountains even more impressive 3D depth and shadow.
11. Paper Fan Display
- Best For: Summer decor, entryways, global-inspired rooms.
- Vibe: Exotic, breezy, vibrant.
- Why it works: Fans offer a simple, striking way to add pattern, color, and a touch of cultural flair.
Fold large sheets of patterned or solid paper into accordion fans, then open and secure them.
Arrange a cluster of these fans on a wall in varying sizes and colors—think rich jewel tones or bright tropical prints.
This creates a bold, graphic statement that’s easy to change out seasonally. It’s like a little piece of vacation on your wall.
Pro Tip: Mix in some vintage hand fans (if you can find them cheaply) with your DIY paper ones for an eclectic, authentic look.
12. Framed Paper Silhouettes
- Best For: Classic decor, personalized gifts, nurseries.
- Vibe: Elegant, timeless, sentimental.
- Why it works: Silhouettes offer a refined, personal touch that captures memories beautifully.
Cut out silhouettes of family members, pets, or meaningful objects from black paper.
Mount them onto white cardstock and place them in simple, elegant frames for a timeless gallery wall.
This creates incredibly personal and sophisticated wall art that looks like a treasured heirloom. Your grandma would approve.
Pro Tip: For crisp silhouettes, project an image onto paper and trace it, or use a craft cutting machine if you have one.
13. 3D Paper Butterflies
- Best For: Whimsical bedrooms, accent walls, nurseries.
- Vibe: Enchanting, delicate, playful.
- Why it works: They add dynamic movement and a touch of nature-inspired beauty.
Cut out butterfly shapes from various colored and patterned papers, folding them slightly in the middle to create a 3D effect.
Arrange them in a swirling pattern, a heart shape, or simply fluttering across a wall, securing them with small adhesive dots.
This creates a magical, ethereal display that looks like a swarm of butterflies just landed in your room. Pure enchantment.
Pro Tip: Use paper with different textures, like glossy, matte, and glitter cardstock, to add more visual interest to your butterfly swarm.
14. Paper Sculpture Alphabet
- Best For: Kid’s rooms, personalized decor, creative offices.
- Vibe: Playful, educational, artistic.
- Why it works: It combines personalized messaging with interesting sculptural forms.
Fold or cut paper into three-dimensional letters, creating a sculptural alphabet.
You can spell out a name, a favorite word, or just display a few abstract letters in a complementary color scheme.
This offers a unique way to add text-based art to your walls, far more interesting than a flat print. It’s like words jumping off the wall.
Pro Tip: Look up free printable 3D letter templates online to make the folding and cutting process much easier and more precise.
15. Torn Paper Abstract Art
- Best For: Modern art lovers, minimalist spaces, creative expression.
- Vibe: Organic, raw, expressive.
- Why it works: The torn edges create soft, natural lines and unique textures that are impossible with scissors.
Tear strips and shapes from various colored papers – think earthy tones, muted blues, or vibrant contrasting hues.
Arrange and layer these torn pieces onto a white canvas or directly onto a wall, embracing the imperfect edges.
This creates surprisingly sophisticated abstract art with incredible texture and depth, proving that sometimes, tearing things up is actually productive.
Pro Tip: Experiment with tearing paper in different directions (with or against the grain) to achieve various types of feathery or crisp edges.
Our Top Recommended Finds
- Precision Craft Knife Set: Because trying to cut perfect circles with dull scissors is a recipe for a meltdown.
- Assorted Cardstock Pack: Get a good variety of weights and colors. You never know when inspiration will strike for a new project.
- Hot Glue Gun with Fine Tip: For those delicate attachments that need to stay put without globs of adhesive.
Which of these will you try first?
So, there you have it, fifteen ways to turn humble paper into wall art that actually looks expensive (but totally isn’t).
Now, go forth and conquer those blank walls. We’re dying to know which paper masterpiece you’re whipping up first!