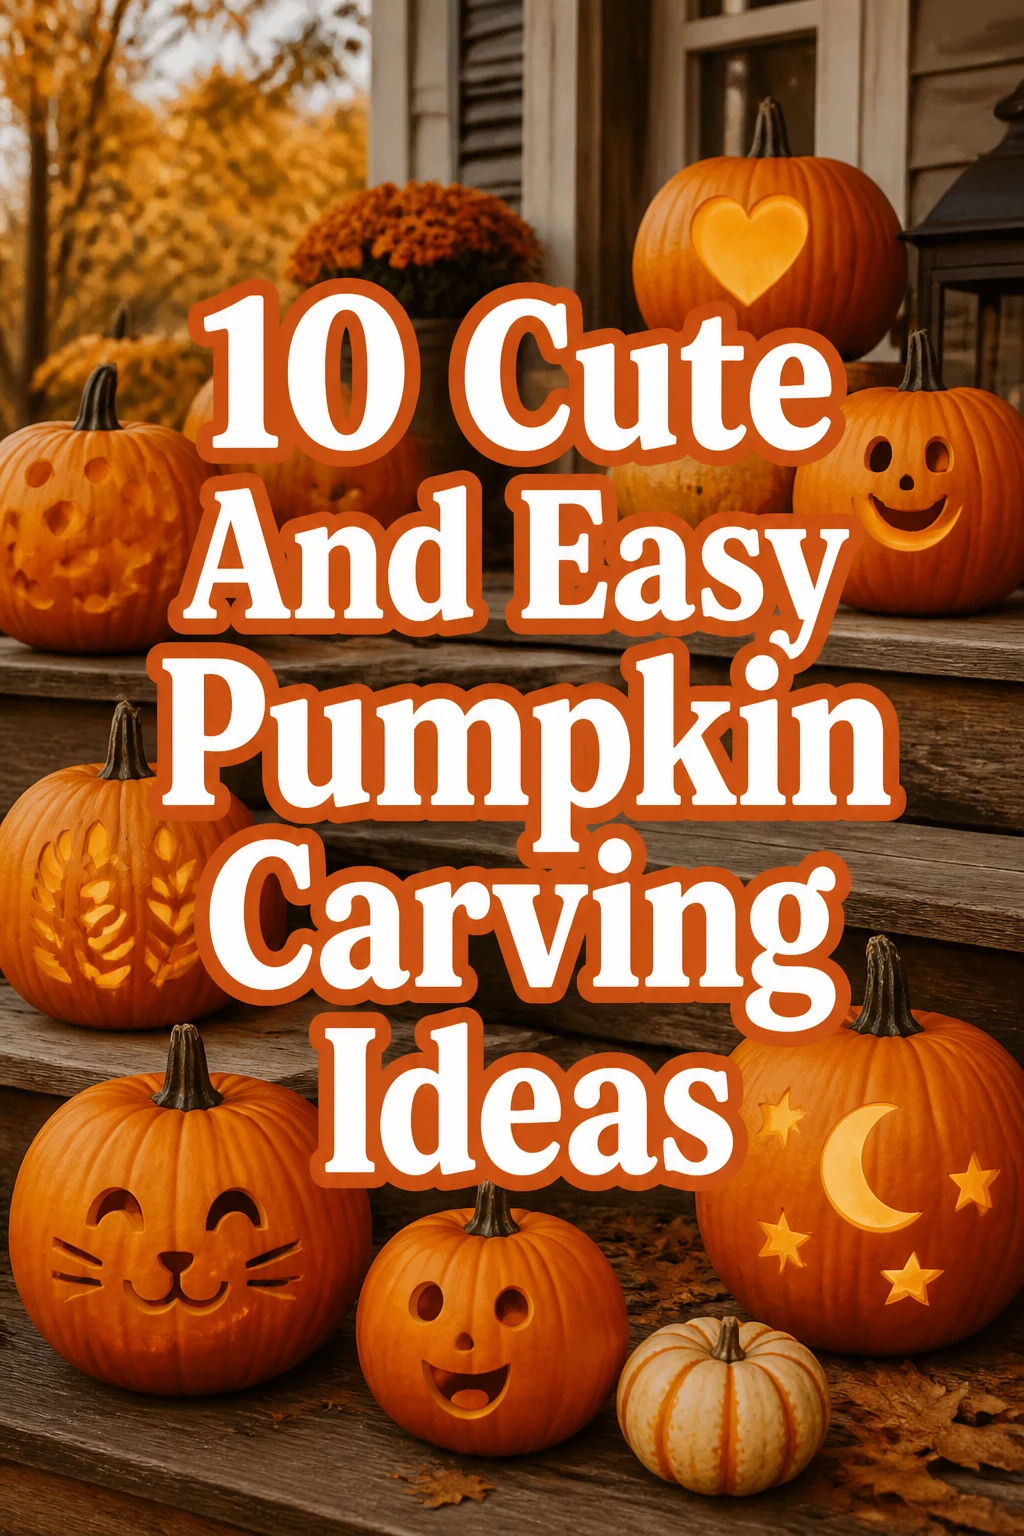
10 Cute And Easy Pumpkin Carving Ideas
Okay, real talk: carving pumpkins can feel like an Olympic sport, right?
You start with grand visions of intricate masterpieces, then quickly realize your artistic skills peak at stick figures.
No worries, we totally get it. We have rounded up some adorable, super simple ideas that even the most carving-challenged among us can nail.
1. The Googly-Eyed Ghost
- Best For: Little ones, last-minute decorators
- Vibe: Spooky-cute, cartoonish fun
- Why it works: Minimal carving, maximum impact.
Forget intricate details. Grab your pumpkin and simply carve out two large, slightly oval eyes and a wonky, waving mouth. Think Casper, but slightly more chaotic. Add some plastic googly eyes with hot glue post-carving for an extra layer of adorable absurdity.
Pro Tip: Use a simple kitchen knife for the large shapes, then trim with a smaller paring knife for cleaner edges. Safety first, always.
2. Polka Dot Delight
- Best For:: Modern aesthetics, non-traditionalists
- Vibe: Chic, minimalist, playful
- Why it works: It is all about repetition and a drill, not precision with a knife.
This one is shockingly easy and looks incredibly stylish. Use a power drill with various sized bits to create a pattern of holes all over your pumpkin. Mix up the sizes for a dynamic look. The light shines through beautifully, trust us.
Pro Tip: Start with a smaller drill bit to make pilot holes, then go bigger. It prevents cracking and makes the process smoother.
3. Cookie Cutter Cuties
- Best For: Families, themed parties
- Vibe: Whimsical, charming, kid-friendly
- Why it works: Cookie cutters do all the hard work for you.
Dust off those holiday cookie cutters! Press them firmly into your pumpkin’s flesh to create an outline. Then, use a small, sharp knife to carefully cut along the indentation. Think stars, moons, bats, or even tiny ghosts. A rubber mallet helps push the cutters in.
Pro Tip: Choose metal cookie cutters for the best results; plastic ones tend to bend under pressure.
4. Starry Night Sky
- Best For: Dreamy decor, subtle ambiance
- Vibe: Magical, ethereal, serene
- Why it works: It creates a stunning glow with minimal effort.
Grab a drill again, but this time use only small bits. Drill a multitude of small holes across the entire pumpkin surface, mimicking a constellation. You can even try to map out actual star patterns if you are feeling ambitious. The tiny pinpricks of light are just enchanting, especially with a flickering LED candle inside.
Pro Tip: Vary the size of your drill bits slightly to add depth and dimension to your “stars.”
5. The Mighty Mouth Monster
- Best For: Classic Halloween, quick impact
- Vibe: Spooky, traditional, a bit goofy
- Why it works: Focuses on one large, iconic feature.
Forget eyes and noses. This monster is all about the mouth. Carve a huge, jagged grin across the pumpkin’s face. Make the teeth big, uneven triangles. You can even leave a few gaps for that “just lost a tooth” look. It is simple, effective, and screams Halloween. Use a heavy-duty carving saw for those big cuts.
Pro Tip: For extra realism, scrape away some of the inner flesh around the mouth area to make it look deeper and more menacing.
6. Friendly Alien Face
- Best For: Sci-fi fans, quirky decorators
- Vibe: Retro-futuristic, playful, unique
- Why it works: Simple shapes combine for a distinct character.
Think classic alien head: large, almond-shaped eyes and a small, simple oval mouth. You can even add a tiny, inverted triangle for a nose if you are feeling fancy. Keep the shapes bold and clean. A bright green or purple pumpkin would look extra stellar for this theme. Grab a sharp utility knife for precision.
Pro Tip: Outline your shapes with a dry-erase marker first. If you mess up, just wipe it off and try again.
7. The Whimsical House
- Best For: Enchanted garden themes, fairy tales
- Vibe: Cozy, magical, inviting
- Why it works: Transforms a pumpkin into a miniature dwelling with basic cuts.
Turn your pumpkin into a tiny, whimsical dwelling. Carve a simple square or arched doorway at the base. Add a couple of small, square or round windows above it. You can even score some lines to mimic wood planks. A small LED tea light inside makes it look like someone is home.
Pro Tip: For a more weathered, rustic look, don’t worry about perfectly straight lines. A little wobble adds character.
8. Geometric Glam
- Best For: Modern homes, minimalist decor
- Vibe: Contemporary, sophisticated, artistic
- Why it works: Relies on straight lines and simple angles, not complex curves.
Grab a ruler and a marker. Draw a pattern of simple geometric shapes: triangles, squares, diamonds, or even just parallel lines. Carve out these shapes to create a cool, abstract design. This looks especially striking on a sleek, white “ghost” pumpkin. A straight-edge carving tool is your best friend here.
Pro Tip: Start with larger, simpler shapes, then add smaller ones around them if you want more detail. Less is often more with geometric designs.
9. The Sleepy Owl
- Best For: Nature lovers, autumnal displays
- Vibe: Gentle, wise, rustic charm
- Why it works: Uses basic shapes to evoke a recognizable animal.
This wise old bird is easier than you think. Carve two large, overlapping circles for the eyes, leaving a small bridge between them. Then, add a simple inverted triangle for the beak just below. You can even add tiny “feather” details by lightly scraping the surface. A small detail knife will help with those feather touches.
Pro Tip: Don’t try to carve individual feathers. Just scrape away the skin in short, curved lines for a textured effect.
10. Tiny Bat Silhouette
- Best For: Subtle Halloween, elegant fright
- Vibe: Classic spooky, understated, nocturnal
- Why it works: A recognizable symbol with minimal carving.
Instead of a full-blown creature, carve a simple bat silhouette. Sketch it out first: two pointed ears, a small head, and two sweeping, jagged wings. Focus on the outline. This looks great repeated a few times around the pumpkin or as a single, bold statement. Use a fine-tipped carving tool for the wing edges.
Pro Tip: Print out a simple bat silhouette from online, tape it to your pumpkin, and use a push pin to trace the outline before carving. Instant stencil.
Our Top Recommended Finds
- Pumpkin Carving Kit with Stencils: These kits usually come with a variety of saws, scrapers, and often some basic stencils, making the whole process safer and easier for beginners.
- Heavy-Duty Drill: Essential for polka dots and starry night designs. A cordless option gives you more flexibility to work outdoors.
- LED Flickering Candles: Way safer than real candles, they give off that cozy, spooky glow without the fire hazard or constant relighting.
Which of these will you try first
See? No need to stress about becoming a master sculptor overnight. These cute and easy ideas prove you can still get your pumpkin game strong with minimal fuss.
So, which adorable design is making it onto your porch this season? We are dying to know.