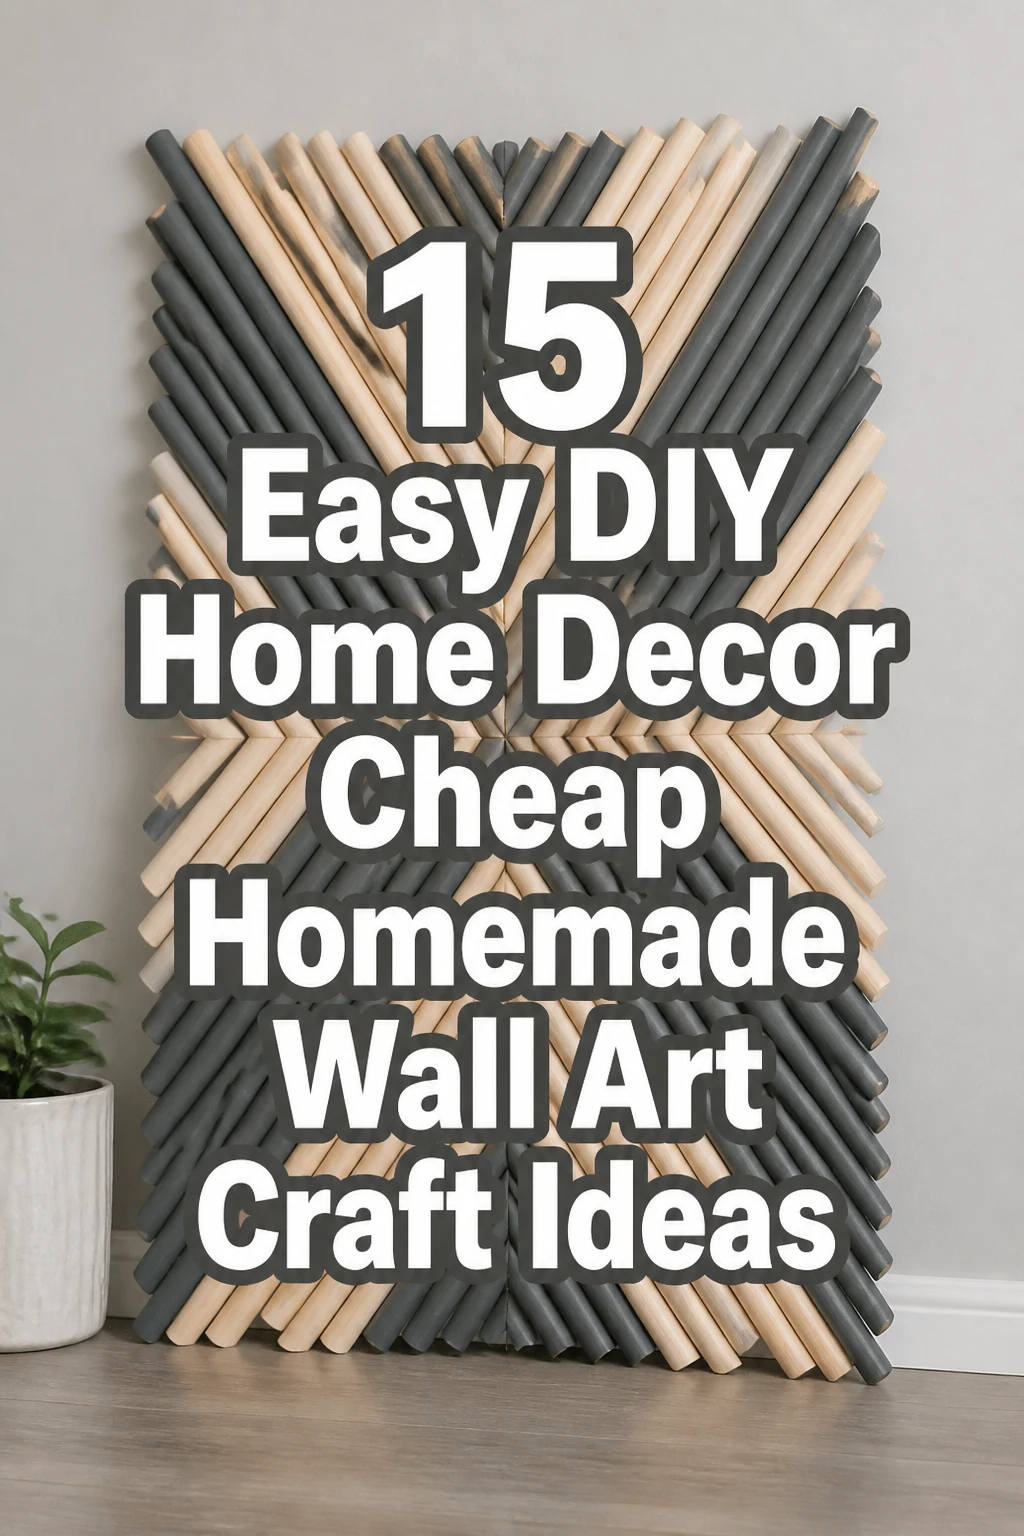
15 Easy DIY Home Decor Cheap Homemade Wall Art Craft Ideas
Your walls are looking a little… sad, right?
Like they’re begging for a glow-up but your wallet is giving you the side-eye.
Fear not, my budget-savvy design guru, because I’ve rounded up 15 ridiculously easy and cheap wall art ideas that will make your space sing without breaking the bank.
1. Pressed Flower Power
- Best For: Nature lovers, cottagecore dreamers.
- Vibe: Whimsical, organic, subtly chic.
- Why it works: It brings the outdoors in with zero fuss and maximum charm.
Gather some beautiful blooms from your garden or a local park (ethically, of course). Press them between heavy books for a few weeks until they’re perfectly flat and dry. Arrange these delicate beauties on a piece of cardstock or watercolor paper, then frame them in a simple, inexpensive frame.
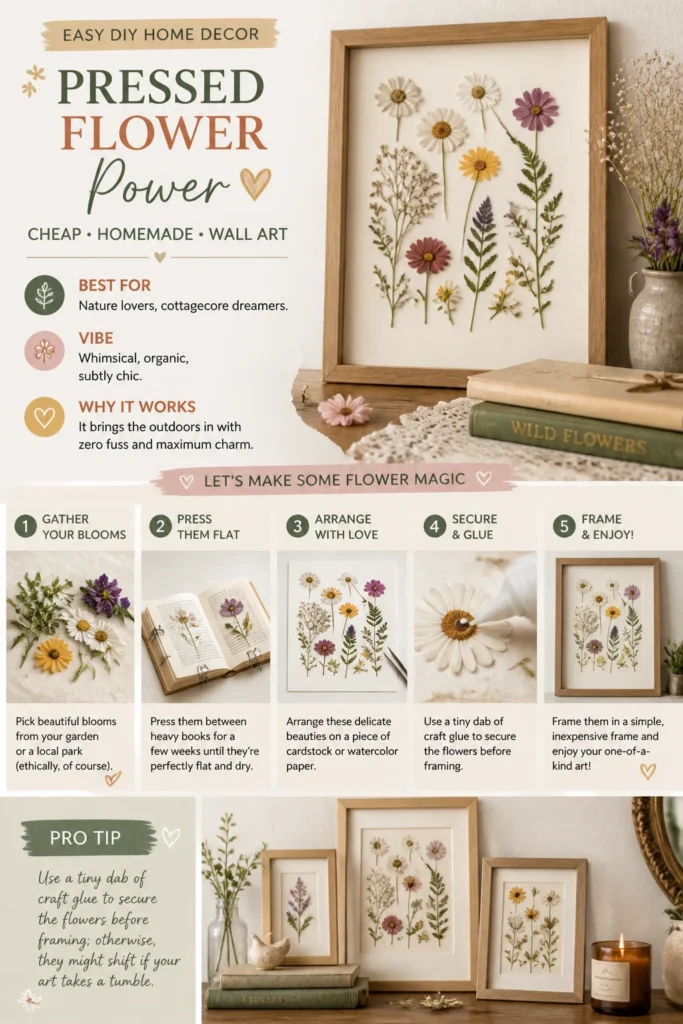
Pro Tip: Use a tiny dab of craft glue to secure the flowers before framing; otherwise, they might shift if your art takes a tumble.
2. Abstract Canvas Swipes
- Best For: Modern art enthusiasts, anyone with leftover paint.
- Vibe: Contemporary, bold, surprisingly sophisticated.
- Why it works: You literally cannot mess this up; it’s all about the happy accidents.
Grab a cheap canvas (hello, dollar store specials!) and some acrylic paints in a few complementary colors. Pour a few blobs of paint directly onto the canvas, then use an old credit card or a piece of cardboard to swipe the paint across. Don’t overthink it; the more spontaneous, the better.
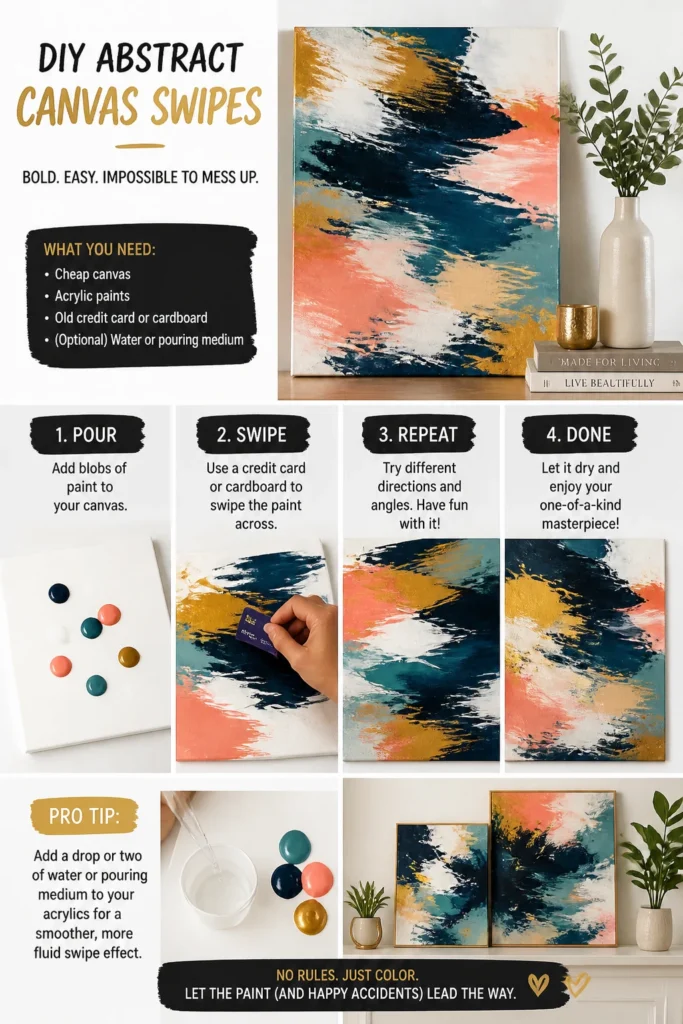
Pro Tip: Add a drop or two of water or pouring medium to your acrylics for a smoother, more fluid swipe effect.
3. Magazine Collage Masterpiece
- Best For: Storytellers, color fanatics, upcycling champions.
- Vibe: Eclectic, vibrant, totally unique.
- Why it works: It turns old magazines into a personalized visual narrative.
Flip through old magazines and tear out images, words, or textures that speak to you. Think bold colors, interesting patterns, or compelling headlines. Arrange and glue them onto a sturdy piece of poster board or an old canvas, overlapping to create depth. You’re basically curating your own mini art gallery.
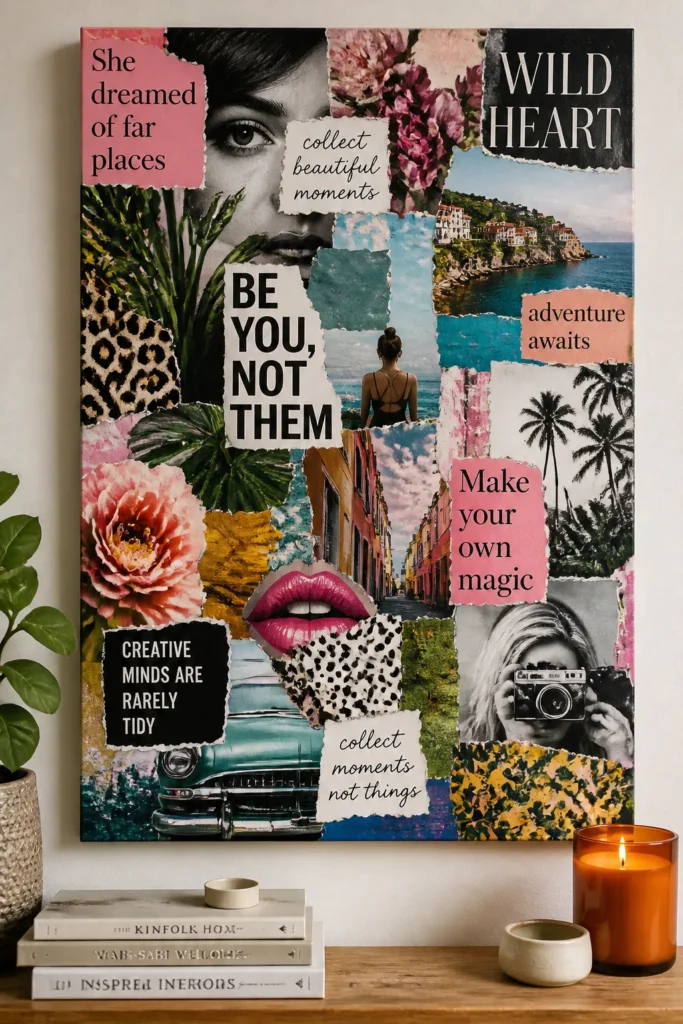
Pro Tip: Stick to a specific color palette (e.g., only blues and greens) or a theme (e.g., travel) for a more cohesive and less chaotic final look.
4. Painted Fabric Scraps
- Best For: Textile lovers, those with a fabric stash.
- Vibe: Textured, bohemian, wonderfully tactile.
- Why it works: It adds unexpected texture and softness to a hard wall.
Got some leftover fabric bits from old projects or clothing? Cut them into interesting shapes or strips. Use fabric paint or even regular acrylics (mixed with a fabric medium) to add abstract designs, geometric patterns, or simple blocks of color. Mount them onto a piece of burlap or a plain canvas for a rustic chic vibe.
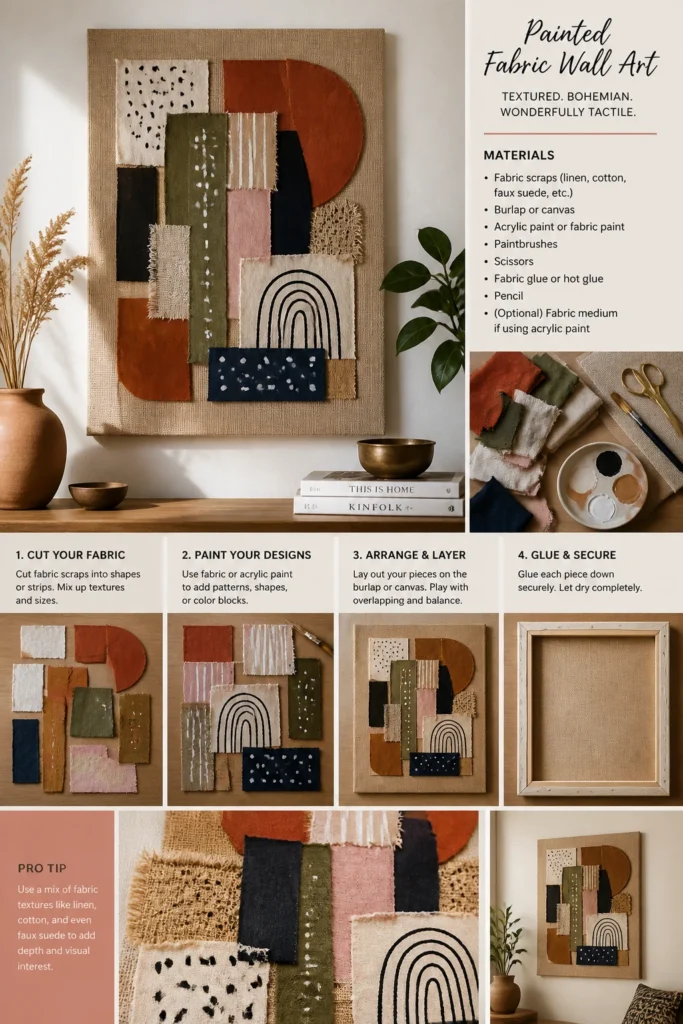
Pro Tip: Consider using different fabric textures, like linen, cotton, and even some faux suede, to add extra visual interest to your piece.
5. Yarn Wall Hangings
- Best For: Cozy creators, anyone needing a touch of softness.
- Vibe: Boho, warm, inviting.
- Why it works: It’s a super simple way to add warmth and dimension without knitting a single stitch.
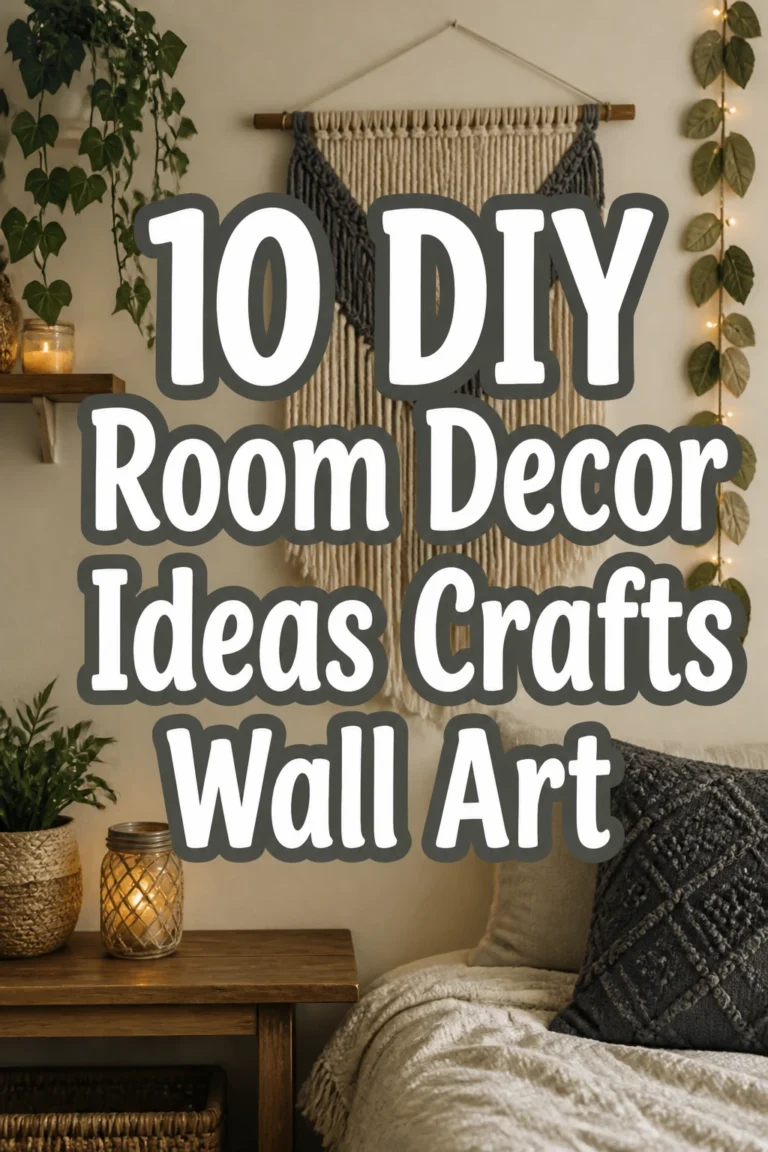
Grab a stick or a small dowel rod. Cut various lengths of yarn in different colors and textures. Fold each piece in half, loop it over the stick, and pull the ends through the loop to create a simple lark’s head knot. Trim the bottom to create a V-shape or keep it jagged for an organic feel.
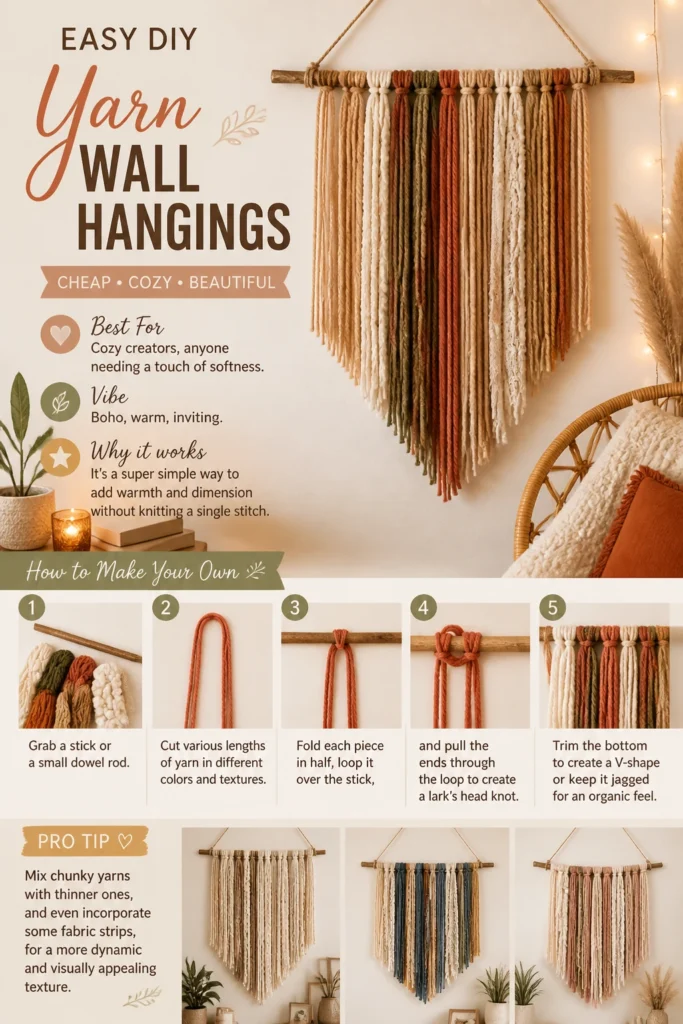
Pro Tip: Mix chunky yarns with thinner ones, and even incorporate some fabric strips, for a more dynamic and visually appealing texture.
6. DIY Photo Booth Gallery
- Best For: Memory makers, sentimental souls.
- Vibe: Playful, personal, nostalgic.
- Why it works: It’s a super cute way to showcase your favorite candid moments in a fun format.
Print out a bunch of your favorite candid photos in a small, uniform size, like 2×3 inches. Arrange them into strips, mimicking the look of traditional photo booth pictures. Attach them to a plain piece of cardstock or directly onto the wall using removable washi tape for an easy, no-damage display.
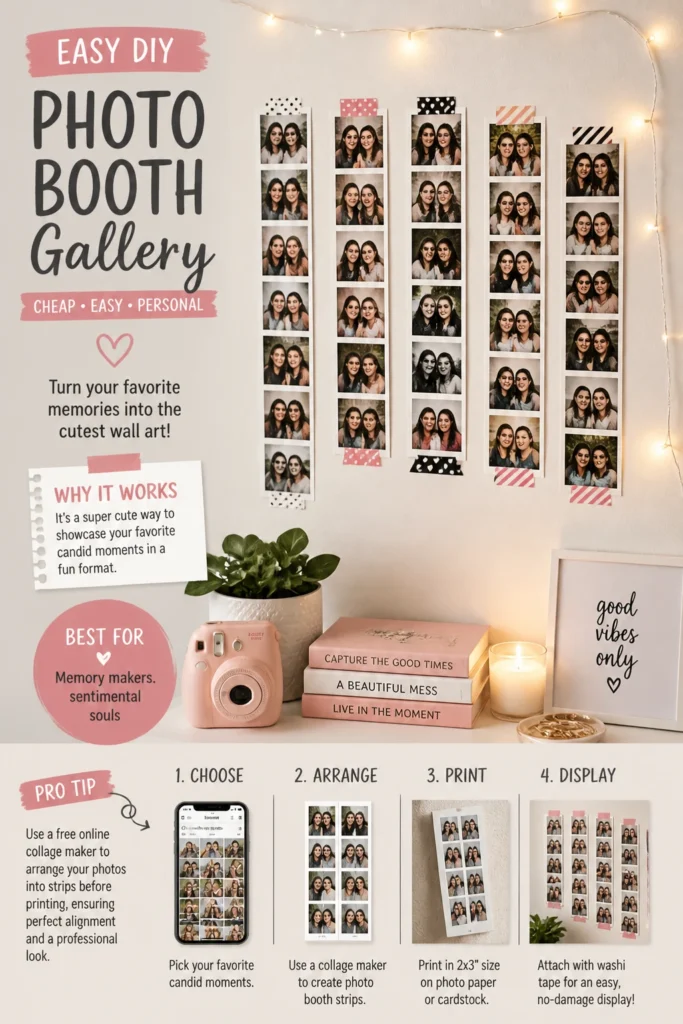
Pro Tip: Use a free online collage maker to arrange your photos into strips before printing, ensuring perfect alignment and a professional look.
7. Washi Tape Geometric Designs
- Best For: Minimalists, renters, commitment-phobes.
- Vibe: Modern, clean, easily changeable.
- Why it works: It’s temporary, affordable, and creates stunning visual impact with just tape.
Pick up a few rolls of patterned or solid-colored washi tape. Directly on your wall, start creating geometric shapes—think triangles, squares, or abstract lines. You can make a large focal point or a scattered pattern. The best part? If you hate it, just peel it off and start over.
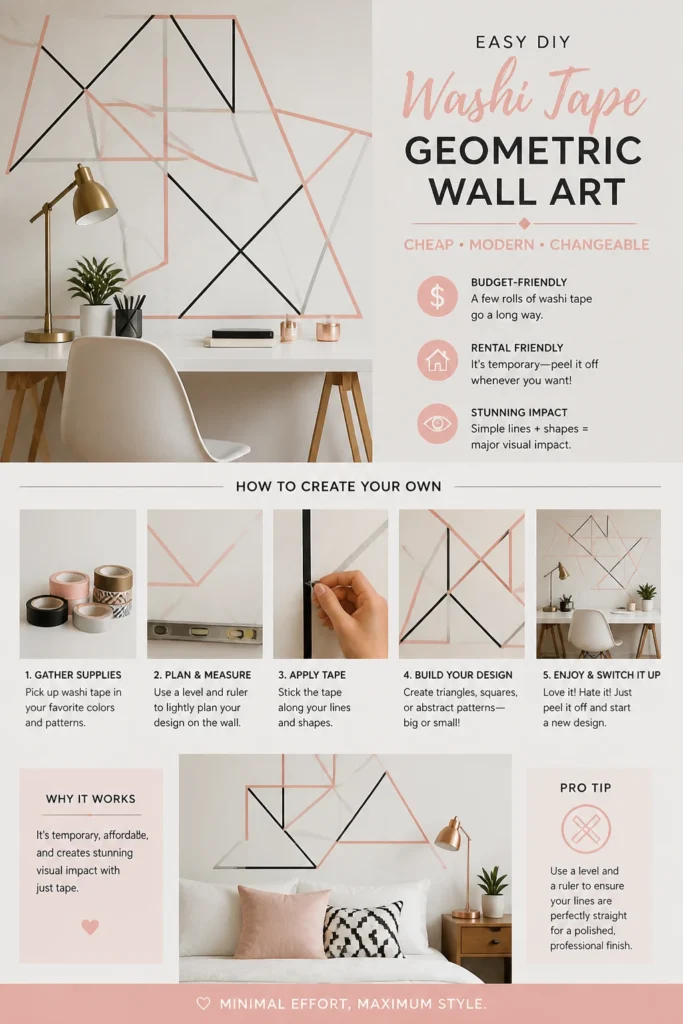
Pro Tip: Use a level and a ruler to ensure your lines are perfectly straight, giving your geometric design a polished, professional finish.
8. Upcycled Record Covers
- Best For: Music lovers, vintage enthusiasts.
- Vibe: Retro, cool, conversational.
- Why it works: It celebrates iconic album art and adds a pop of nostalgic color.
Scour thrift stores or your parents’ attic for old vinyl records with great album art. You can mount them directly to the wall using removable adhesive strips or place them in simple square frames. Arrange them in a grid or a more dynamic cluster for a true gallery wall feel.
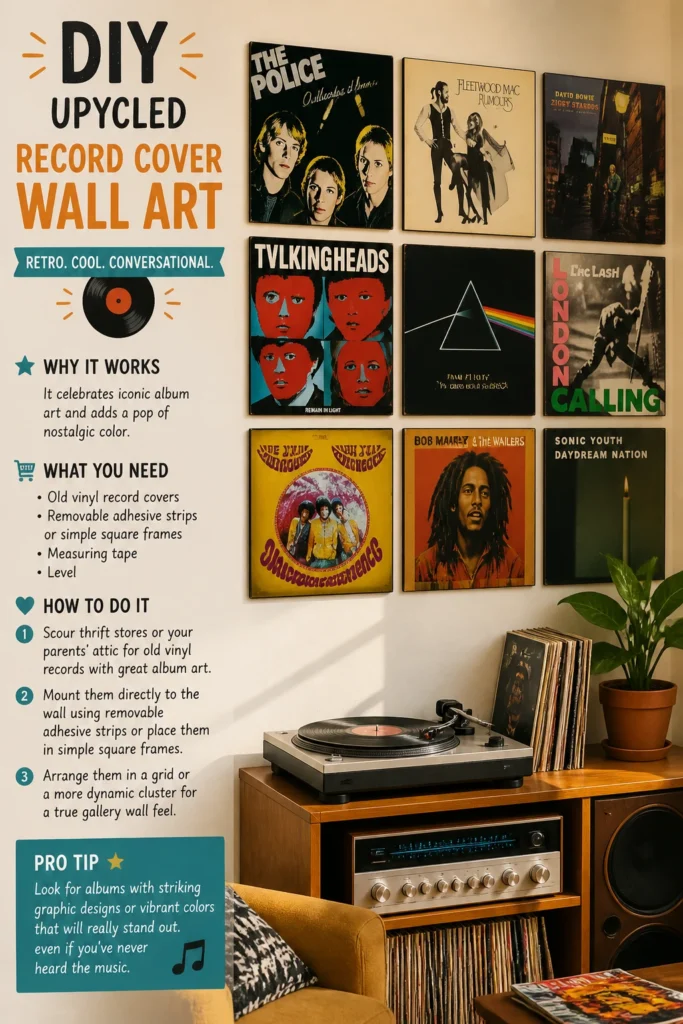
Pro Tip: Look for albums with striking graphic designs or vibrant colors that will really stand out, even if you’ve never heard the music.
9. Button Mosaic Art
- Best For: Detail-oriented crafters, those with a button jar.
- Vibe: Quirky, textured, surprisingly intricate.
- Why it works: It transforms tiny, overlooked objects into a captivating piece of art.
Collect a variety of buttons in different sizes, colors, and materials. Sketch a simple design onto a piece of cardboard or a small canvas. Using strong craft glue, meticulously adhere the buttons within your design, layering them for extra dimension. A monochromatic scheme can be incredibly striking.
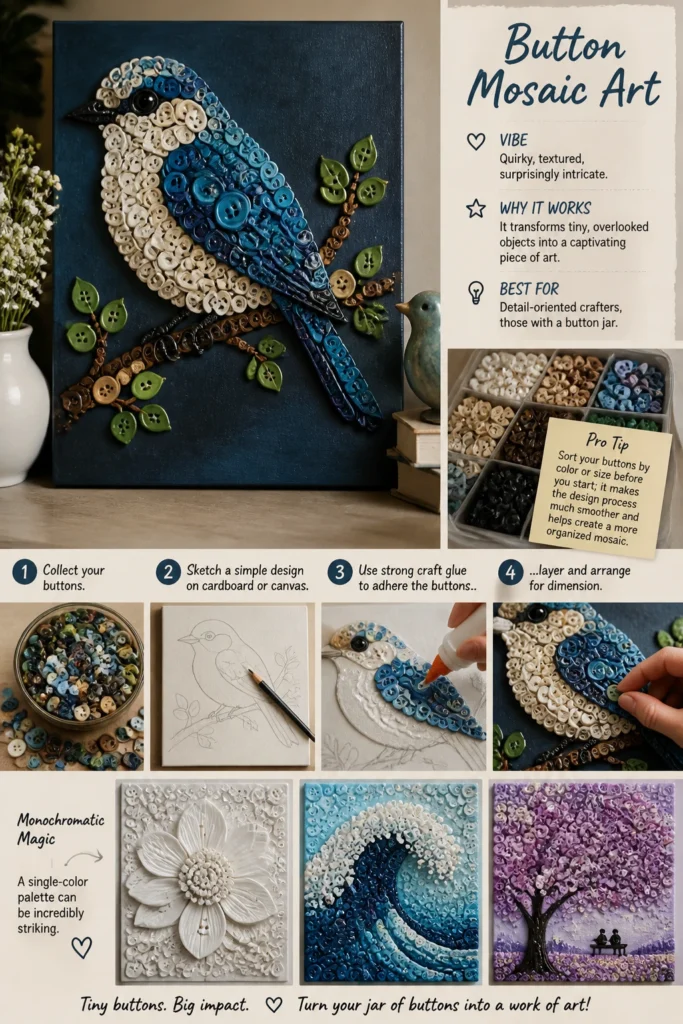
Pro Tip: Sort your buttons by color or size before you start; it makes the design process much smoother and helps create a more organized mosaic.
10. Cereal Box Sculptures
- Best For: Eco-conscious artists, 3D art fans.
- Vibe: Avant-garde, surprisingly chic, recycled cool.
- Why it works: It proves that high art can come from humble beginnings (and your recycling bin).
Cut open old cereal boxes or other cardboard packaging. Flatten them, then cut them into various geometric shapes or strips. Assemble these pieces into a 3D sculpture using hot glue or strong adhesive. Paint the entire piece a single, bold color like matte black or metallic gold for an elevated look.
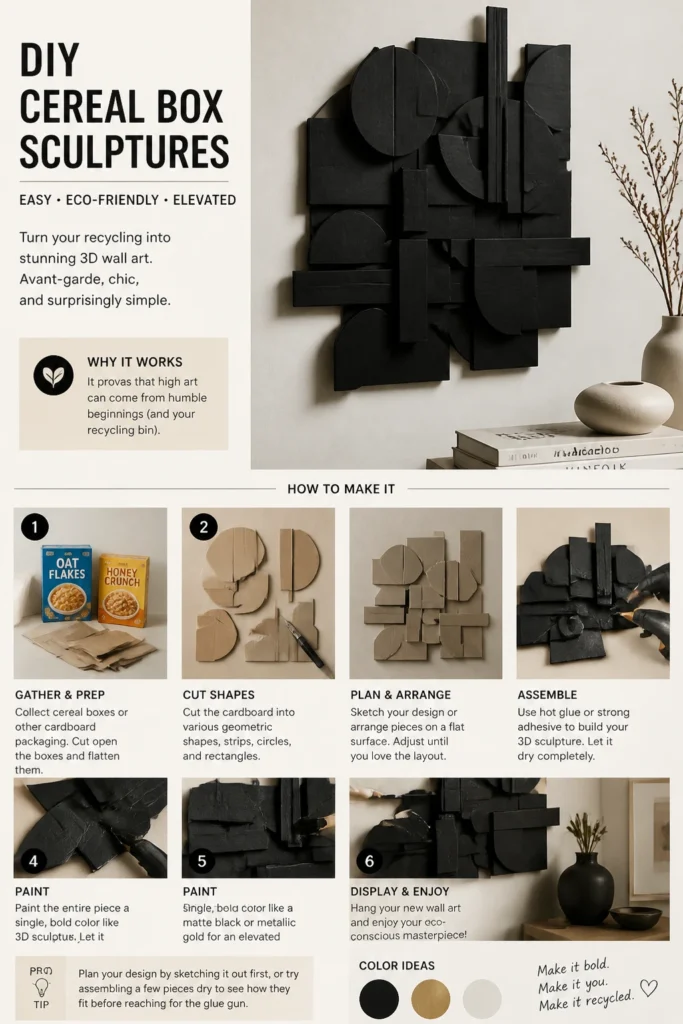
Pro Tip: Plan your design by sketching it out first, or try assembling a few pieces dry to see how they fit before reaching for the glue gun.
11. Stenciled Quote Art
- Best For: Inspirational types, message bearers.
- Vibe: Motivational, personalized, clean.
- Why it works: It delivers a powerful message or a favorite saying in a stylish package.
Choose a favorite quote, song lyric, or empowering phrase. Print it out in a cool font, or buy a ready-made stencil. Using acrylic paint and a sponge brush, carefully stencil your chosen text onto a plain canvas or a piece of painted wood. You can even freehand it if you’re feeling brave.
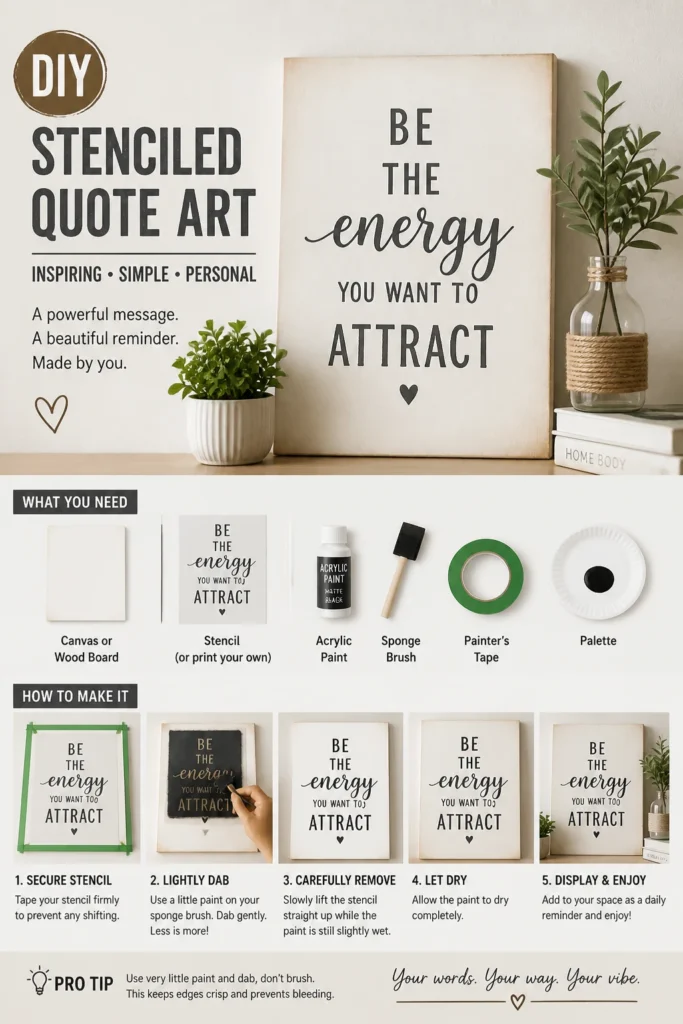
Pro Tip: Secure your stencil with a bit of painter’s tape to prevent bleeding, and use very little paint on your brush for crisp, clean lines.
12. Cork Board Vision Board
- Best For: Goal setters, dreamers, organizational gurus.
- Vibe: Empowering, dynamic, constantly evolving.
- Why it works: It’s functional art that inspires you daily and keeps your goals front and center.
Get a large cork board (thrift stores are great for these). Cover it with fabric or paint it a solid color for a fresh base. Then, pin up inspiring images, affirmations, fabric swatches, or small objects that represent your goals and dreams. This is your personal art installation, always a work in progress.
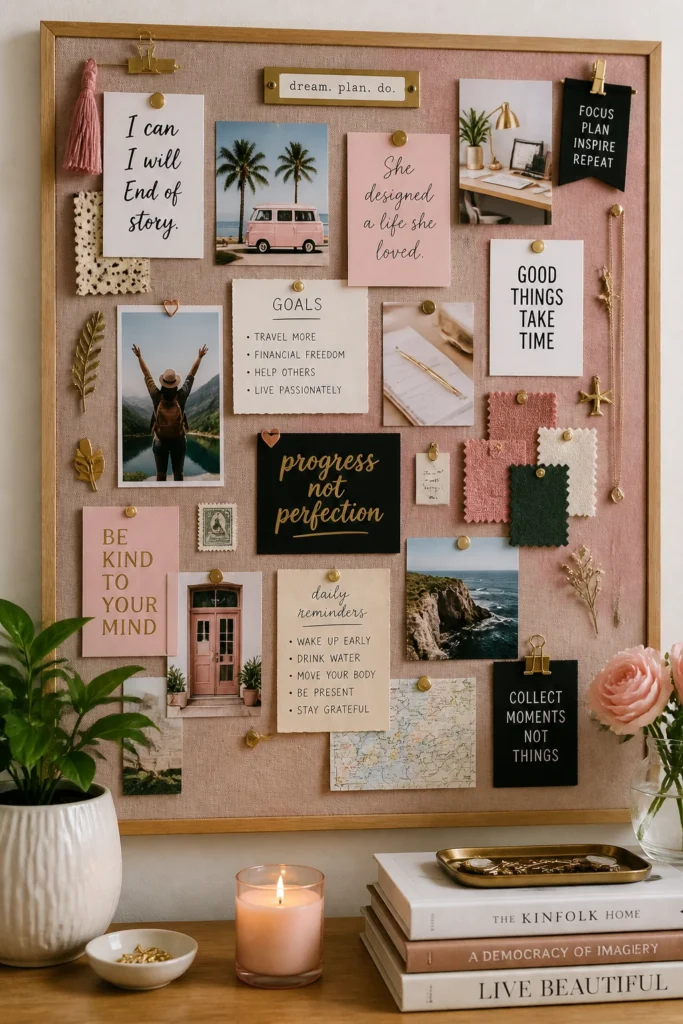
Pro Tip: Use a variety of push pins—decorative ones, map pins, or even tiny clothespins—to add extra visual flair and texture to your board.
13. Paint Chip Ombre Art
- Best For: Color enthusiasts, minimalists with a pop.
- Vibe: Serene, modern, gradient gorgeousness.
- Why it works: It creates a stunning visual transition using free materials.
Head to your local hardware store and grab a rainbow (or a specific color family) of paint chips. Cut them into uniform squares or rectangles. Arrange them on a piece of poster board or canvas, transitioning from light to dark or one color to the next, then glue them down. Frame it for a polished finish.
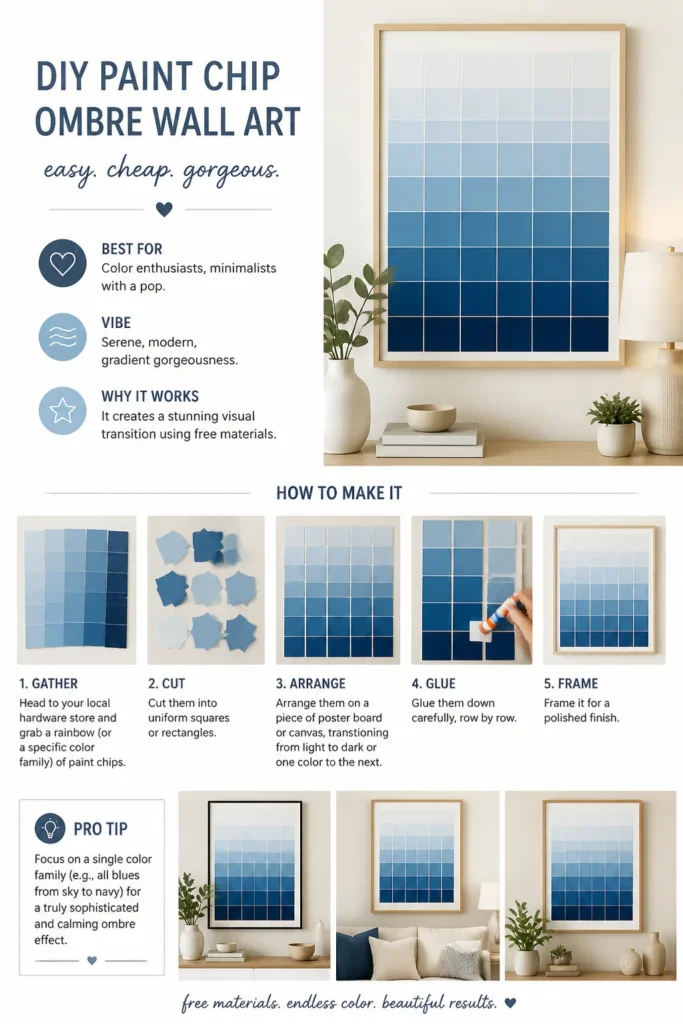
Pro Tip: Focus on a single color family (e.g., all blues from sky to navy) for a truly sophisticated and calming ombre effect.
14. Paper Cut Silhouettes
- Best For: Classicists, storytellers, detail-oriented folks.
- Vibe: Elegant, timeless, subtly dramatic.
- Why it works: It creates striking visual impact with just paper and a steady hand.
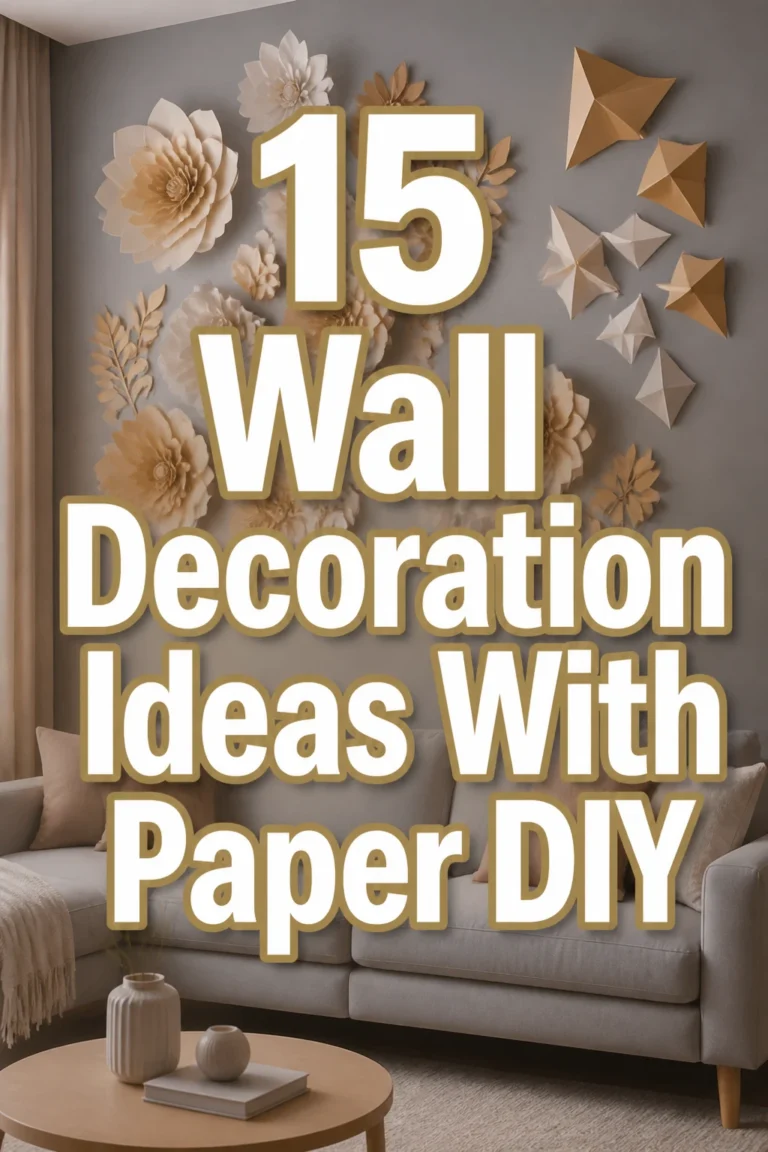
Find a simple, strong silhouette image—a profile, an animal, a tree. Print it out, then carefully cut it from a piece of black cardstock using a craft knife. Mount this intricate cut-out onto a contrasting background, like white or cream paper, and frame it. It’s surprisingly chic and budget-friendly.
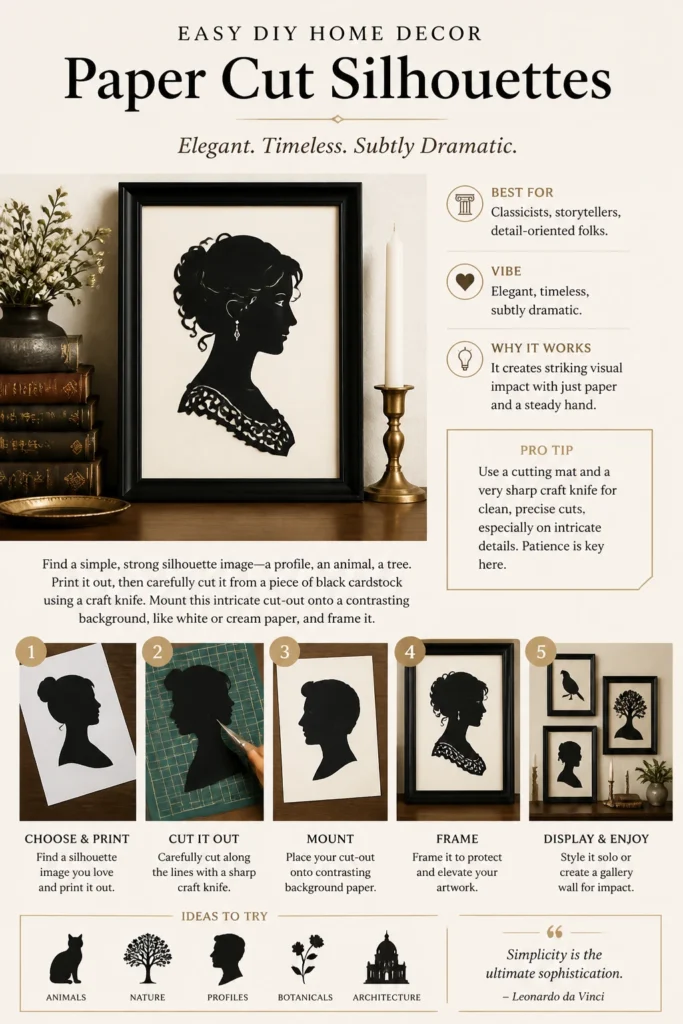
Pro Tip: Use a cutting mat and a very sharp craft knife for clean, precise cuts, especially on intricate details. Patience is key here.
15. Faux Macrame from Rope
- Best For: Boho lovers, texture seekers, knot-tying novices.
- Vibe: Rustic, earthy, effortlessly cool.
- Why it works: It gives you that macrame look without needing complex knotting skills.
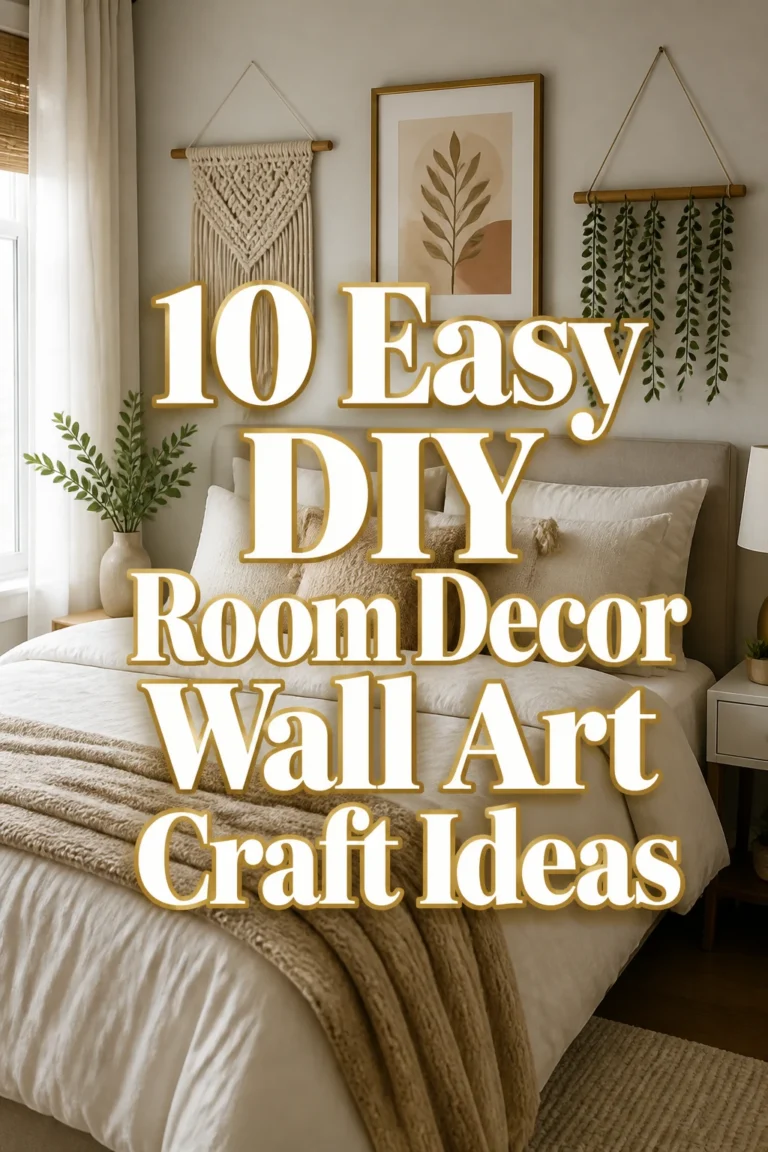
Grab some inexpensive cotton rope or twine. Cut varying lengths and simply tie simple, decorative knots (like overhand or square knots) at different intervals. Hang these knotted ropes from a dowel rod or a sturdy stick. You can even dip-dye the ends for a pop of color.
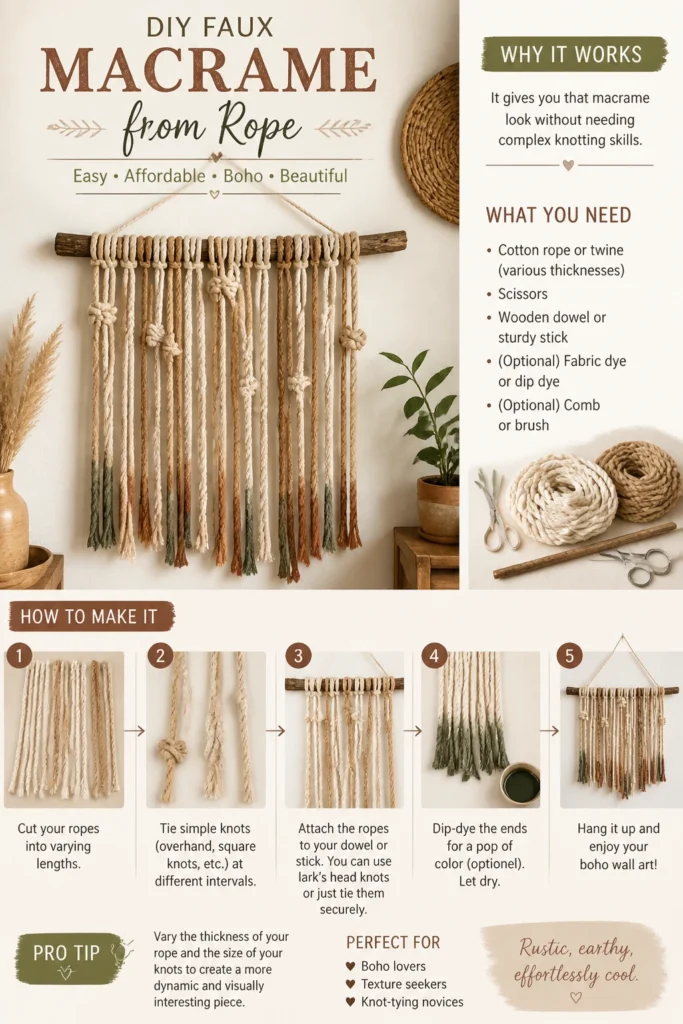
Pro Tip: Vary the thickness of your rope and the size of your knots to create a more dynamic and visually interesting piece.
Our Top Recommended Finds
- A sturdy hot glue gun: Essential for quickly securing fabrics, cardboard, and other bits without waiting ages for it to dry.
- An assorted pack of acrylic paints: You can mix and match to create any color you dream of, perfect for those abstract swipes or painted fabric scraps.
- Removable adhesive strips: Your landlord (and your walls) will thank you for these, making it easy to hang and re-hang your masterpieces without damage.
Which of these will you try first?
There you have it, 15 ways to banish boring walls and inject some serious personality into your space, all on the cheap. Your home is about to get a major glow-up, and your wallet won’t even notice.
So, tell me, which genius idea are you tackling this weekend?