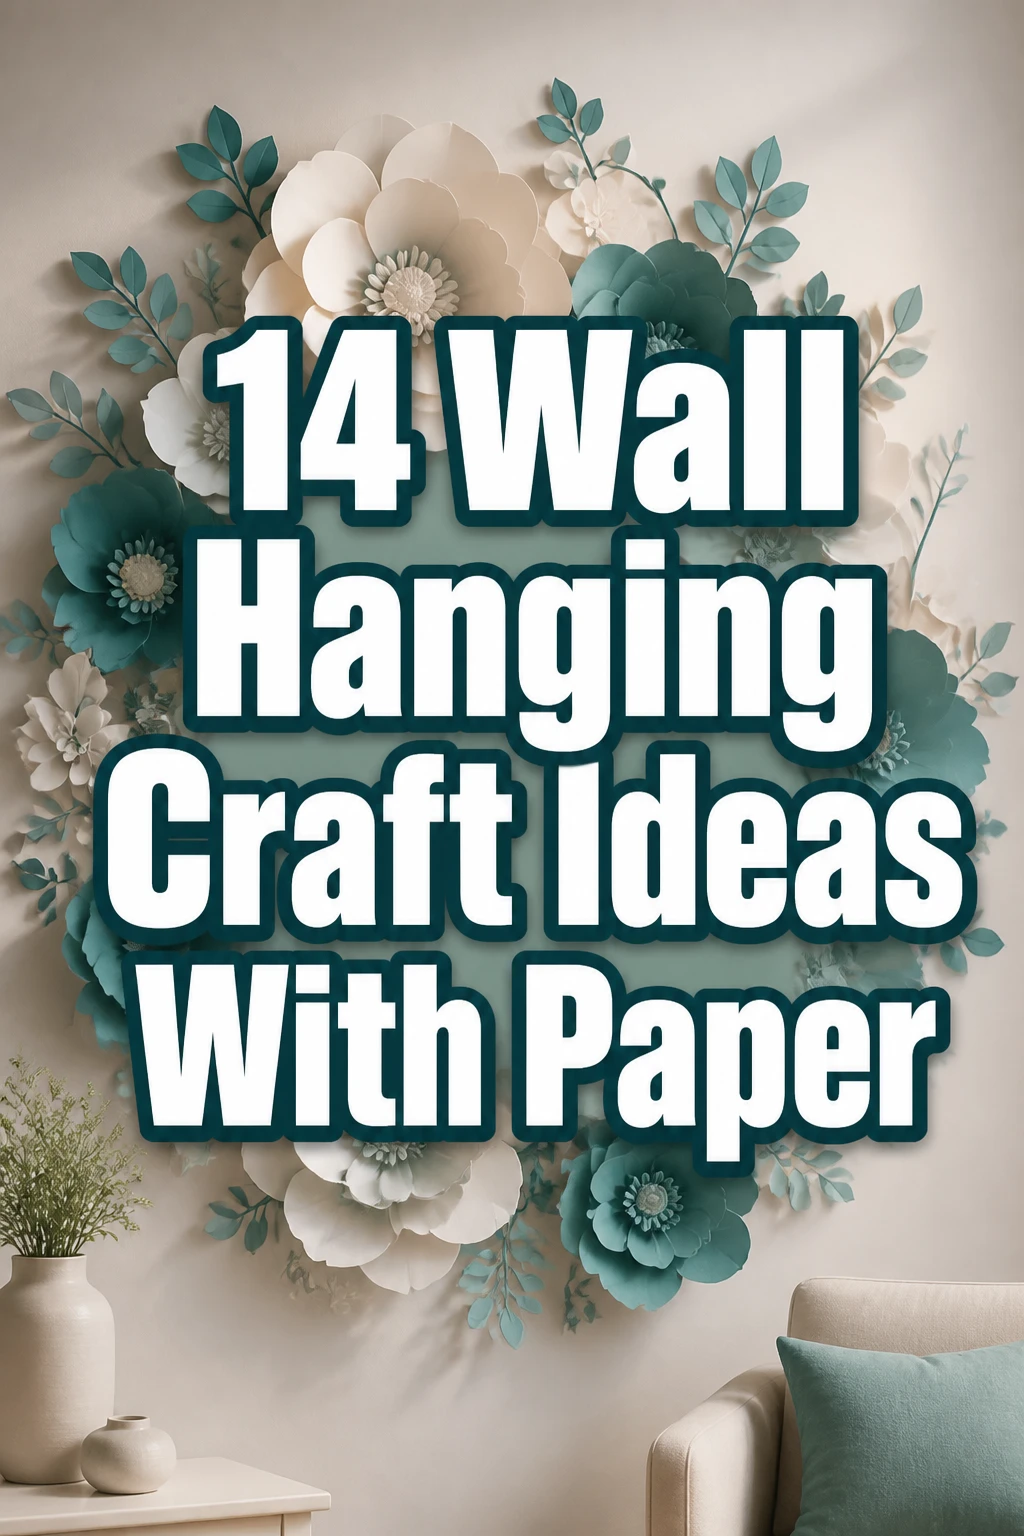
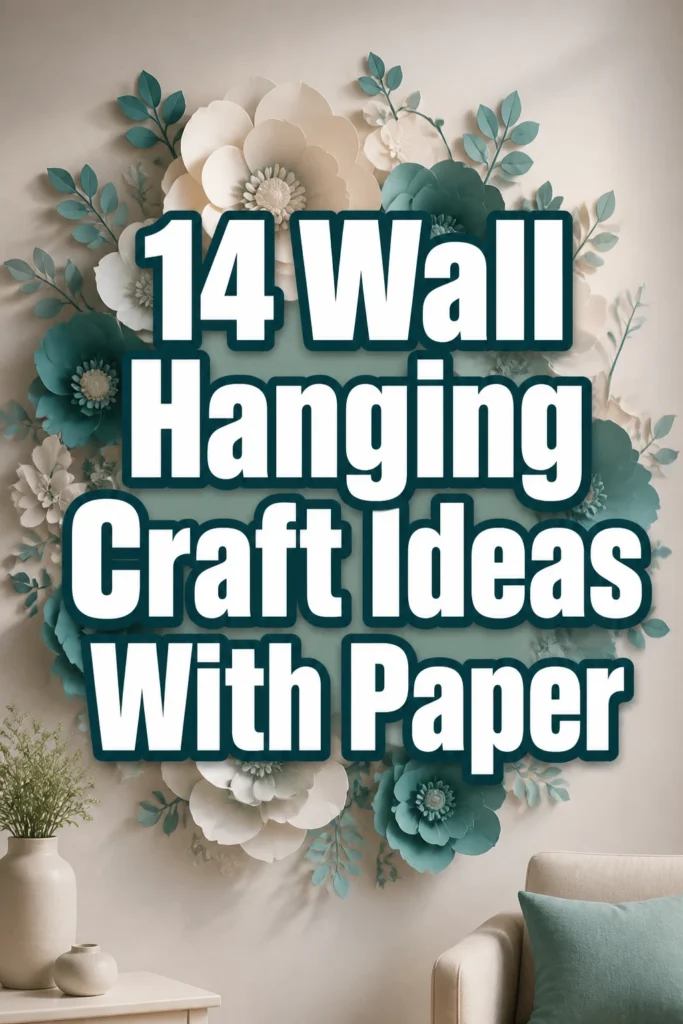
14 Wall Hanging Craft Ideas With Paper
Staring at that blank wall again, feeling the décor dread creep in?
Yeah, we’ve all been there, wanting to spruce things up without breaking the bank or committing to something permanent.
Good news, buttercup: your paper stash is about to become your new best friend with these ridiculously chic wall hanging craft ideas.
1. Geometric Paper Mobile
- Best For: Nurseries, minimalist living rooms, or adding a modern touch to a home office.
- Vibe: Airy, contemporary, subtly playful.
- Why it works: Creates visual interest and movement without overwhelming the space.
Grab some sturdy cardstock in muted tones like dusty rose, sage green, and charcoal gray. Cut out various geometric shapes – think triangles, hexagons, and diamonds – and string them together with clear fishing line at varying lengths.
Hang them from a simple wooden dowel or a bent wire hanger to create a floating art piece. This project is surprisingly easy and looks way more expensive than it actually is.
Pro Tip: Use a tiny dab of hot glue at each knot to prevent shapes from sliding down the line.
2. Rolled Paper Flower Art
- Best For: Adding texture to gallery walls, creating a focal point in a bedroom, or gifting.
- Vibe: Romantic, whimsical, elegantly crafty.
- Why it works: The 3D effect makes paper feel luxurious and artistic.
Cut spirals from different colored paper – think soft pastels or bold jewel tones. Start rolling from the outside in, securing the end with a dab of glue to form a rose-like bloom.
Arrange these paper flowers onto a canvas or a sturdy piece of backing board, varying their sizes and colors for depth. A simple 8×10 frame can hold a stunning arrangement of about 15-20 flowers.
Pro Tip: Use a quilling tool or a toothpick to get a super tight, consistent roll for your flowers.
3. Paper Leaf Garland
- Best For: Seasonal décor, bohemian-themed spaces, or above a doorway.
- Vibe: Natural, earthy, effortlessly chic.
- Why it works: Brings a touch of the outdoors in, without the actual dirt.
Gather some green-toned paper, from deep forest green to light lime, and even some browns for autumn vibes. Freehand cut various leaf shapes – maple, oak, monstera – or use a template if you’re feeling less spontaneous.
Score down the middle of each leaf and gently fold them to give them a natural curve. String them onto a piece of twine or thin wire, spacing them out for an airy look. This looks particularly charming draped over a mirror.
Pro Tip: Mix in some metallic gold or copper paper leaves for an unexpected, glamorous twist.
4. Origami Crane Cascade
- Best For: Zen spaces, children’s rooms, or as a symbol of hope and good fortune.
- Vibe: Serene, intricate, culturally inspired.
- Why it works: The repetition of a simple, beautiful form creates a powerful visual.
Fold a flock of origami cranes using various patterned papers or a single color for a minimalist effect. You’ll want at least 20-30 cranes for a decent cascade.
Attach them to varying lengths of clear fishing line, perhaps with a small bead at the bottom of each line to give it weight. Suspend these lines from a delicate branch or a minimalist hanger. It’s surprisingly meditative to fold them all.
Pro Tip: Use origami paper specifically designed for folding; it’s thinner and holds creases better than standard paper.
5. Paper Quilling Abstract
- Best For: Contemporary art lovers, small nooks, or adding intricate detail.
- Vibe: Detailed, artistic, surprisingly modern.
- Why it works: Transforms simple paper strips into complex, textural art.
Grab a quilling tool and a pack of colored paper strips. Roll, shape, and glue these strips into various coils, teardrops, and marquis shapes.
Arrange your quilled pieces onto a contrasting background – a black canvas makes colors pop – to form an abstract design or a recognizable image. Imagine a swirling galaxy or a vibrant floral burst. This takes patience, but the result is undeniably impressive.
Pro Tip: Invest in a good quilling kit; it usually comes with a tool, paper strips, and a sizing guide.
6. Layered Paper Cut-Out Scene
- Best For: Storytelling art, kids’ rooms, or a whimsical touch in a reading corner.
- Vibe: Dreamy, illustrative, depth-filled.
- Why it works: Creates a diorama effect that draws the eye in.
Plan a scene – maybe a forest with animals, a city skyline, or a fantastical underwater world. Cut out layers from different colored paper, progressively smaller for foreground to background.
Use small foam spacers between each layer when mounting them onto a frame or shadow box. This creates a stunning 3D effect that gives the illusion of depth. Think about a serene landscape in shades of blue and green.
Pro Tip: Use an X-Acto knife for precise, intricate cuts, especially for delicate details in your scenes.
7. Newspaper Art Collage
- Best For: Urban lofts, industrial styles, or eco-conscious decorators.
- Vibe: Edgy, recycled, thought-provoking.
- Why it works: Gives old news a new lease on life as art.
Collect interesting headlines, striking images, or even just blocks of text from old newspapers. Rip or cut them into various shapes and sizes.
Layer and glue these pieces onto a canvas or sturdy board, overlapping them to create a dynamic, textured surface. You can add a wash of diluted black paint over sections for a grungier feel. It’s basically free art, which is always a win.
Pro Tip: Seal your finished collage with a layer of Mod Podge to protect it and give it a uniform sheen.
8. Paper Strip Weave
- Best For: Modern interiors, adding texture, or a statement piece.
- Vibe: Structured, minimalist, surprisingly intricate.
- Why it works: A simple technique creates a complex and visually interesting pattern.
Cut long, even strips of paper in complementary colors – think black and white, or varying shades of blue. You’ll need two sets of strips, one for the warp and one for the weft.
Weave them together like a fabric, either tightly for a solid look or with gaps for an open, airy feel. Mount the finished weave onto a backing board or frame it. This project looks fantastic in a monochromatic palette.
Pro Tip: Use a ruler and a rotary cutter for perfectly straight and consistent paper strips.
9. Folded Paper Medallions
- Best For: Party décor, temporary wall art, or adding a pop of color.
- Vibe: Festive, cheerful, retro-inspired.
- Why it works: Simple folding creates a surprisingly intricate and beautiful shape.
Accordion-fold long strips of paper, then join the ends to form a circular medallion. Vary the paper size and folding width for different effects.
Create a collection of these medallions in various sizes and colors, then arrange them on a wall using sticky tack or a tiny bit of tape. They look fantastic grouped together, like a burst of paper fireworks. Think vibrant oranges, yellows, and pinks for a summery feel.
Pro Tip: Use double-sided tape to secure the ends of your accordion folds for a cleaner finish.
10. Paper Tassel Garland
- Best For: Bohemian bedrooms, party backdrops, or adding softness to a space.
- Vibe: Playful, festive, effortlessly cool.
- Why it works: Adds texture and a relaxed, celebratory feel.
Cut rectangular sheets of tissue paper or thin craft paper, then fringe them along one long edge. Roll them up tightly from the unfringed end, then twist the top to create a loop.
String your collection of tassels onto a piece of twine or ribbon. Mix and match colors like mint green, peach, and gold for a trendy look. This garland is perfect for draping over a headboard or mantel.
Pro Tip: For extra fluffy tassels, layer two or three sheets of tissue paper before fringing and rolling.
11. DIY Paper Photo Frames
- Best For: Personalizing a gallery wall, displaying cherished memories, or an inexpensive photo display.
- Vibe: Personal, charming, customizable.
- Why it works: Turns simple photos into framed art without the cost.
Cut out various frame shapes from thick cardstock or even old cereal boxes – think squares, circles, or quirky polygons. Decorate them with paint, markers, or by gluing on smaller paper cut-outs.
Mount your favorite photos behind these paper frames, securing them with a bit of tape. Arrange them on your wall in a dynamic cluster. A collection of black and white photos in brightly colored paper frames can be a real statement.
Pro Tip: Use scrapbook paper with fun patterns for an instant upgrade to your paper frames.
12. 3D Paper Sculpture
- Best For: Contemporary art installations, a striking focal point, or adding architectural interest.
- Vibe: Modern, sculptural, surprisingly dynamic.
- Why it works: Paper’s flexibility allows for complex, multi-dimensional forms.
Experiment with folding, scoring, and cutting paper to create interlocking shapes or repeating patterns that pop off the wall. Think about creating a “mountain range” or a series of overlapping geometric forms.
Use strong glue to assemble your pieces directly onto the wall or a sturdy backing. White paper can create stunning shadow play, while colored paper adds vibrancy. This is where your inner architect gets to shine.
Pro Tip: Use a bone folder to get super crisp creases and folds, which are essential for structural integrity.
13. Magazine Page Mosaic
- Best For: Adding color, upcycling, or creating a vibrant, abstract piece.
- Vibe: Eclectic, colorful, sustainable.
- Why it works: Repurposes materials into a new, visually rich form.
Flip through old magazines and tear out pages with interesting colors, textures, or small patterns. You’re looking for blocks of color more than specific images.
Rip or cut these pages into small, irregular pieces and glue them down onto a canvas or board, much like a mosaic. Overlap them slightly to create depth. A piece made entirely of blues and greens can evoke a calm ocean scene.
Pro Tip: Don’t be afraid to experiment with tearing the paper for softer edges versus cutting for sharper lines.
14. Paper Fan Display
- Best For: A quick party backdrop, a summer-themed room, or adding a playful touch.
- Vibe: Whimsical, light, effortlessly cheerful.
- Why it works: Creates a visually engaging pattern with minimal effort.
Fold various sizes of paper into traditional hand fans. You can use anything from plain construction paper to elegant patterned sheets.
Arrange these open fans on a wall in a playful cluster, overlapping them slightly to create a dynamic display. Think about a gradient of colors, from light yellow to deep orange, for a sunset effect. They’re super easy to make and even easier to change out.
Pro Tip: Use a small piece of washi tape on the back of each fan to secure it to the wall without causing damage.
Our Top Recommended Finds
- A high-quality craft knife set: For those intricate cuts and sharp edges, a good X-Acto knife is your secret weapon.
- An assorted pack of acid-free cardstock: You’ll want durable paper that won’t yellow over time, and a variety of colors just makes life easier.
- A low-temperature mini hot glue gun: Quick drying, strong hold, and less risk of burnt fingers—a crafter’s best friend for assembly.
Which of these will you try first?
So, there you have it, folks: 14 ways to give your walls a much-needed glow-up using nothing but paper and a dash of creative genius.
Who knew your recycling bin held such artistic potential? We certainly did.
Which one of these paper-perfect wall hangings are you going to tackle this weekend?