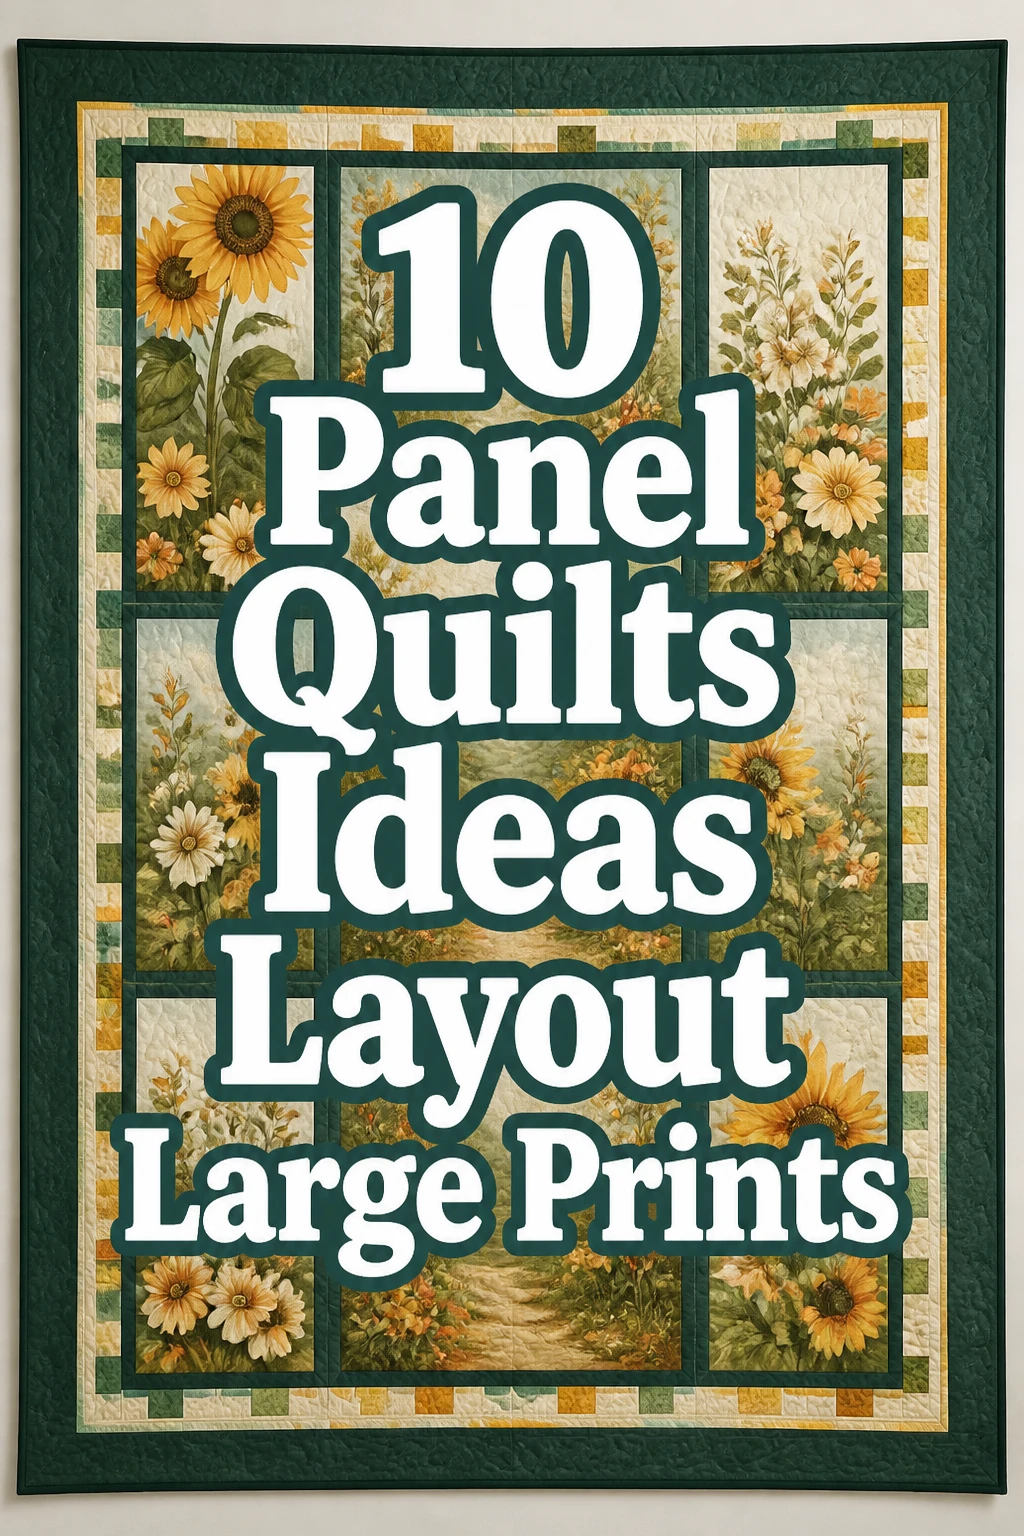
10 Panel Quilts Ideas Layout Large Prints
Got that gorgeous large print fabric panel just sitting there, staring at you from the stash?
You know, the one that’s too pretty to cut into tiny pieces but too big to just frame?
Yeah, we’ve all been there. But guess what? We’re about to unleash its full potential with some seriously cool panel quilt ideas.
1. The “Less Is More” Frame Up
- Best For: Beginners, showcasing intricate art panels
- Vibe: Modern, minimalist chic
- Why it works: Lets the panel be the undisputed star of the show.
Imagine a stunning botanical print panel. Surround it with a generous solid white or charcoal grey border.
This layout screams sophistication and makes your panel pop without any fussy distractions. It’s the ultimate “I know what I’m doing” move for your living room.
Pro Tip: Use extra-wide borders, think 6-8 inches, to give it that gallery-wrapped canvas feel.
2. Double Trouble Panels
- Best For: The indecisive, themed decor
- Vibe: Cohesive, impactful storytelling
- Why it works: Two panels are better than one, especially when they tell a story.
Got two panels that just belong together? Maybe a pair of wildlife scenes or coordinating abstract designs.
Stack them vertically with a narrow sashing in between. A rich forest green sashing could link two nature prints beautifully, creating a powerful statement piece for a cabin or den.
Pro Tip: Ensure both panels are roughly the same size for a balanced look. Otherwise, it might look like you just ran out of fabric.
3. The Deconstructed Diva
- Best For: Creative rebels, transforming busy prints
- Vibe: Artistic, modern patchwork
- Why it works: It breaks up a busy panel into manageable, intriguing sections.
Take that gorgeous abstract floral panel and cut it into three or four large, uneven rectangles. Reassemble them with a striking black or bright yellow sashing.
It adds a dynamic, almost architectural feel, turning a single image into a captivating puzzle.
Pro Tip: Cut slightly larger than you think you need, then trim to perfection after assembly. Precision matters here, darling.
4. Corner Pop Accents
- Best For: Adding subtle interest, using up scraps
- Vibe: Playful, charming
- Why it works: Draws the eye and adds a touch of unexpected detail.
Frame your panel with a solid border, but then insert a small, contrasting block in each corner. Think a tiny log cabin block or a bright HST (half-square triangle) in the corners of a vintage travel poster panel.
It’s like adding tiny earrings to a fabulous outfit.
Pro Tip: Use a print for the corner blocks that picks up a minor color from the main panel for a cohesive, intentional feel.
5. Storybook Surround
- Best For: Nursery quilts, themed rooms
- Vibe: Whimsical, narrative
- Why it works: Creates a cohesive story around a central theme.
If your panel features a beloved children’s book character or a fantastical scene, surround it with smaller blocks that expand on the theme.
Think little star blocks or tiny tree blocks framing a woodland creature panel. It’s like turning your quilt into an illustrated story.
Pro Tip: Keep the surrounding blocks simple in design so they complement, rather than compete with, the main panel.
6. Gradient Glam Borders
- Best For: Sophisticated aesthetics, dramatic effect
- Vibe: Elegant, artistic transition
- Why it works: Adds depth and visual movement to a static panel.
Frame your panel with borders that subtly shift in color. Imagine a sunset panel surrounded by borders that go from light peach to deep plum.
Use three or four different shades of the same color family for a truly stunning gradient. It’s a total showstopper.
Pro Tip: Lay out all your border fabrics before cutting to ensure the color flow is exactly what you envision. No surprises, please.
7. The Asymmetrical Edge
- Best For: Modern decor, breaking tradition
- Vibe: Bold, contemporary
- Why it works: Creates dynamic tension and visual interest.
Don’t center your panel. Instead, push it off-center and balance the layout with a large block of negative space or a single, oversized geometric block on the opposite side.
A cityscape panel shifted to the left, balanced by a large solid grey block on the right, makes a powerful statement.
Pro Tip: Use a strong, contrasting solid for your negative space to really make the asymmetry pop.
8. “Window Pane” Illusion
- Best For: Adding texture, unique display
- Vibe: Architectural, curated
- Why it works: Gives the illusion of looking through a window, adding depth.
Overlay your panel with thin strips of sashing, creating a grid. This works wonders with a scenic landscape panel, making it look like you’re peering out a window.
Use a delicate black or cream sashing to define the “panes” without obscuring the image.
Pro Tip: Keep the sashing strips narrow, maybe 1 to 1.5 inches finished, so they don’t overpower the panel’s image.
9. Fussy-Cut Frame Fun
- Best For: Maximizing fabric, intricate detail lovers
- Vibe: Intricate, bespoke
- Why it works: Ties the frame directly to the panel’s design, creating a custom look.
Got a coordinating large print that matches your main panel? Fussy-cut strips from it to create a unique frame.
If your panel has large roses, cut strips of individual roses to border it. It’s a bit extra, but in the best possible way, making your quilt truly one-of-a-kind.
Pro Tip: Use a ruler with a square window to precisely fussy-cut your framing strips for a perfect repeat.
10. Quilt-As-You-Go Magic
- Best For: Managing large quilts, trying new techniques
- Vibe: Relaxed, handmade charm
- Why it works: Makes quilting large panels less daunting and adds texture.
Cut your large panel into manageable sections, maybe three or four horizontal strips. Quilt each section individually with batting and backing, then join them using a sashing strip on the front and back.
This is perfect for a complex art panel you want to quilt heavily without wrestling a huge quilt through your machine.
Pro Tip: Keep your quilting design simple within each section to let the panel shine, or go wild with custom designs for each segment.
Our Top Recommended Finds
- A reliable rotary cutter and mat set: Essential for precise, clean cuts on those precious panels. No wonky edges here, please.
- Large quilting rulers (especially a square one): Perfect for accurate fussy cutting and ensuring your borders are perfectly straight. Precision is key, darling.
- A stash of solid coordinating fabrics: Having a few go-to solids in cream, black, or grey makes border and sashing choices a breeze.
Which of these will you try first?
See? Your large print panels are just waiting for their moment in the spotlight. No more stashing them away like a secret admirer.
Which of these killer panel quilt ideas are you tackling first? Spill the tea in the comments!