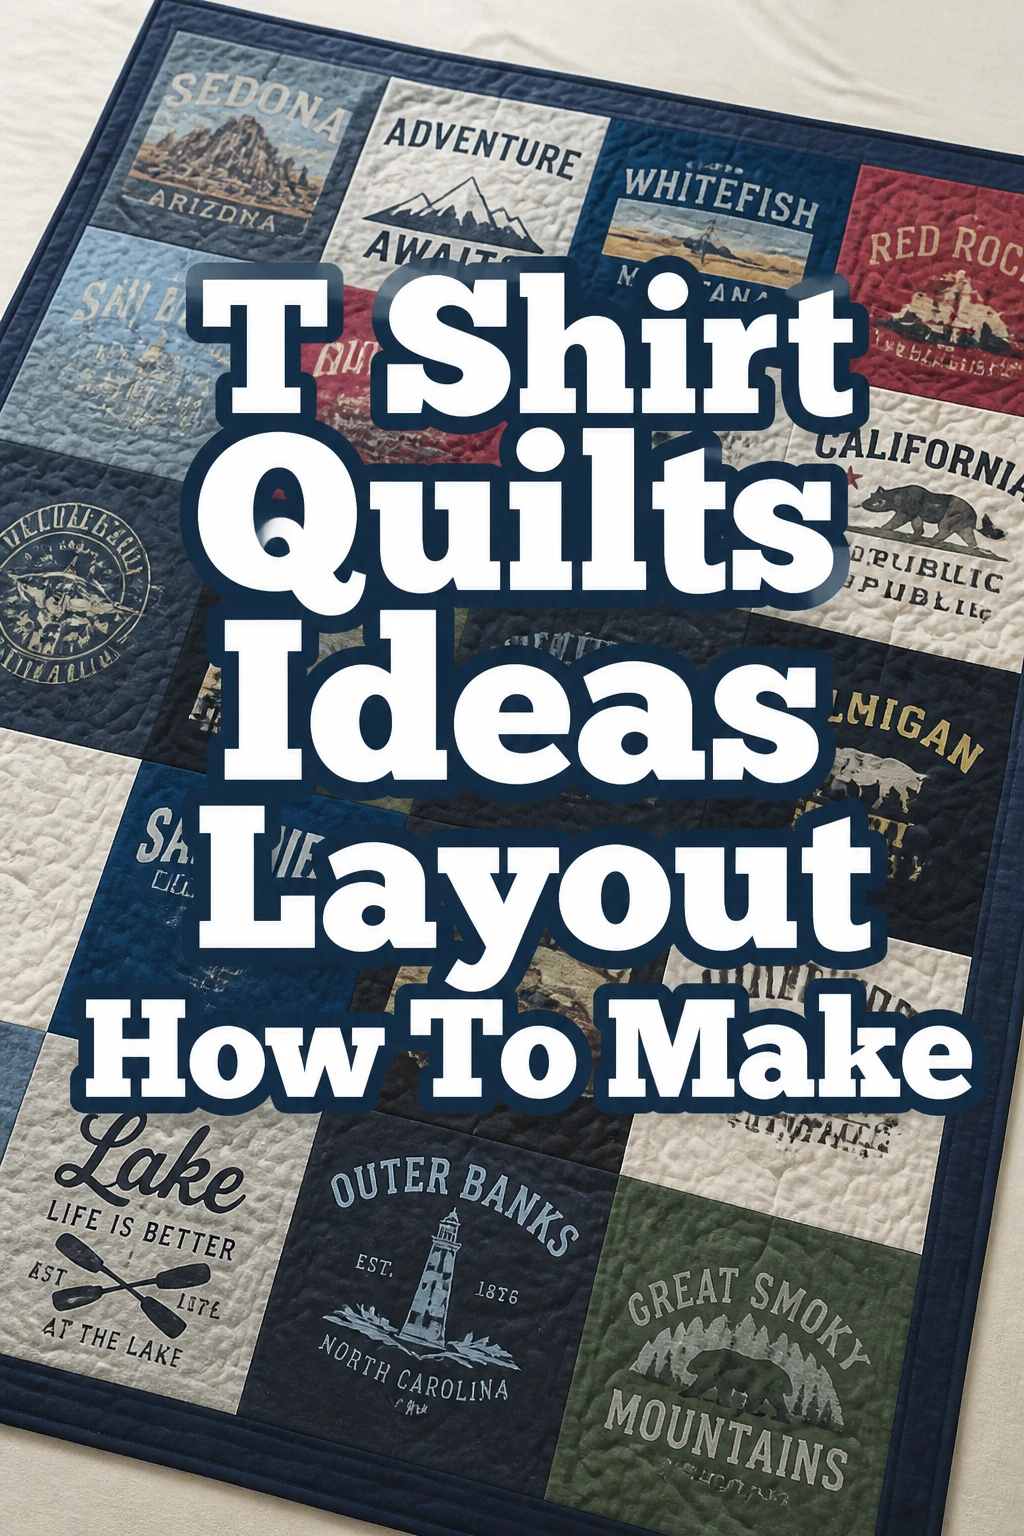
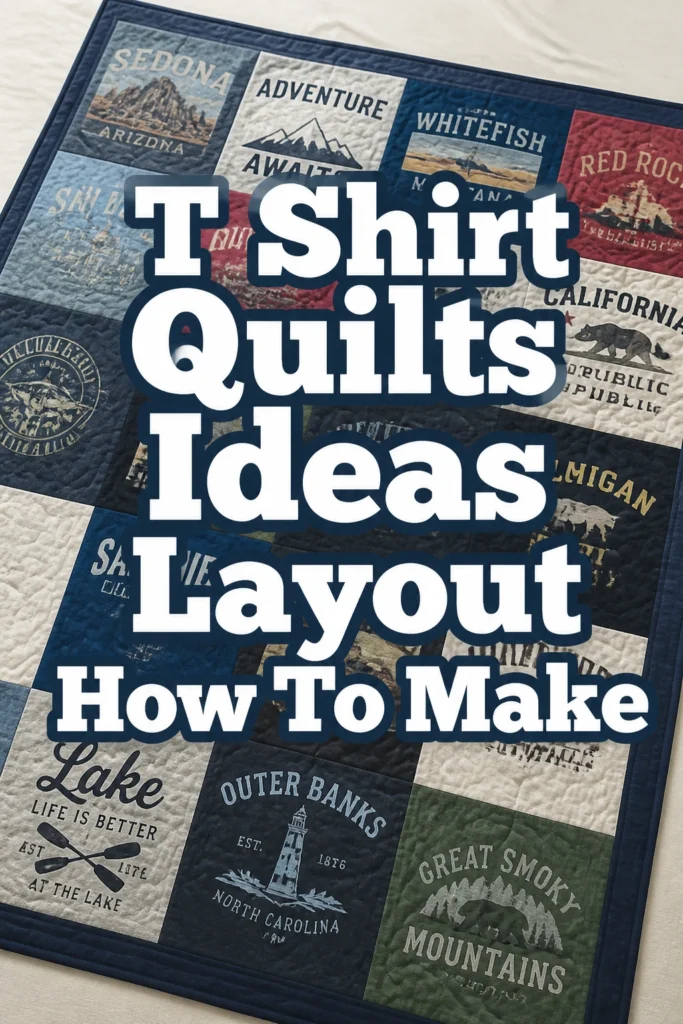
T Shirt Quilts Ideas Layout How To Make
Remember that drawer full of beloved T-shirts you can’t bear to part with?
I used to have one too, until I transformed them into a cherished quilt.
This guide shares the exact steps I’ve refined over several projects, ensuring your success from start to finish.
Quick Overview
You are about to turn a collection of memories into a functional, beautiful textile piece.
This process will transform your old T-shirts into a lasting keepsake, perfect for snuggling or display.
- Time needed: 20-40 hours (depending on quilt size and experience level)
- Difficulty: Intermediate
- What you’ll need: T-shirts, fusible interfacing, fabric for sashing/backing/binding, batting, sewing machine, rotary cutter, mat, ruler
Step-by-Step Instructions
Step 1: Gather and Prepare Your T-shirts
Collect all the T-shirts you wish to include in your quilt.
Wash them thoroughly without fabric softener to ensure they are clean and free of any residue.
Iron each shirt flat to remove wrinkles, making them easier to work with.
Cut out the desired graphic or image from each T-shirt, leaving a generous margin of several inches around the design.
You will trim these more precisely in a later step.
Pro Tip: Select T-shirts with varying colors and designs to create a visually interesting quilt. Think about the story each shirt tells.
Step 2: Stabilize T-shirt Blocks
Cut fusible interfacing slightly larger than your T-shirt block design.
Press the interfacing onto the back of each T-shirt block using a warm iron, following the interfacing manufacturer’s instructions.
This step is crucial for preventing stretch and distortion, making sewing much easier.
Trim each stabilized T-shirt block to your desired uniform size, ensuring all blocks are perfectly square or rectangular.
A rotary cutter and ruler on a cutting mat will give the most accurate results.
Step 3: Plan Your Layout
Arrange your trimmed T-shirt blocks on a large flat surface, like a floor or design wall.
Experiment with different arrangements until you find a layout that appeals to you.
Consider color balance, design flow, and how adjacent blocks interact.
Decide if you want to use “sashing” (strips of fabric between blocks) or if you prefer a “quilt-as-you-go” method where blocks are sewn directly together.
Sashing adds definition and can help unify diverse T-shirt designs.
Pro Tip: Take a photo of your favorite layout arrangements. This helps you remember your plan and visualize the final quilt before you commit to sewing.
Step 4: Cut Sashing and Borders
Choose a complementary fabric for your sashing, borders, and backing.
A solid color or a subtle print often works best to highlight the T-shirt designs.
Cut strips for your sashing, if using, to the desired width and length.
These will be sewn between your T-shirt blocks and rows.
Measure and cut fabric for inner and outer borders, if you plan to add them around the entire quilt top.
Borders frame your quilt and can help it achieve a larger final size.
Step 5: Assemble the Quilt Top
Sew your T-shirt blocks together into rows, using a consistent 1/4-inch seam allowance.
Press seams open or to one side, whichever makes the blocks lie flatter.
Attach sashing strips between blocks within each row, if you’re using them.
Join the completed rows together, adding sashing strips between rows as well.
Add any inner and outer borders you planned, sewing them to the perimeter of your assembled quilt top.
Step 6: Prepare the Quilt Sandwich
Cut your backing fabric and batting each about 4-6 inches larger than your assembled quilt top on all sides.
Lay the backing fabric face down on a clean, flat surface, smoothing out all wrinkles.
Place the batting evenly on top of the backing fabric.
Center your quilt top face up on top of the batting.
Secure the three layers together using safety pins, basting spray, or basting stitches.
Pin every 4-6 inches, starting from the center and working outwards.
Step 7: Quilt Your Creation
Decide on your quilting pattern.
You can do simple straight lines, stitch in the ditch (along seam lines), or free-motion quilting.
Use a walking foot on your sewing machine if you have one; it helps feed all three layers evenly.
Stitch through all three layers, starting from the center of the quilt and working outwards.
This prevents puckering and shifting of the layers.
Step 8: Trim and Bind
Trim the excess backing and batting even with the edges of your quilt top.
Create your binding strips.
Cut fabric strips 2.5 inches wide, join them together to make one long strip, and press in half lengthwise.
Sew the binding to the front edge of the quilt, aligning raw edges and using a 1/4-inch seam allowance.
Fold the binding over to the back of the quilt and hand-stitch or machine-stitch it in place to finish the edges.
This creates a clean, durable border for your T-shirt quilt.
Common Mistakes to Avoid
Skipping Stabilization
Not applying fusible interfacing to your T-shirt blocks is a common pitfall.
T-shirt fabric is stretchy, and without stabilization, your blocks will distort, making it almost impossible to sew accurate seams and create a flat quilt top.
Always use a medium-weight fusible interfacing to give the T-shirt fabric stability and body.
Inconsistent Seam Allowances
Using varying seam allowances throughout your quilt top assembly will lead to blocks and rows that don’t line up.
This results in a wavy or uneven quilt top.
Always maintain a consistent 1/4-inch seam allowance, checking frequently with a seam gauge if necessary.
Poor Layout Planning
Rushing the layout phase can result in a quilt that feels unbalanced or visually cluttered.
Simply sewing blocks together without considering their placement can lead to clashing colors or repetitive designs grouped too closely.
Take your time to arrange and rearrange blocks, using a design wall or floor, until you achieve a harmonious and pleasing design.
Not Washing Fabrics First
Failing to pre-wash your T-shirts and any new quilting fabrics can cause problems later.
Fabrics can shrink at different rates, leading to puckering or distortion in your finished quilt after its first wash.
Always wash and dry all fabrics (T-shirts and new yardage) before cutting and sewing.
Troubleshooting
Blocks Don’t Line Up
If your T-shirt blocks are not aligning perfectly when you sew them, check your seam allowance consistency.
Even a slight deviation can cause significant misalignment over several blocks.
Carefully measure and trim blocks to exact sizes before assembly, ensuring all are perfectly square.
Quilt Top is Rippled or Wavy
A wavy quilt top often indicates uneven tension during quilting or that the layers shifted.
Ensure you are basting thoroughly and evenly, pinning every few inches across the entire quilt sandwich.
When quilting, start from the center and work outwards to help push any excess fabric towards the edges.
Binding is Bulky or Uneven
Bulky binding can happen if the batting and backing aren’t trimmed closely enough to the quilt top edge before applying the binding.
Uneven binding often results from inconsistent seam allowances when attaching the binding strip.
Trim all three layers precisely and use a consistent 1/4-inch seam when sewing the binding to the quilt edge.
Key Takeaways
- Stabilize all T-shirt blocks with fusible interfacing to prevent stretching.
- Plan your quilt layout carefully, experimenting with block arrangement.
- Maintain a consistent 1/4-inch seam allowance throughout construction.
- Pre-wash all fabrics, including T-shirts, to avoid future shrinkage issues.
- Baste your quilt sandwich thoroughly to prevent layers from shifting during quilting.
- Take your time with each step for a more satisfying and professional result.
Frequently Asked Questions
How many T-shirts do I need for a quilt?
The number of T-shirts depends on the size of your finished quilt and the size you cut your blocks.
A throw-size quilt (around 50×60 inches) might use 16-24 T-shirt blocks, while a larger bed quilt could require 30-50 or more.
Consider the size of the graphics on your shirts when determining block size.
Can I use different size T-shirts?
Yes, you can absolutely use T-shirts of various sizes.
The key is to cut all your T-shirt blocks to a uniform size after stabilizing them.
Focus on centering the graphic you want to feature within your chosen block dimension.
What kind of batting should I use?
Common batting choices include 100% cotton, polyester, or a cotton-poly blend.
Cotton batting offers a classic drape and breathability, while polyester is lighter and often warmer.
Choose a batting that suits the desired warmth and drape of your finished quilt.
Do I need a special sewing machine?
No, a basic home sewing machine is perfectly adequate for making a T-shirt quilt.
However, a walking foot attachment is highly recommended as it helps feed all three layers of the quilt sandwich evenly through the machine, preventing puckering and shifting during quilting.
Our Top Recommended Finds
- Rotary Cutter and Mat Set: Essential for precise and straight cutting of T-shirt blocks and fabric strips.
- Fusible Interfacing: A medium-weight, non-woven fusible interfacing is critical for stabilizing stretchy T-shirt fabric.
- Quilting Ruler: A clear acrylic ruler (e.g., 6″x24″) is indispensable for accurate measuring and trimming.
Your Memories, Woven into Warmth
Creating a T-shirt quilt is a deeply rewarding project, transforming cherished memories into a tangible, comforting item.
You now have the practical steps and insights needed to embark on this creative journey.
Gather your beloved T-shirts today and start planning your unique quilt design.
Consider making smaller versions as gifts, or explore different quilting patterns to add even more personalization to your next project.