10 Easy DIY Room Decor Wall Art Craft Ideas
Staring at a blank wall again, feeling that decor dread creep in?
Your space deserves a glow-up, not a guilt trip. Good news, buttercup, we’ve got ten super easy, budget-friendly wall art craft ideas to rescue your aesthetic.
1. Abstract Canvas Masterpiece
- Best For: Anyone needing a quick splash of color.
- Vibe: Modern minimalist with a hint of rebellious chic.
- Why it works: You literally cannot mess this up; it’s abstract, darling.
Grab a plain canvas and some acrylic paints. Tape off sections with painter’s tape, then go wild with contrasting colors.
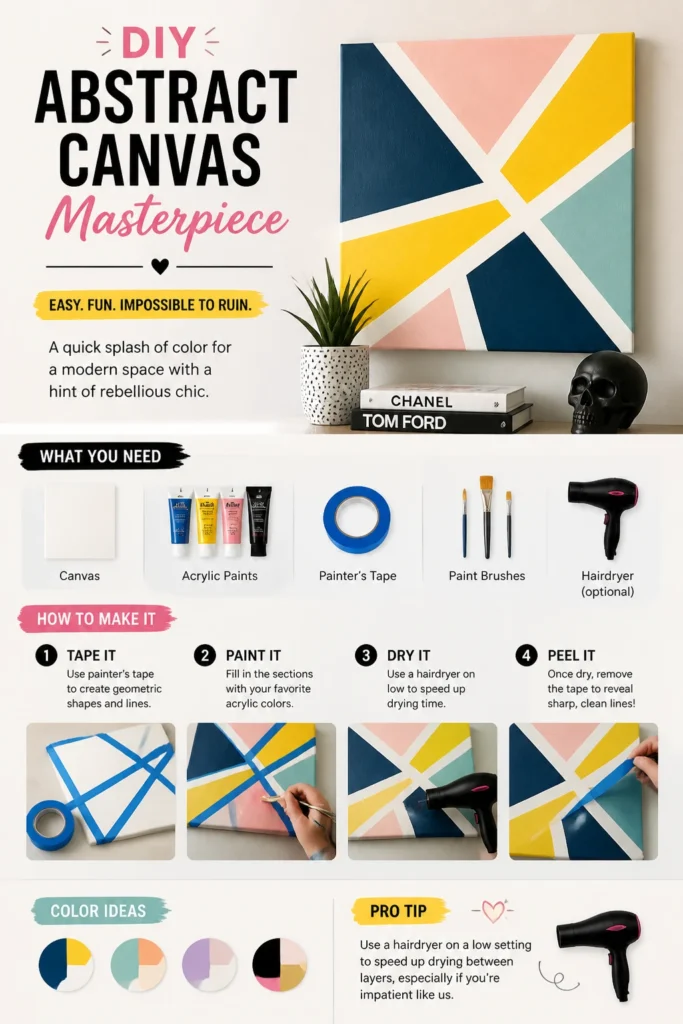
Peel off the tape once dry for sharp, geometric lines. Think bold blues, sunny yellows, or muted pastels for a softer touch.
Pro Tip: Use a hairdryer on a low setting to speed up drying between paint layers, especially if you’re impatient like us.
2. Pressed Flower Botanical Prints
- Best For: Nature lovers and vintage souls.
- Vibe: Cottagecore meets sophisticated elegance.
- Why it works: It brings the outdoors in, no green thumb required.
Collect some pretty flowers or leaves from your garden or a local park. Press them between heavy books for a few weeks until perfectly flat and dry.
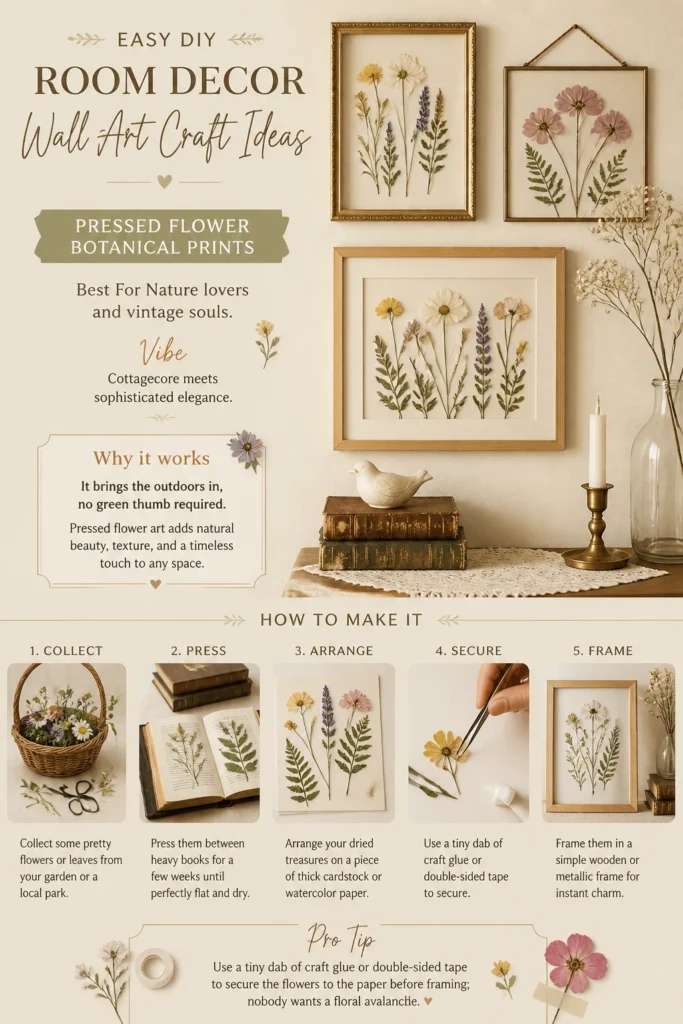
Arrange your dried treasures on a piece of thick cardstock or watercolor paper. Frame them in a simple wooden or metallic frame for instant charm.
Pro Tip: Use a tiny dab of craft glue or double-sided tape to secure the flowers to the paper before framing; nobody wants a floral avalanche.
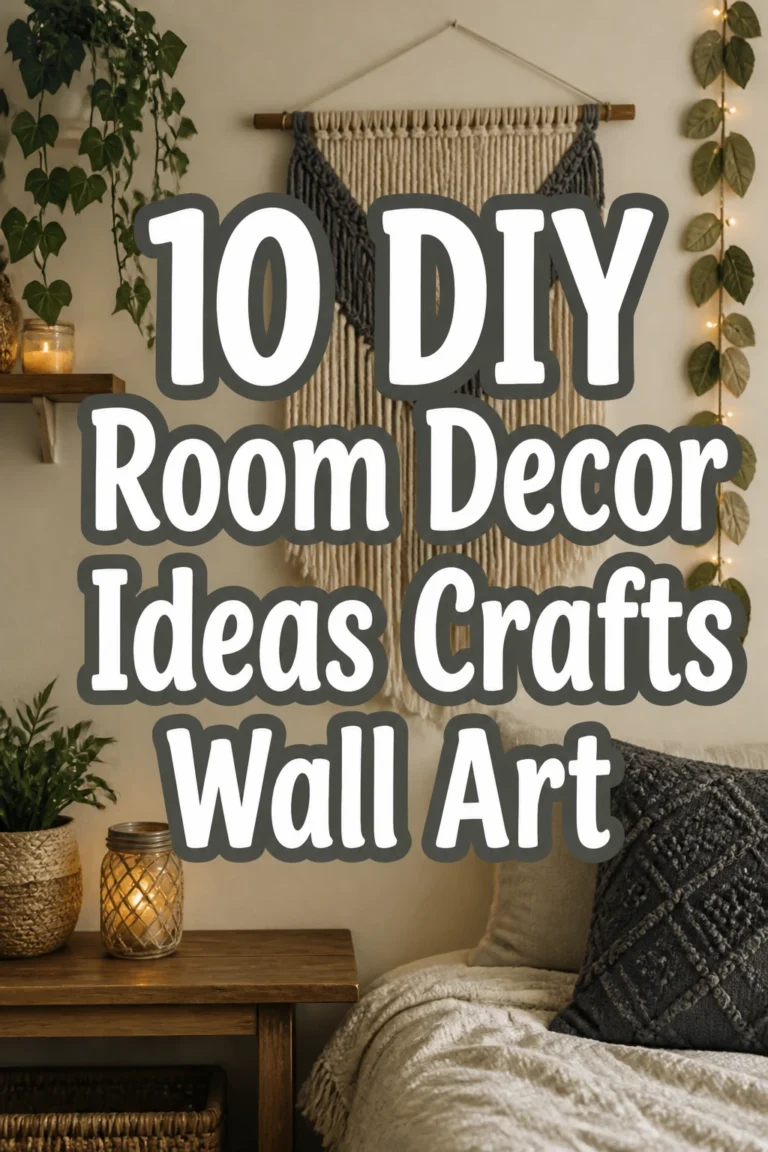
3. Simple Macrame Wall Hanging
- Best For: Boho enthusiasts seeking texture.
- Vibe: Earthy, calming, and effortlessly cool.
- Why it works: It adds incredible texture and a handmade feel without breaking the bank.
You do not need to be a macrame wizard for this. Start with a simple dowel rod and some macrame cord.
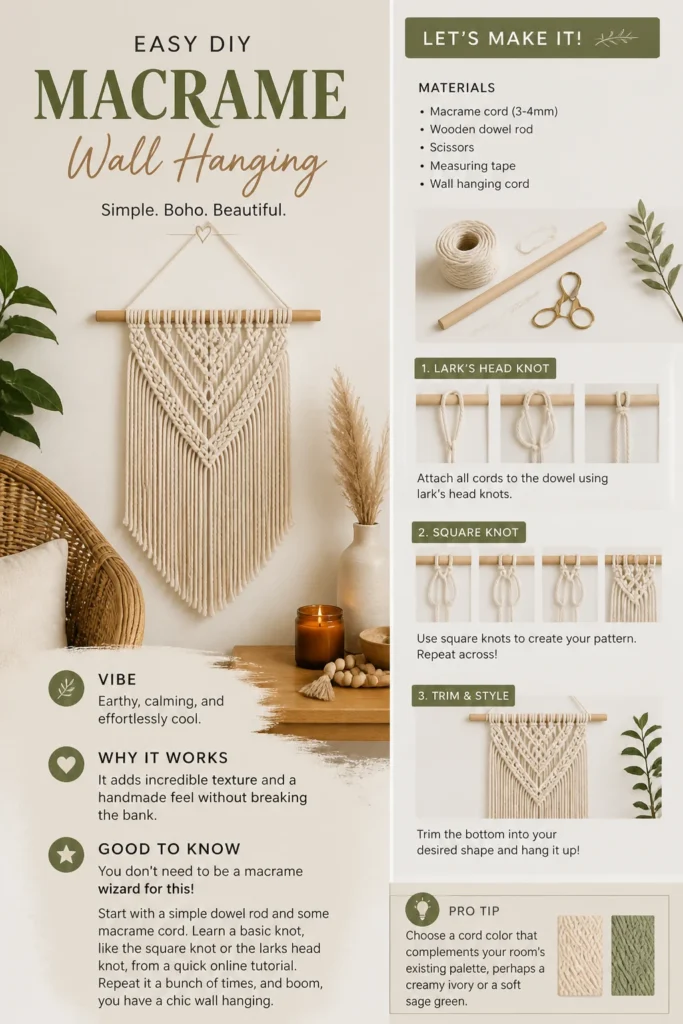
Learn a basic knot, like the square knot or the larks head knot, from a quick online tutorial. Repeat it a bunch of times, and boom, you have a chic wall hanging.
Pro Tip: Choose a cord color that complements your room’s existing palette, perhaps a creamy ivory or a soft sage green.
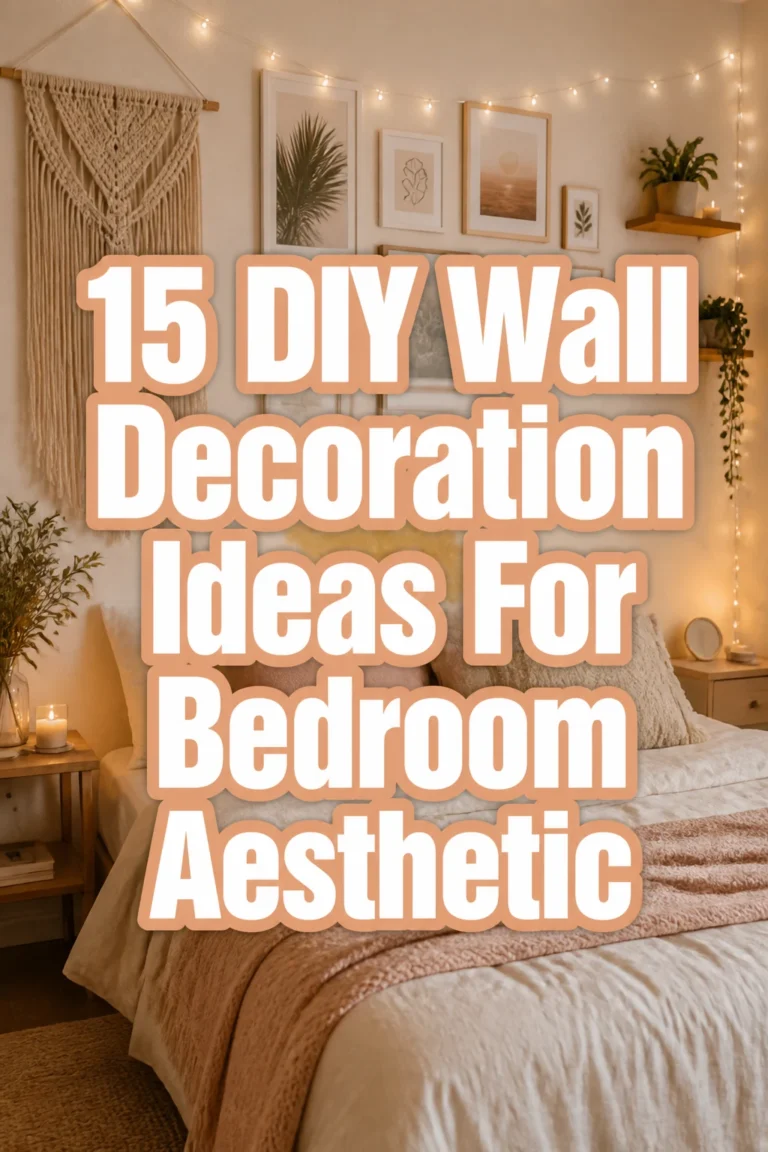
4. Curated Gallery Wall Mix
- Best For: Art collectors (even if your “art” is just cool postcards).
- Vibe: Eclectic, personal, and endlessly interesting.
- Why it works: It tells your story and fills a large wall with personality.
Gather an assortment of frames in various sizes and styles. Mix in personal photos, prints, postcards, or even small mirrors.
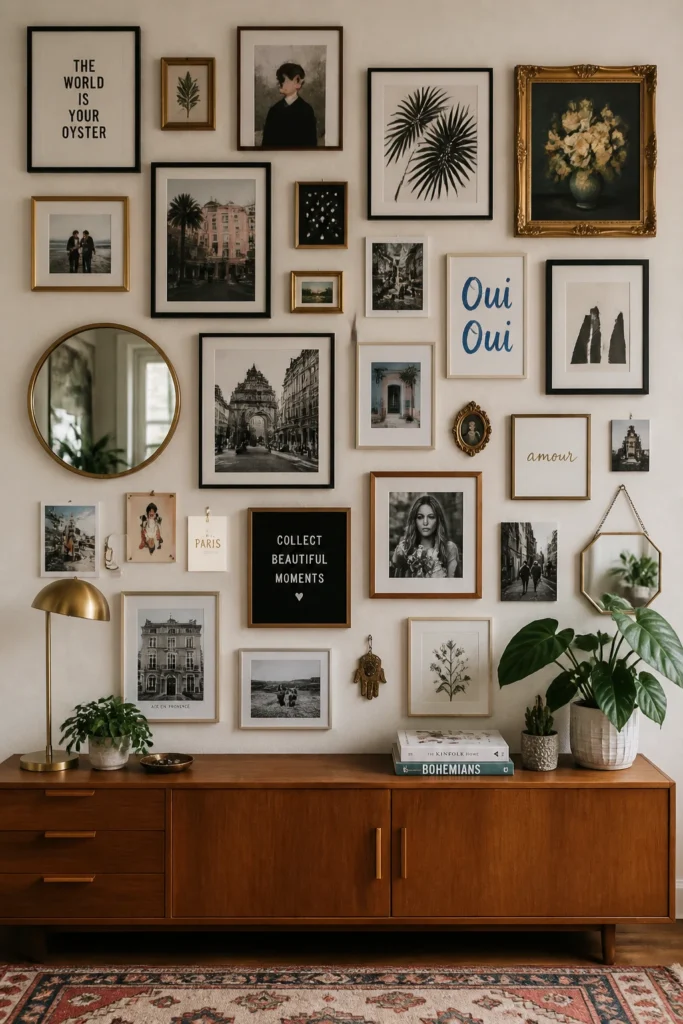
Lay them out on the floor first to plan your arrangement before committing to nails. A good mix of black and white alongside color usually looks fab.
Pro Tip: Use paper templates cut to the size of your frames and tape them to the wall first. This lets you play with placement without patching a million holes.
5. DIY Photo Clip Garland
- Best For: Memory keepers and sentimental types.
- Vibe: Whimsical, personal, and totally Instagrammable.
- Why it works: It’s an ever-evolving display of your favorite moments.
Grab some twine or a thin string and a pack of mini clothespins. Print out your favorite photos, maybe in a vintage filter.
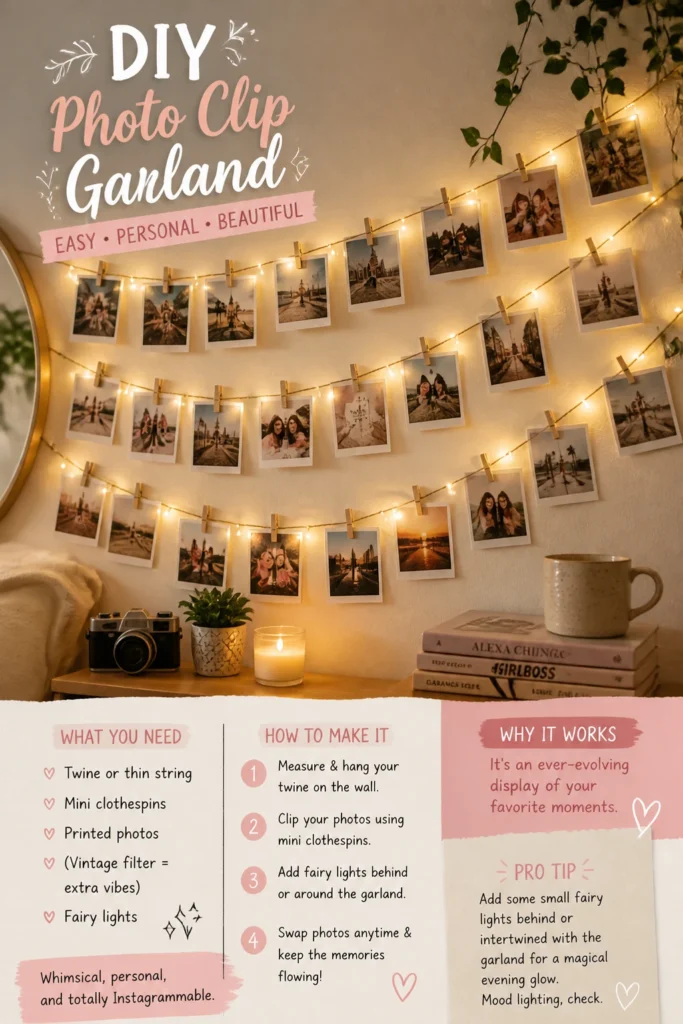
Hang the twine across your wall, then clip your photos to it. You can easily swap out pictures for new memories or seasonal vibes.
Pro Tip: Add some small fairy lights behind or intertwined with the garland for a magical evening glow. Mood lighting, check.
6. Painted Mirror Frame Revamp
- Best For: Anyone with an outdated mirror needing a facelift.
- Vibe: From drab to fab, whatever your heart desires.
- Why it works: It transforms a functional item into a statement piece.
Find an old mirror with a boring or chipped frame. Clean it thoroughly and lightly sand if necessary.
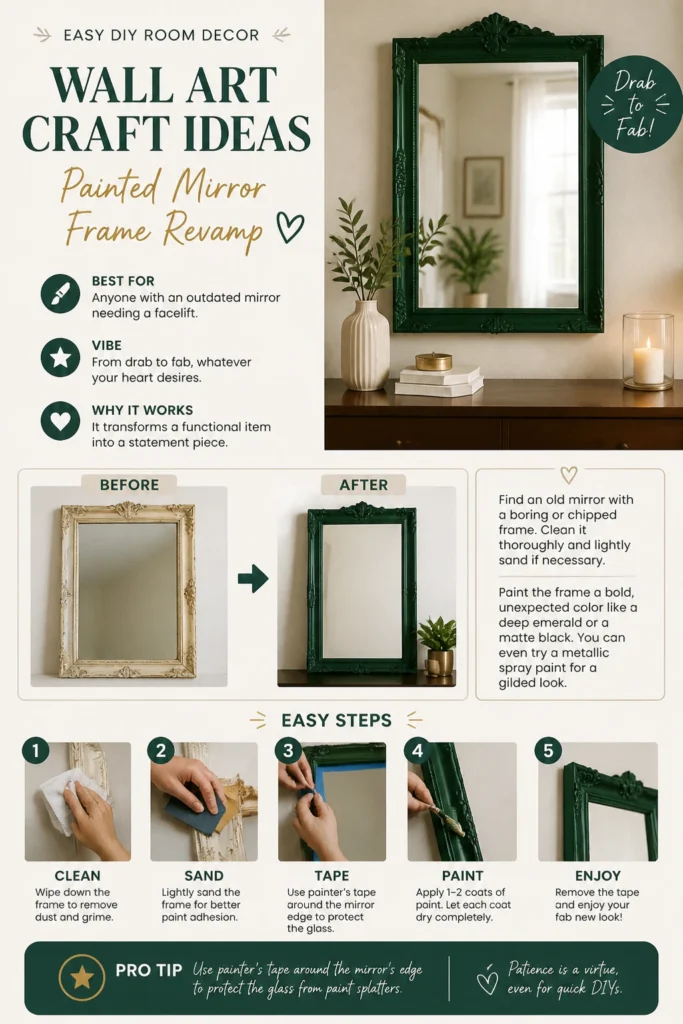
Paint the frame a bold, unexpected color like a deep emerald or a matte black. You can even try a metallic spray paint for a gilded look.
Pro Tip: Use painter’s tape around the mirror’s edge to protect the glass from paint splatters. Patience is a virtue, even for quick DIYs.
7. Fabric Swatch Art Panels
- Best For: Textile lovers and pattern enthusiasts.
- Vibe: Bohemian, global, or perfectly coordinated.
- Why it works: It adds softness, texture, and visual interest without being flat.
Collect interesting fabric scraps, old scarves, or even cool tea towels. You want a mix of patterns and textures.
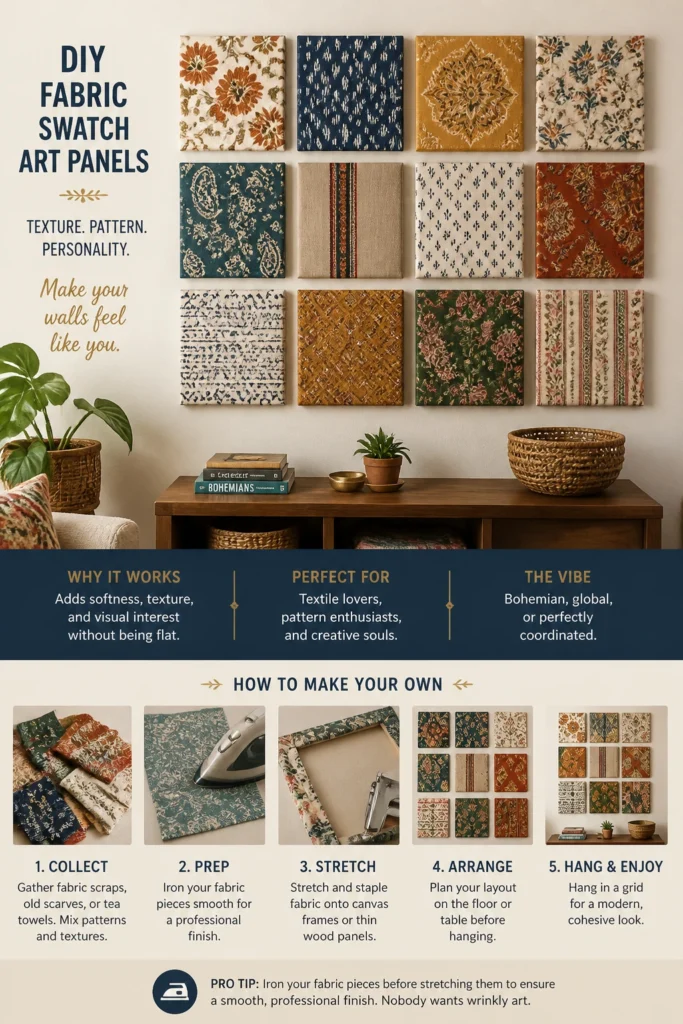
Stretch and staple these fabrics onto small canvas frames or thin pieces of wood. Arrange them in a grid on your wall for a modern, cohesive look.
Pro Tip: Iron your fabric pieces before stretching them to ensure a smooth, professional finish. Nobody wants wrinkly art.
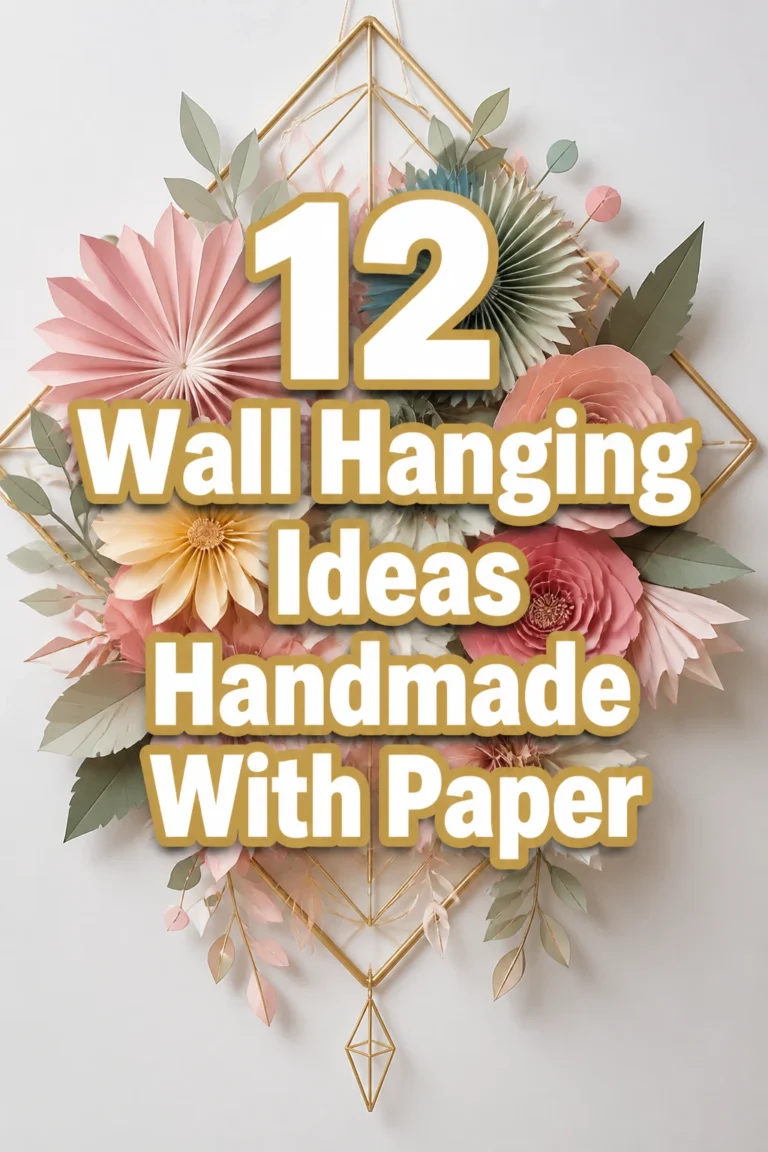
8. Geometric Paper Cutout Display
- Best For: Budget-conscious decorators with a steady hand.
- Vibe: Modern, crisp, and surprisingly sophisticated.
- Why it works: It creates impressive visual depth with super cheap materials.
Grab some sturdy cardstock in a few complementary colors. Draw or print out geometric shapes like triangles, hexagons, or abstract lines.
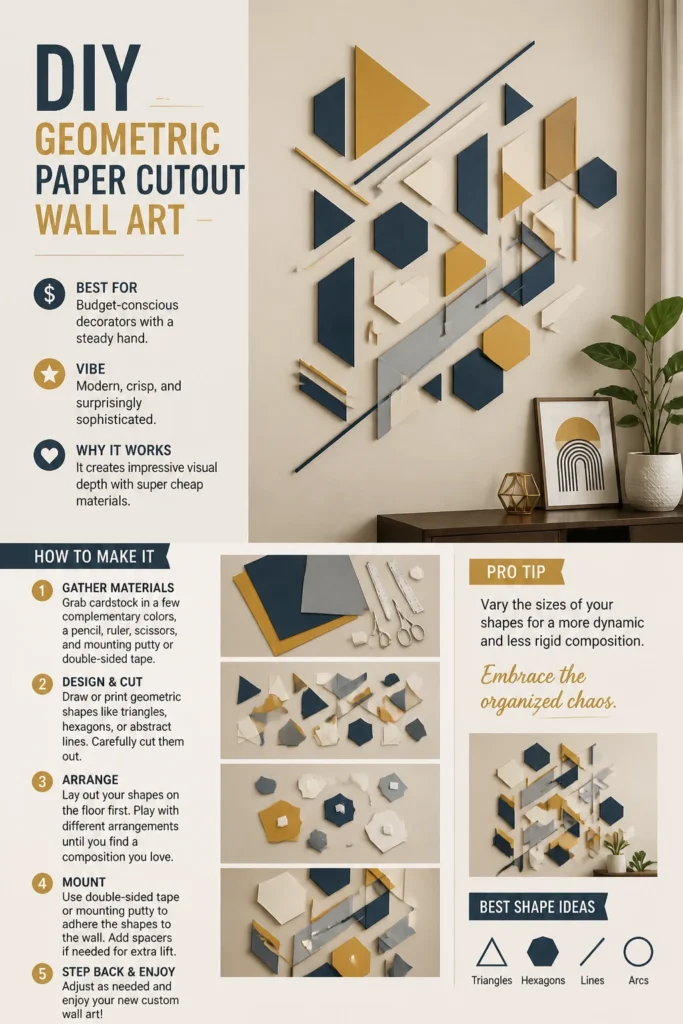
Carefully cut them out and arrange them on your wall. Use double-sided tape or mounting putty to give them a slight lift off the wall for a 3D effect.
Pro Tip: Vary the sizes of your shapes for a more dynamic and less rigid composition. Embrace the organized chaos.
9. Vinyl Decal Statement Wall
- Best For: Renters or commitment-phobes.
- Vibe: Bold, graphic, and easily changeable.
- Why it works: It delivers a huge visual impact without permanence or paint.
Choose a cool vinyl decal design, from abstract patterns to inspirational quotes. Many online shops offer affordable options.
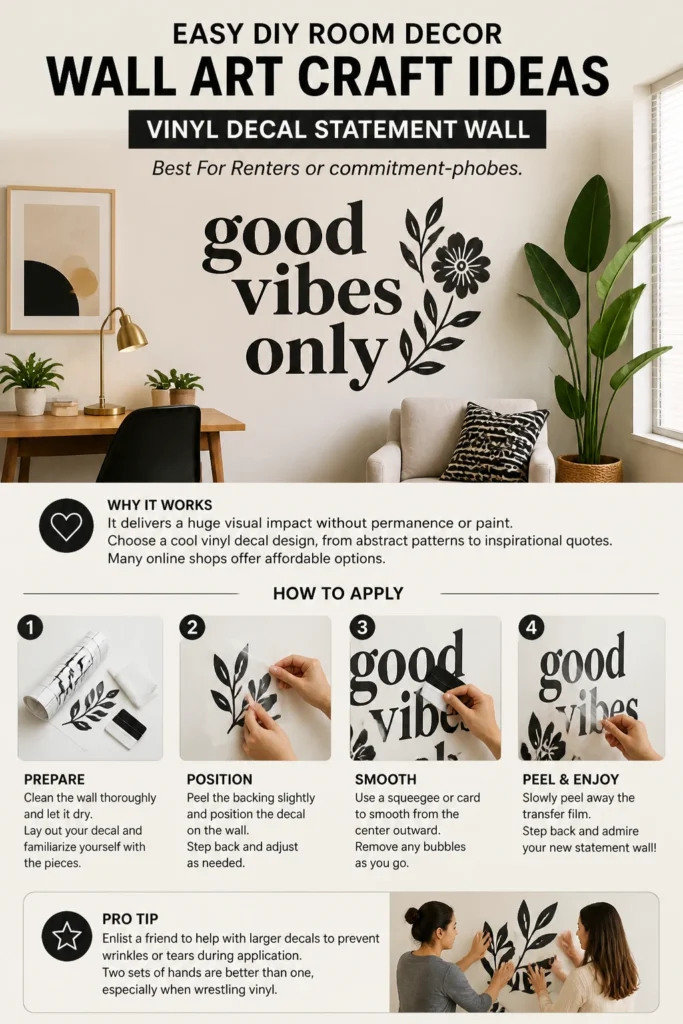
Carefully apply it to a clean, smooth wall. This is basically a giant sticker, so take your time to smooth out bubbles.
Pro Tip: Enlist a friend to help with larger decals to prevent wrinkles or tears during application. Two sets of hands are better than one, especially when wrestling vinyl.
10. Upcycled Magazine Collage
- Best For: Creative minds with a stack of old magazines.
- Vibe: Pop art, retro, or completely abstract.
- Why it works: It’s a fantastic way to personalize your space using readily available materials.
Flip through old magazines, books, or even calendars for interesting images, textures, and colors. Cut out anything that catches your eye.
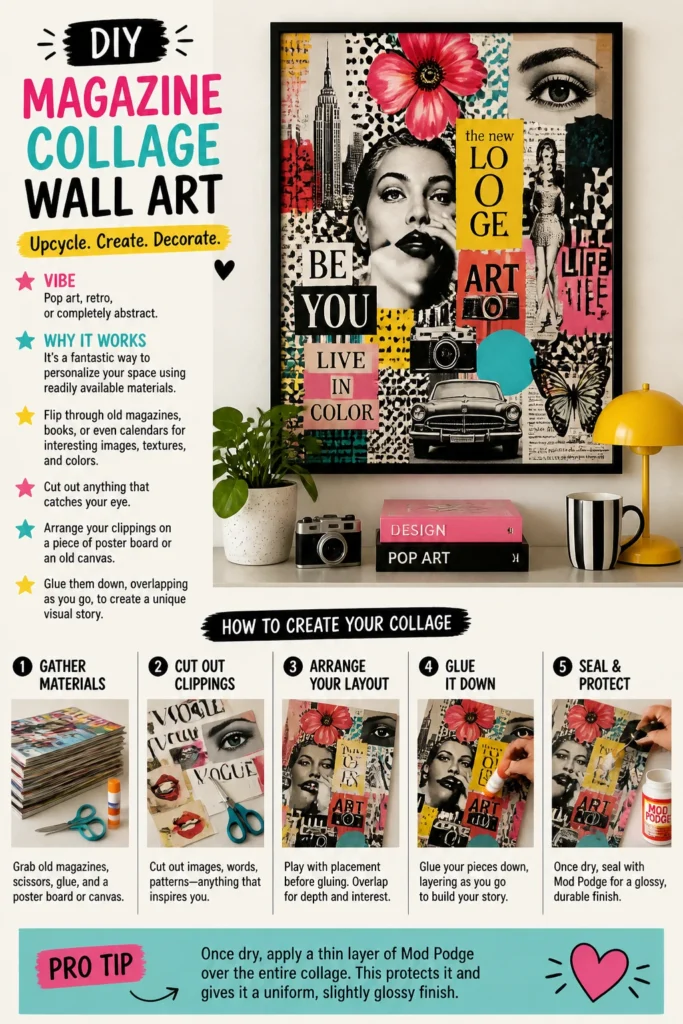
Arrange your clippings on a piece of poster board or an old canvas. Glue them down, overlapping as you go, to create a unique visual story.
Pro Tip: Once dry, apply a thin layer of Mod Podge over the entire collage. This protects it and gives it a uniform, slightly glossy finish.
Our Top Recommended Finds
- A good quality craft knife set: Precision is key for many of these projects, and a sharp blade makes all the difference.
- Assorted painter’s tape: Essential for sharp lines and protecting surfaces, plus it’s reusable for multiple projects.
- Mod Podge Matte Finish: Your best friend for collages, sealing art, and general craft wizardry; it dries clear and protects your hard work.
Which of these will you try first?
See? No need to break the bank or hire an interior designer. Your walls are literally begging for some personality, and you’ve got this.
So, which easy DIY room decor wall art craft idea are you tackling this weekend? Let us know in the comments.