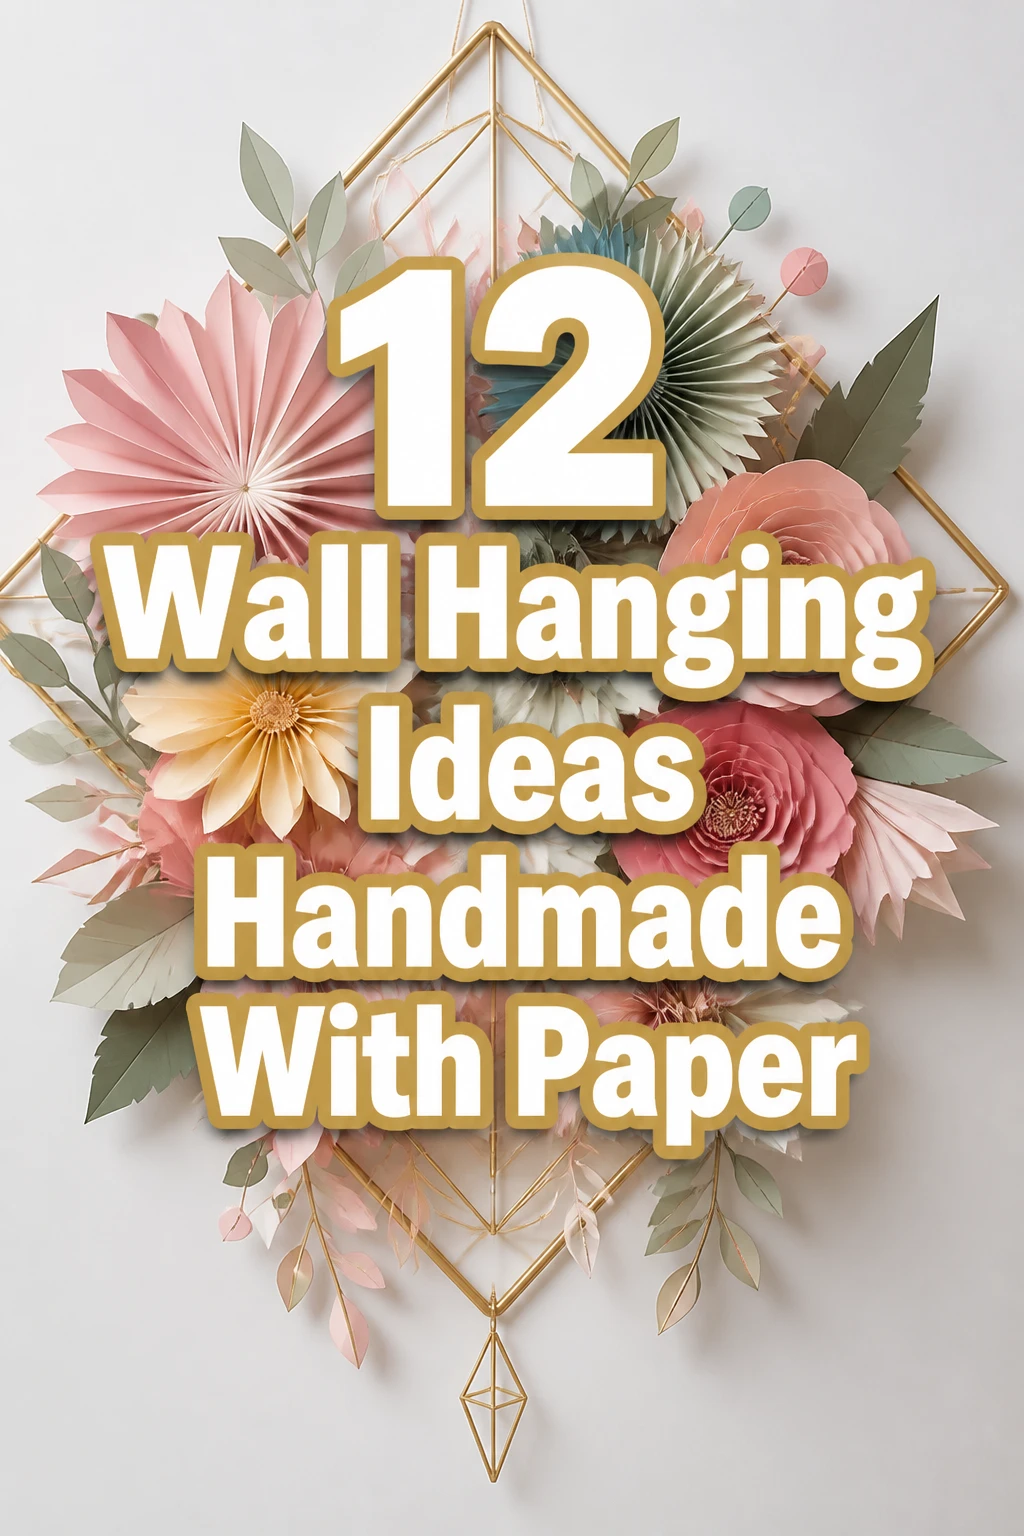
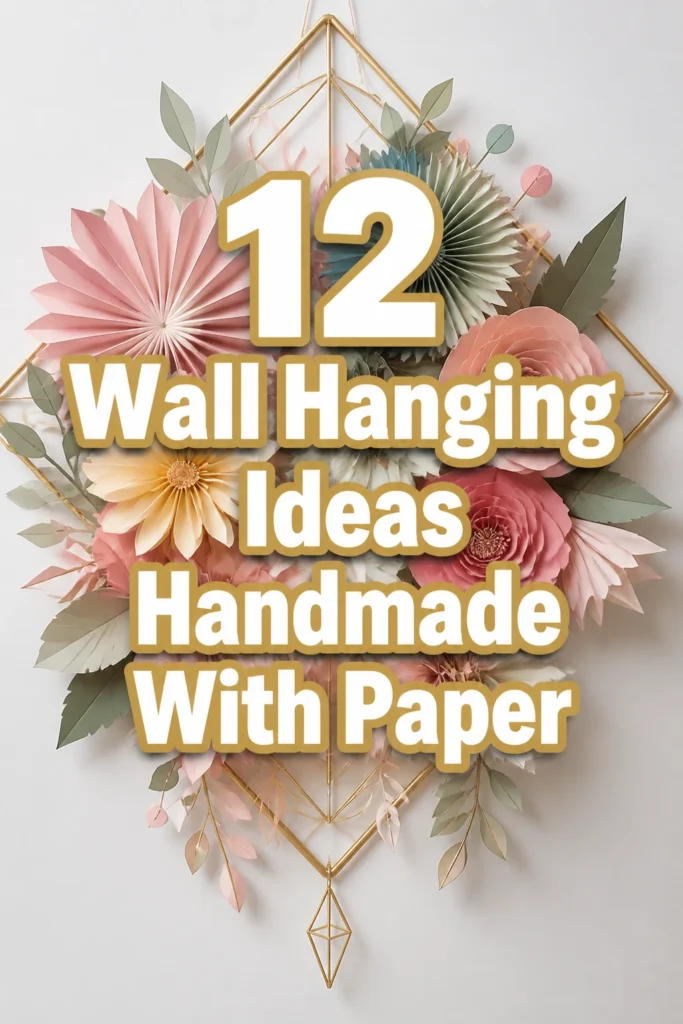
12 Wall Hanging Ideas Handmade With Paper
Okay, real talk. Is your apartment giving off major “I just moved in and haven’t decorated” vibes?
Or maybe your budget is screaming “no fancy art allowed” but your heart wants something, well, more.
Good news, buttercup. We’re about to dive into some seriously chic wall hanging ideas, all handmade with paper. Your wallet (and your walls) can thank me later.
1. Geometric Paper Mobiles
- Best For: Nurseries, minimalist living spaces, anyone who appreciates a little modern whimsy.
- Vibe: Airy, contemporary, a touch playful.
- Why it works: Adds visual interest and movement without overwhelming the space.
Forget those chintzy plastic mobiles. Think sleek shapes like icosahedrons or simple triangles, cut from sturdy cardstock in shades of dusty rose, charcoal, and cream.
Thread them onto fishing line or thin wire, varying the lengths for an asymmetrical dangle. It’s basically art that floats, and who doesn’t love that?
Pro Tip: Use a cutting machine if you have one for super crisp edges. Otherwise, a sharp craft knife and a steady hand are your best friends.
2. Rolled Paper Art Panels
- Best For: Gallery walls, adding texture, or filling awkward vertical spaces.
- Vibe: Organic, textured, surprisingly sophisticated.
- Why it works: Creates depth and shadow play with simple materials.
Grab a stack of old magazines or colored construction paper. Roll individual strips tightly, securing the ends with a dab of glue, then arrange them on a canvas or piece of thick cardboard.
You can create intricate patterns or just a beautiful, undulating field of color. Imagine a gradient from deep indigo to sky blue; seriously stunning for less than ten bucks.
Pro Tip: Vary the tightness and size of your rolls for even more textural intrigue. Some loose, some tight, all good.
3. Paper Flower Garlands
- Best For: Bohemian bedrooms, festive party backdrops, or a permanent dose of spring cheer.
- Vibe: Romantic, whimsical, undeniably charming.
- Why it works: Brings a soft, natural element indoors without the upkeep of real flowers.
Think big, blousy peonies or delicate cherry blossoms crafted from tissue paper or crepe paper. You can even use recycled book pages for a vintage feel.
String them along a thin twine or ribbon and drape them across a mirror or above your bed. It’s like having a perpetual garden party, minus the tiny hats.
Pro Tip: Mix different sizes and styles of flowers for a more dynamic and less uniform look. Imperfection is charm here.
4. Origami Cranes Cascade
- Best For: Zen spaces, quiet corners, or a thoughtful gift for someone special.
- Vibe: Serene, symbolic, beautifully intricate.
- Why it works: Each crane carries a wish, making it art with a story.
Fold a flock of paper cranes in varying sizes, perhaps using patterned Japanese origami paper or even just plain white for a minimalist effect.
Thread them onto clear fishing line or thin string, creating varying lengths, then hang them from a simple wooden dowel. It’s a beautiful, calming focal point that practically whispers “relax.”
Pro Tip: Practice your folds on scrap paper first. Trust me, nobody wants a wonky crane when peace is the goal.
5. Quilled Paper Mandalas
- Best For: Meditation spaces, office decor, or anyone who loves intricate detail.
- Vibe: Detailed, meditative, surprisingly elegant.
- Why it works: Transforms simple paper strips into complex, mesmerizing patterns.
Using a quilling tool, roll and shape thin strips of paper into various coils and curves. Arrange these tiny elements into a circular, symmetrical design.
Mount your finished mandala onto a contrasting piece of cardstock and frame it. Imagine one in deep jewel tones like emerald and sapphire, or soft pastels for a dreamy look.
Pro Tip: Invest in a good quilling kit. Those tiny tools make all the difference between frustration and pure crafting bliss.
6. Layered Paper Cut-Out Scenes
- Best For: Kids’ rooms, whimsical spaces, or creating a miniature world on your wall.
- Vibe: Storybook, imaginative, surprisingly deep.
- Why it works: Creates a sense of depth and narrative with overlapping paper.
Sketch out a simple landscape or city scene, then cut out different elements from colored paper. Think mountains, trees, clouds, or tiny buildings.
Layer them using foam adhesive dots to create a 3D effect, mounting the whole thing on a sturdy background. It’s like a tiny paper diorama for your wall, and way cooler than a flat poster.
Pro Tip: Use contrasting colors for your layers to really make each element pop. Light in front, dark behind, you get the idea.
7. Woven Paper Tapestry
- Best For: Adding warmth and texture to a modern space, or a creative take on traditional weaving.
- Vibe: Artisanal, textural, unexpectedly contemporary.
- Why it works: Mimics textile art using readily available and inexpensive materials.
Cut strips of paper in varying widths and colors. You can use old maps, sheet music, or just plain colored paper.
Weave them together on a simple loom made from cardboard or directly onto a grid drawn on a base sheet. Hang it from a slender wooden dowel. It’s a surprisingly chic way to use up paper scraps.
Pro Tip: Experiment with different weaving patterns. A simple over-under is a great start, but try skipping a few for a more open, organic look.
8. Paper Chain Photo Display
- Best For: Personalizing a space, displaying memories, or a dorm room glow-up.
- Vibe: Nostalgic, personal, utterly charming.
- Why it works: Combines beloved photos with a playful, handmade touch.
Remember making paper chains in kindergarten? Well, this is the grown-up, chic version. Cut strips of patterned paper or even old magazine pages.
Loop them into chains, and before you seal each link, slip in a small, printed photo or a tiny handwritten note. Hang multiple chains vertically for a waterfall of memories.
Pro Tip: Use double-sided tape for a cleaner finish on your paper chain links than traditional glue sticks. Less mess, more sparkle.
9. 3D Paper Sculpture Letters
- Best For: Personalized decor, spelling out names or inspiring words, or adding a sculptural element.
- Vibe: Bold, custom, surprisingly architectural.
- Why it works: Creates strong visual impact with a personalized message.
Choose a favorite word or initial. Cut out two identical letter shapes from heavy cardstock, then cut strips for the “sides” to give them depth.
Carefully glue the strips around the edges to form a hollow 3D letter. You can paint them, cover them in patterned paper, or leave them raw for an industrial vibe. Talk about making a statement.
Pro Tip: Use a ruler and a scoring tool for super straight folds on your side strips. This will make your letters look professionally crisp.
10. Fringed Paper Banners
- Best For: Party decor, temporary wall art, or adding a playful textural pop.
- Vibe: Festive, modern bohemian, undeniably fun.
- Why it works: Easy to customize colors and creates a soft, dynamic texture.
Take sheets of colorful tissue paper or crepe paper. Fold them in half lengthwise, then cut fine fringes along the open edge, leaving the fold intact.
Unfold and layer these fringed sheets, securing them to a string or wooden dowel. Imagine a banner in sunset hues or cool ocean blues. It’s instant party, even if the party is just you and your cat.
Pro Tip: Use a mix of paper types for interesting variations in texture. Tissue paper is delicate, while crepe paper has a lovely stretch.
11. Paper Leaf and Branch Mobile
- Best For: Bringing nature indoors, creating a calming atmosphere, or a touch of organic modernism.
- Vibe: Ethereal, natural, subtly sophisticated.
- Why it works: Offers a delicate, nature-inspired element that catches the light beautifully.
Gather some fallen twigs or a small branch. Cut out various leaf shapes from different shades of green, gold, or even metallic paper.
Attach the paper leaves to thin threads and tie them to the branch at varying lengths. Hang the entire piece from the ceiling. It’s like a permanent, low-maintenance autumn breeze for your living room.
Pro Tip: Gently curl the paper leaves around a pencil to give them a more natural, lifelike shape before hanging. Adds that extra touch.
12. Stamped Paper Collage Tiles
- Best For: Eclectic decor, personalized art, or using up small paper scraps and stamps.
- Vibe: Artisanal, eclectic, uniquely you.
- Why it works: Allows for endless customization and a truly one-of-a-kind art piece.
Cut small squares or rectangles from various papers – old book pages, kraft paper, colored cardstock. Use rubber stamps with different patterns or letters to decorate each tile.
Arrange these decorated tiles onto a larger piece of backing board in a grid pattern. You can leave small gaps between them or butt them right up against each other. It’s a mosaic of your own making.
Pro Tip: Before gluing, arrange all your tiles on the floor to get the perfect layout. This saves you from sticky mistakes and re-dos.
Our Top Recommended Finds
- Precision Craft Knife Set: Because nothing ruins a good paper project like ragged edges. This set will give you the clean cuts your masterpieces deserve.
- Assorted Cardstock Pack: You’ll need a sturdy foundation for most of these ideas. A good pack with various colors means fewer trips to the craft store, more crafting time.
- Clear Fishing Line: For those delicate mobiles and floating elements, this nearly invisible line makes your paper creations look like they’re magic.
Which of these will you try first?
See? Who needs a trust fund when you have paper and a little creativity?
Your walls are about to get a serious glow-up without breaking the bank. So, which of these brilliant, budget-friendly paper wall hanging ideas are you tackling this weekend?