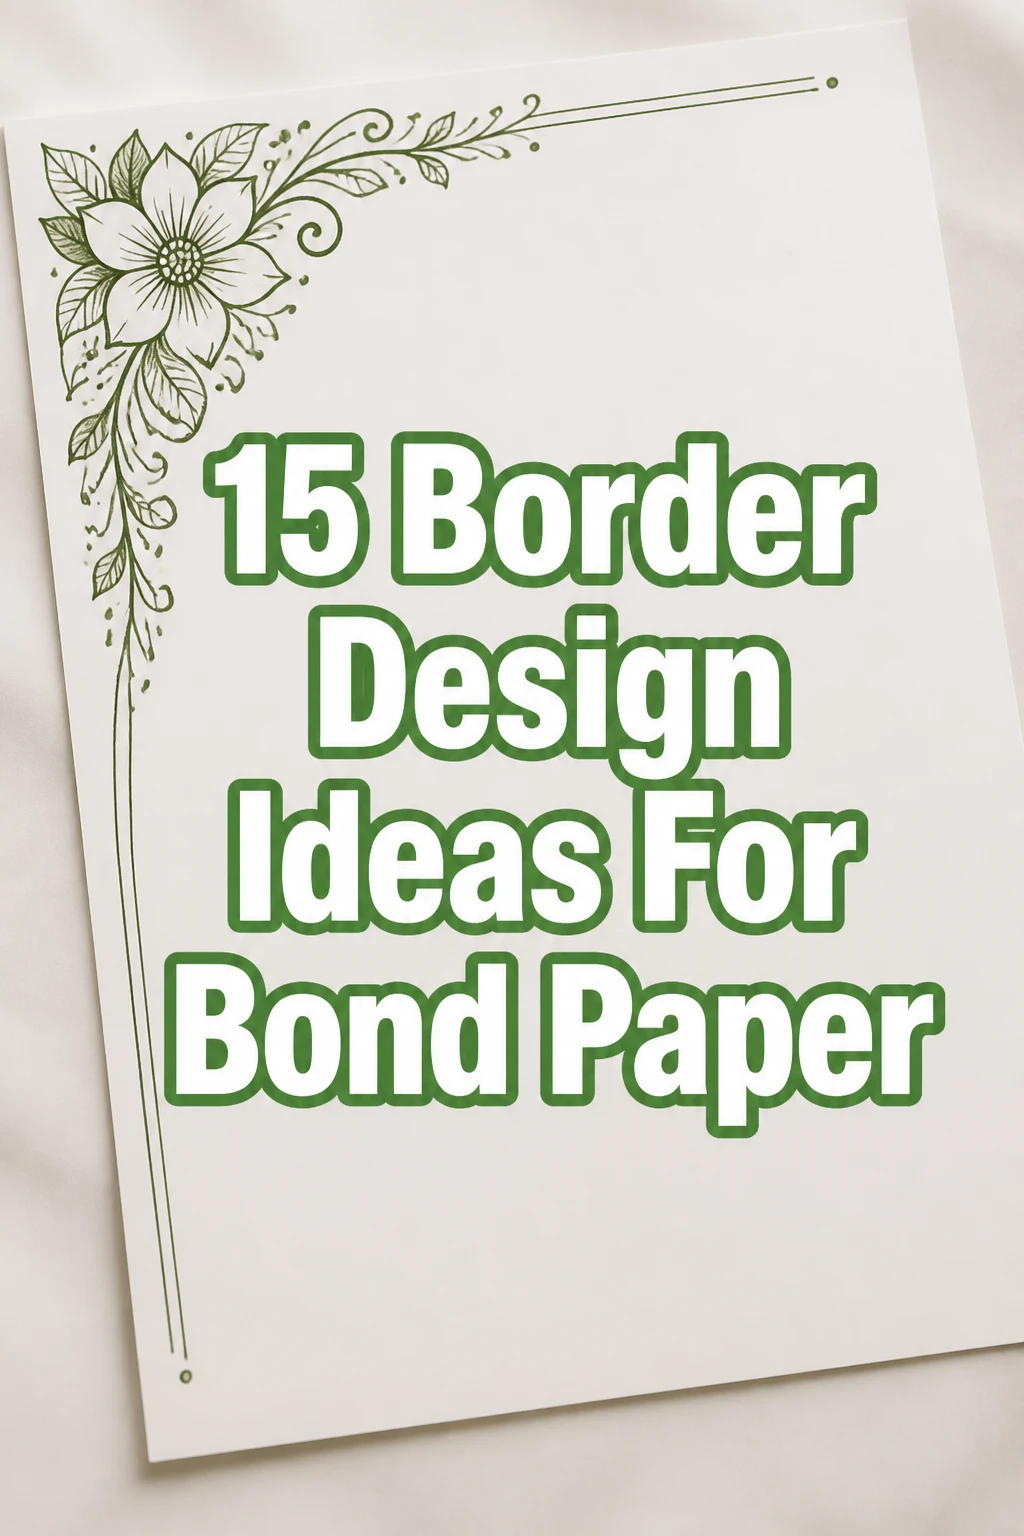
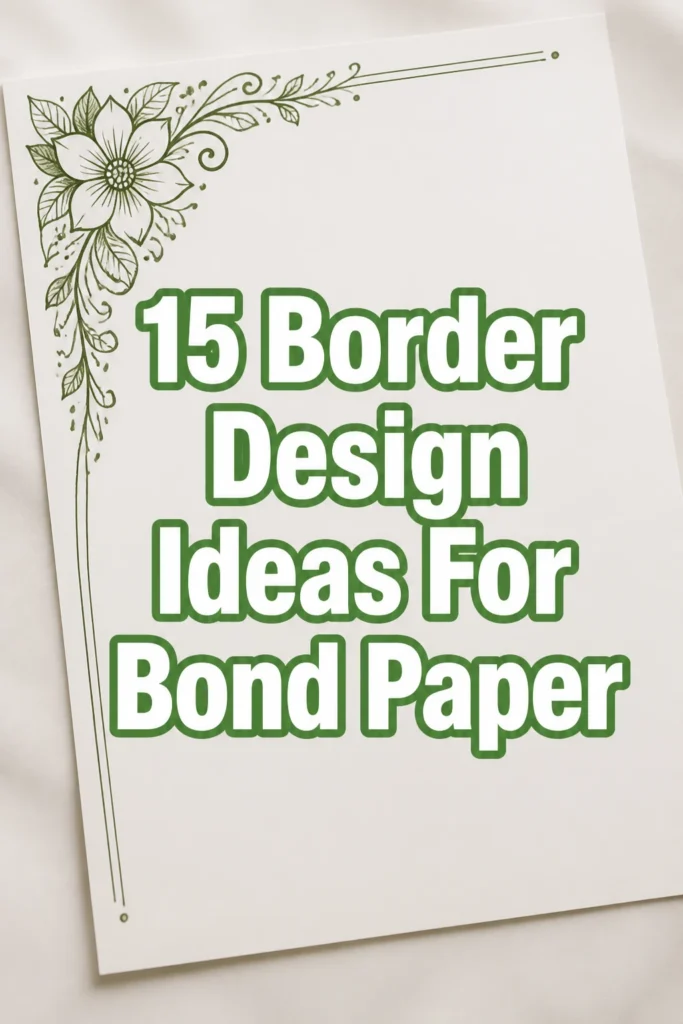
15 Border Design Ideas For Bond Paper
Ever stare at a blank sheet of bond paper feeling completely uninspired?
You’re not alone. That pristine white space can be intimidating, right?
But what if we told you it’s actually a blank canvas for some seriously cool borders? We’ve got 15 fresh ideas to jazz up your notes, letters, and doodles.
1. Minimalist Thin Line
- Best For: Professional notes, clean journaling, formal letters
- Vibe: Understated elegance, sleek, modern
- Why it works: It adds structure without overwhelming your content.
Grab a trusty fine-tip black pen, like a 0.3mm gel pen, and draw a single, continuous line about half an inch from the edge of your paper. Keep your hand steady, or use a ruler for ultimate precision. This look screams ‘I’m organized but also effortlessly chic’.
Pro Tip: Try a subtle grey pen for an even softer, almost invisible boundary.
2. Doodle Corner Accents
- Best For: Personal letters, creative brainstorming, sketchbooks
- Vibe: Whimsical, playful, handmade
- Why it works: It adds personality without needing a full border.
Focus your artistic energy on just the four corners of your paper. Think small, intricate doodles like tiny stars, leaves, or abstract swirls. Use a gel pen in a contrasting color, perhaps a vibrant blue or a soft pastel. It’s like giving your paper a little secret handshake.
Pro Tip: Stick to one theme for all four corners to maintain a cohesive, albeit playful, look.
3. Washi Tape Frame
- Best For: Quick projects, gift tags, planner pages
- Vibe: Fun, customizable, instantly decorative
- Why it works: It’s super easy and offers endless pattern possibilities.
This is probably the fastest way to add some flair. Pick your favorite washi tape—florals, geometrics, or even solid colors—and carefully apply it around the edges of your bond paper. Overlap the corners for a neat finish, or cut them at an angle for a mitered look. It’s like dressing up your paper in tiny, adorable outfits.
Pro Tip: Layer two different widths of washi tape for an extra dimension and visual interest.
4. Geometric Shapes Border
- Best For: Design concepts, mood boards, modern invitations
- Vibe: Structured, contemporary, bold
- Why it works: It creates a strong visual statement with clean lines.
Arm yourself with a ruler and a set of colored pens or fine-tip markers. Draw repeating geometric shapes—squares, triangles, or hexagons—along the perimeter. You can fill them in with solid colors, hatch patterns, or leave them as outlines. This border means business, but the cool kind of business.
Pro Tip: Use a light pencil first to map out your shapes, then go over them with ink for crisp, professional results.
5. Floral Sprig Edges
- Best For: Thank you notes, recipes, spring-themed crafts
- Vibe: Delicate, natural, charming
- Why it works: It brings a touch of organic beauty to your page.
Imagine tiny branches with leaves or simple flowers gently creeping along the paper’s edge. Use brush pens in varying shades of green and a pop of color for the blossoms. You don’t need to be an artist; simple shapes work wonders here. It’s like your paper is whispering sweet nothings about nature.
Pro Tip: Vary the size and direction of your leaves for a more natural, less uniform appearance.
6. Faux Stitched Border
- Best For: Scrapbooking elements, handmade cards, craft projects
- Vibe: Cozy, handmade, textured illusion
- Why it works: It adds a charming, tactile feel without any actual sewing.
This trick uses a fine-tip marker to mimic the look of hand stitching. Draw a series of small, evenly spaced dashes along your border, then add tiny ‘cross-stitches’ or ‘X’s over them. Experiment with different colors to simulate thread. It’s surprisingly effective and looks super cute.
Pro Tip: Use a ruler to ensure your initial dashes are perfectly straight and evenly spaced for a truly convincing stitched effect.
7. Scalloped Edge
- Best For: Children’s crafts, party invitations, whimsical notes
- Vibe: Playful, soft, retro charm
- Why it works: It instantly softens the harshness of a straight edge.
You can achieve this with a scalloped-edge craft punch if you’re feeling fancy, or simply freehand it. Draw a series of connected half-circles along the border of your paper with a pen. Or, if you’re brave, carefully cut the edge with scissors. It’s like giving your paper a frilly little skirt.
Pro Tip: For perfect scallops, trace a small coin or a bottle cap along the edge, then connect the curves.
8. Coffee Stain Chic
- Best For: Vintage-themed projects, rustic journals, treasure maps
- Vibe: Aged, rustic, earthy
- Why it works: It gives an instant antique, worn-in feel.
Yes, really. Dip a cotton swab or a small brush into cooled, strong coffee and dab it gently along the edges of your bond paper. Let it dry completely for that perfectly imperfect, sepia-toned stain. It’s wonderfully messy and makes your paper look like it has stories to tell.
Pro Tip: For darker, more pronounced stains, use instant coffee dissolved in minimal water and let it sit for a few minutes before blotting.
9. Ombre Gradient Border
- Best For: Artistic statements, presentation covers, unique stationery
- Vibe: Dreamy, sophisticated, artistic
- Why it works: It creates a smooth, eye-catching transition of color.
Choose three to four shades of a single color family, from light to dark. Using colored pencils or blending markers, apply the lightest shade along the outermost edge, then progressively darker shades inwards, blending them seamlessly. This border is a true showstopper. It takes a little patience, but the payoff is huge.
Pro Tip: Use a colorless blender marker or a soft tissue to help smooth out the transitions between colors for a professional finish.
10. Leafy Vine Trail
- Best For: Nature journals, poetry, garden party invitations
- Vibe: Lush, organic, serene
- Why it works: It brings a refreshing, natural element to the page.
Draw a winding vine around your paper’s perimeter using a dark green fine-liner. Then, add various simple leaf shapes sprouting from the vine with lighter green pens. You can even add tiny berries or flowers for extra charm. It’s like your paper is taking a leisurely stroll through a botanical garden.
Pro Tip: Vary the size and angle of the leaves to make the vine appear more dynamic and less like a repeating pattern.
11. Pixel Art Grid
- Best For: Gaming-themed notes, tech journals, retro designs
- Vibe: Retro, digital, structured fun
- Why it works: It’s a unique, nostalgic nod to early digital aesthetics.
Draw a faint grid along the border using a ruler and a light pencil. Then, fill in individual ‘pixels’ with different colored fine-liners to create a blocky, low-resolution pattern. Think old-school video game sprites or simple geometric designs. It’s surprisingly addictive and looks super cool.
Pro Tip: Plan your pixel pattern on a scrap piece of graph paper first to ensure your design translates well to the border.
12. Abstract Splatter Edge
- Best For: Art journaling, avant-garde invitations, creative projects
- Vibe: Energetic, spontaneous, artistic chaos
- Why it works: It adds an unpredictable, edgy burst of creativity.
Lay your paper on a protected surface. Load a small brush with diluted watercolor or ink, then gently tap or flick it to create random splatters along the edges. Use one or two complementary colors for impact. This border says ‘I’m a free spirit, and my creativity knows no bounds’.
Pro Tip: Mask off the center of your paper with scrap paper or painter’s tape to keep your splatters strictly to the border area.
13. Ribbon Bow Accents
- Best For: Gift announcements, special occasion notes, elegant stationery
- Vibe: Elegant, celebratory, refined
- Why it works: It adds a touch of classic sophistication without bulk.
Instead of a continuous border, draw delicate ribbon bows at each corner of your bond paper. Use a fine-tip pen to outline the bows and then a colored pencil or marker to fill them in with a soft shade like blush pink or pale gold. It’s like wrapping your words in a pretty package.
Pro Tip: Add a tiny shadow beneath the bows with a grey pencil to make them appear more three-dimensional and realistic.
14. Newspaper Clippings Collage
- Best For: Vision boards, unique journal entries, mixed media art
- Vibe: Eclectic, vintage, thought-provoking
- Why it works: It creates a textured, story-rich frame using repurposed materials.
Gather some interesting snippets from old newspapers or magazines—words, small images, textures. Tear or cut them into irregular shapes and glue them haphazardly around the border of your bond paper. Overlap them slightly for a layered effect. It’s a fantastic way to add instant character and conversation starters.
Pro Tip: Use a matte finish glue stick to avoid wrinkling the paper and ensure a smooth, flat collage.
15. Faux Calligraphy Swirls
- Best For: Decorative certificates, elegant invitations, special announcements
- Vibe: Ornate, luxurious, artistic flourish
- Why it works: It adds an impressive, intricate touch without needing actual calligraphy skills.
Use a brush pen or a fine-tip marker to draw elegant, flowing swirls and flourishes along the perimeter, especially focusing on the corners. Don’t worry about perfection; the beauty is in the organic flow. Practice a few basic swirl shapes on scrap paper first. It’s like giving your paper its own fancy signature.
Pro Tip: Keep your swirls relatively simple and consistent in style to avoid a cluttered or messy appearance.
Our Top Recommended Finds
- A quality set of fine-tip pens: Essential for precision and crisp lines in many of these designs.
- Assorted washi tapes: Offers endless patterns and colors for instant, peel-and-stick borders.
- A small craft ruler: Invaluable for achieving perfectly straight lines and geometric accuracy.
Which of these will you try first?
See, bond paper doesn’t have to be boring. With a little creativity and the right tools, you can transform it into something truly special.
Go on, give your stationery the glow-up it deserves. We can’t wait to see what you create.