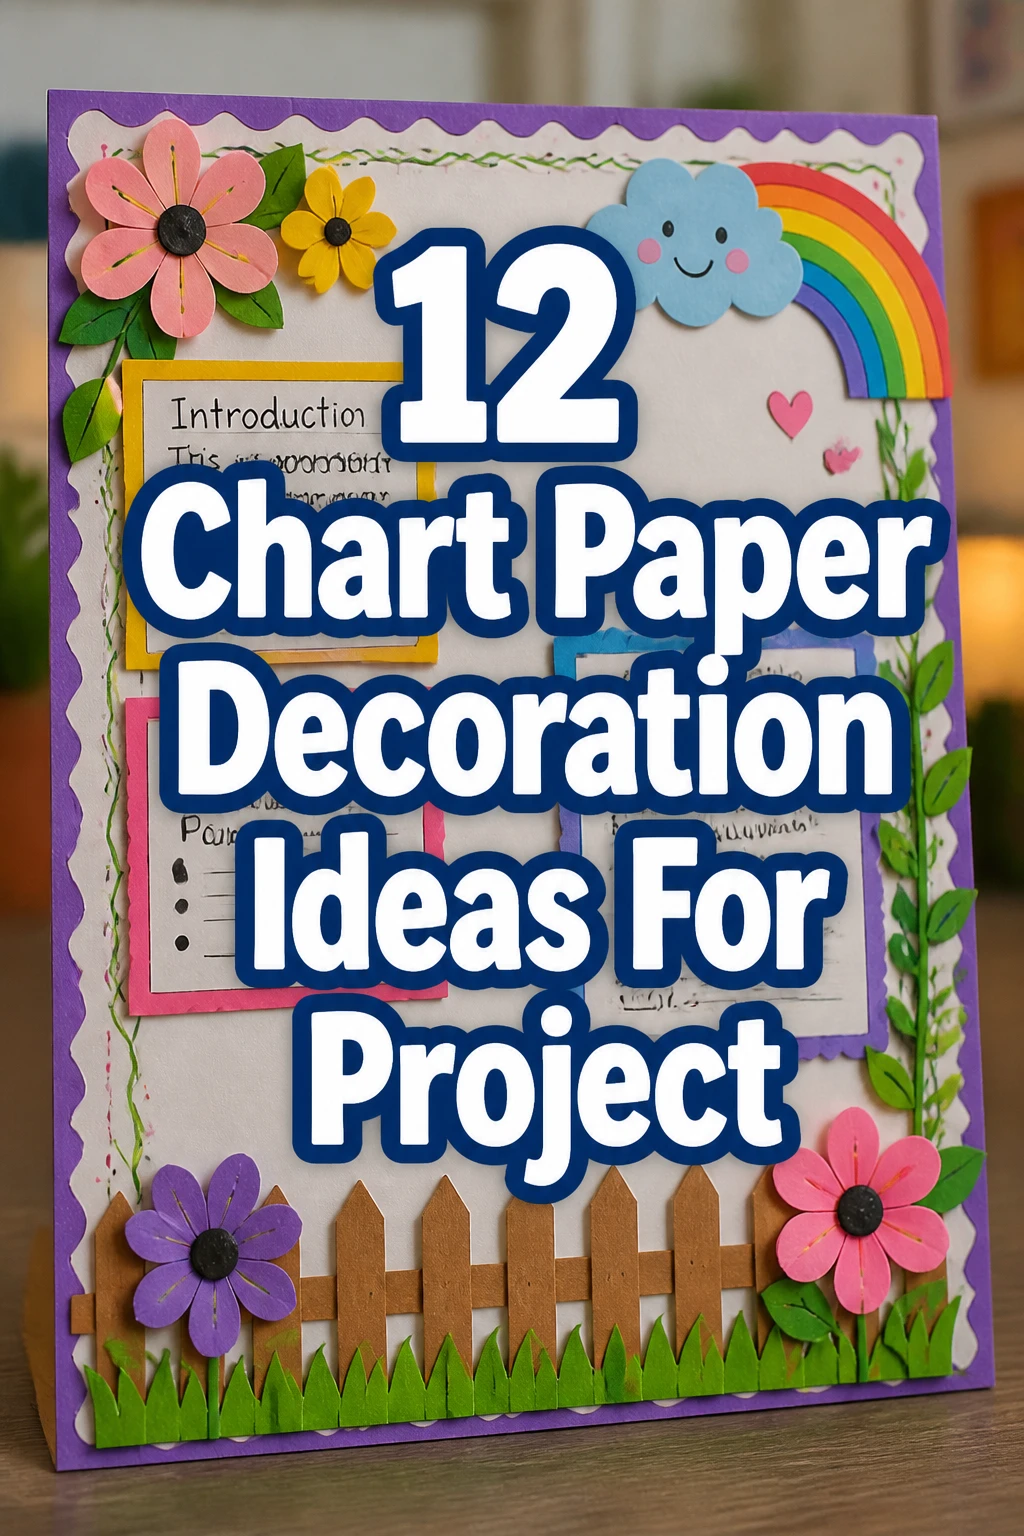
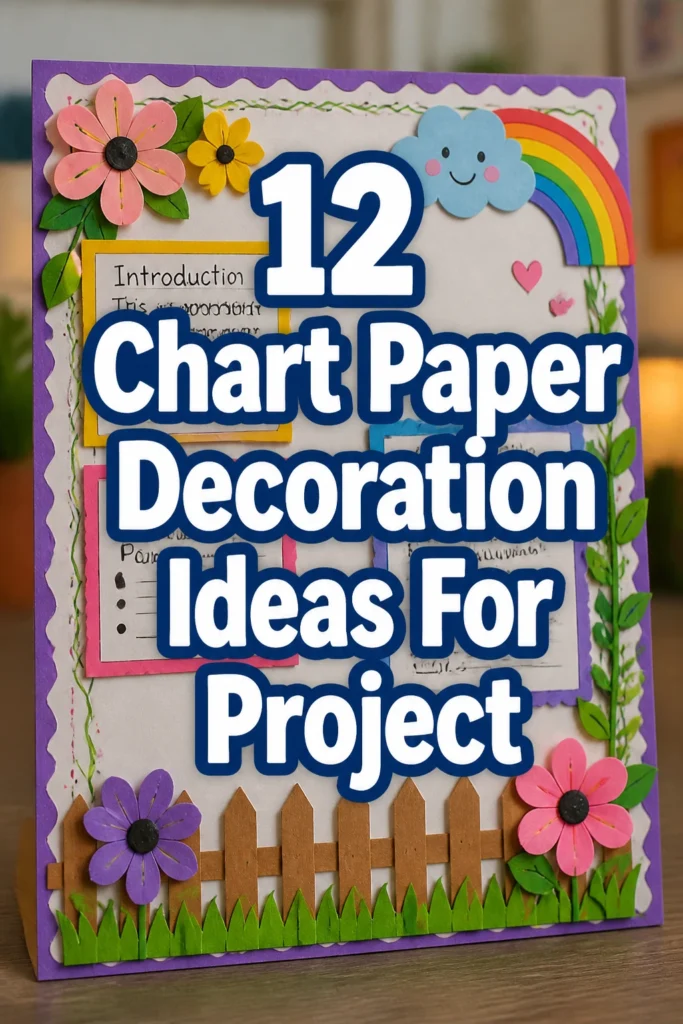
12 Chart Paper Decoration Ideas For Project
Staring at that blank sheet of chart paper, feeling the dread creep in for your next big project presentation?
Yeah, we’ve all been there, wondering how to make it pop without, you know, just drawing a sad stick figure.
Luckily, I’ve got a dozen super chic, totally doable chart paper decoration ideas that will make your project stand out.
1. The Minimalist Grid
- Best For: Science fairs, data presentations, architectural models.
- Vibe: Clean, modern, sophisticated.
- Why it works: It provides structure without overwhelming the content.
Forget busy backgrounds. Use thin, contrasting washi tape or a fine-tip black marker to create a subtle grid. This elevates your project, making complex information look super organized and effortlessly cool.
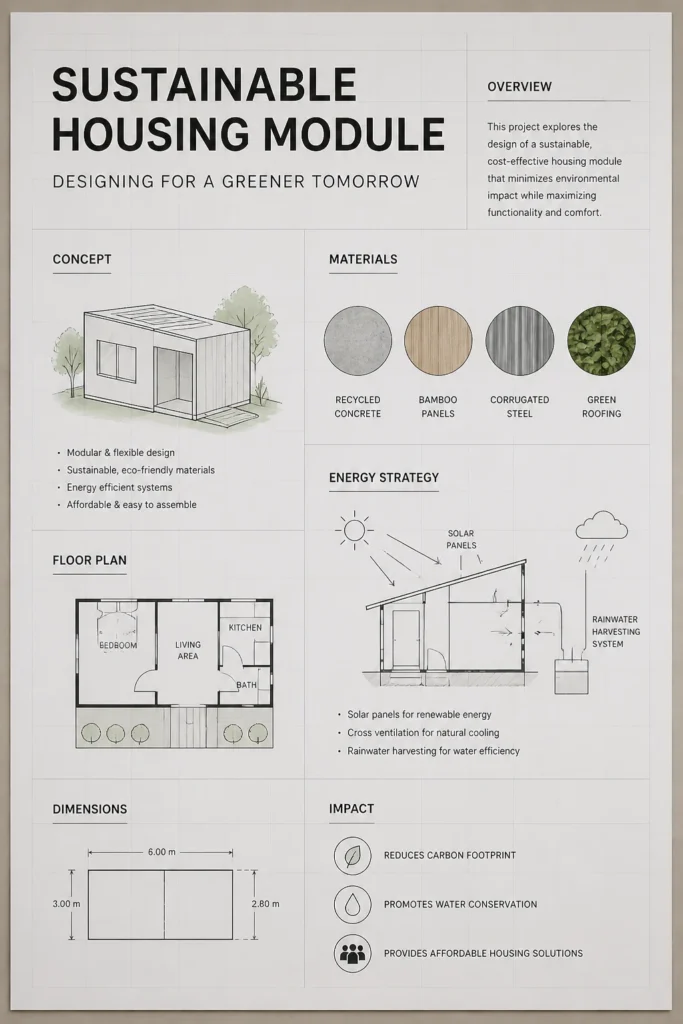
Think white chart paper with a light grey grid, very gallery-esque. It’s a classic for a reason.
Pro Tip: Keep content within the grid lines for maximum impact; it’s all about precision.
2. Abstract Geometric Patterns
- Best For: Art projects, fashion mood boards, creative writing displays.
- Vibe: Artsy, dynamic, expressive.
- Why it works: It adds visual interest and a unique flair without being too literal.
Grab some brightly colored construction paper scraps or even old magazine pages. Cut out various triangles, circles, and squares, then arrange them in an overlapping, abstract design around your main text.
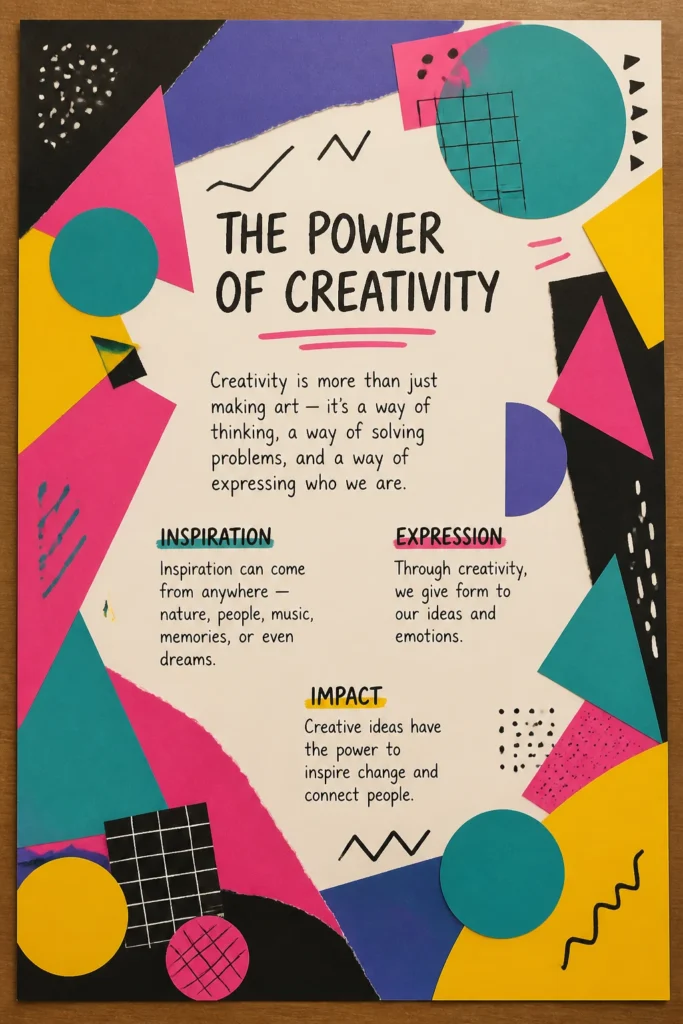
Use a glue stick for a smooth finish. Imagine a neon pink triangle peeking from behind a teal circle; instant vibe upgrade.
Pro Tip: Stick to a limited color palette (2-3 main colors) to keep it cohesive and not chaotic.
3. The “Pop-Out” 3D Effect
- Best For: Storytelling projects, historical timelines, product showcases.
- Vibe: Playful, interactive, attention-grabbing.
- Why it works: It literally makes elements jump off the page, adding depth.
Print or draw key images and mount them on small pieces of cardboard or foam board before attaching them to your chart paper. This creates a cool 3D effect.
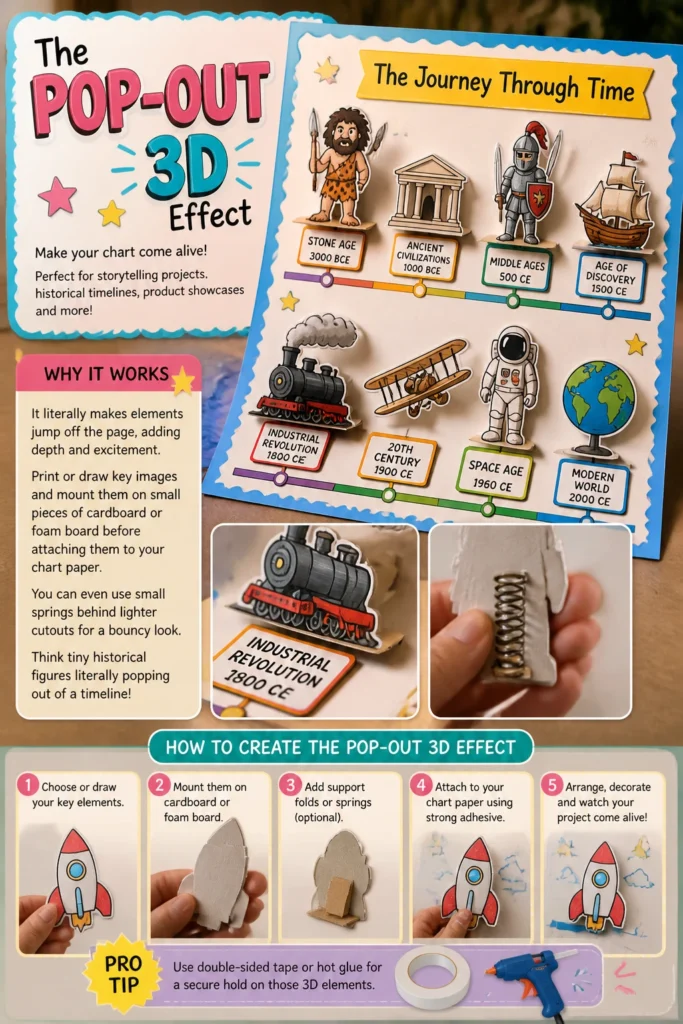
You can even use small springs behind lighter cutouts for a bouncy look. Think tiny historical figures literally popping out of a timeline.
Pro Tip: Use double-sided tape or hot glue for a secure hold on those 3D elements.
4. Ombre Gradient Background
- Best For: Environmental science, wellness projects, artistic displays.
- Vibe: Serene, sophisticated, visually appealing.
- Why it works: It creates a smooth, eye-catching transition of color.
This one looks fancy but is surprisingly simple. Pick two related colors, like sky blue and deep navy, or sunshine yellow and fiery orange.
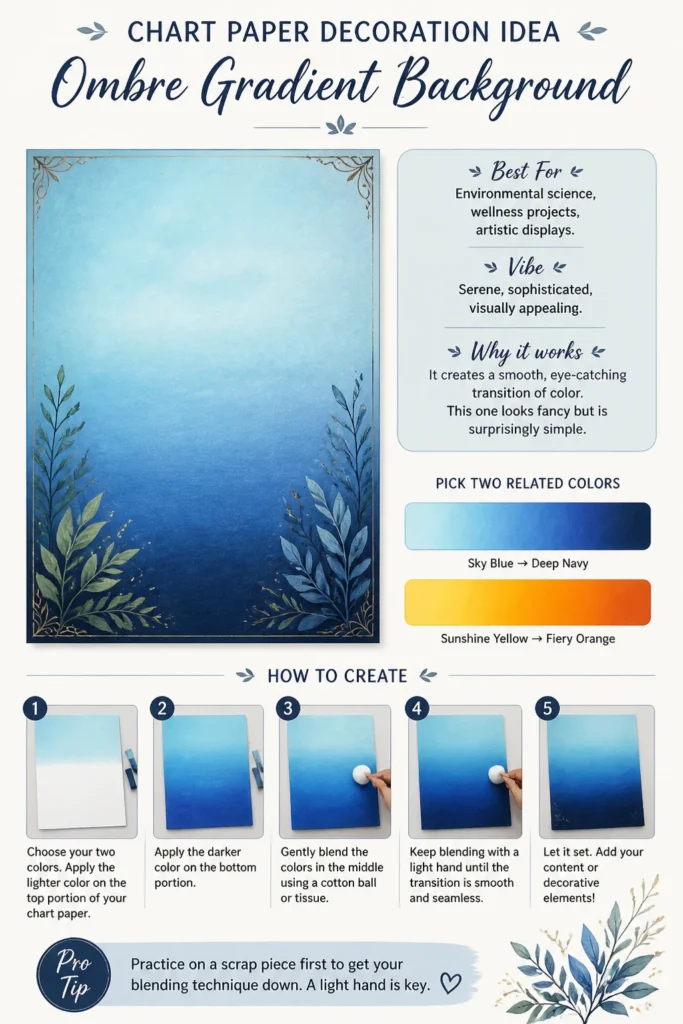
Using chalk pastels or soft watercolors, blend them from light to dark across your chart paper. Blend gently with a cotton ball for a seamless transition.
Pro Tip: Practice on a scrap piece first to get your blending technique down. A light hand is key.
5. “Newspaper” Headline Focus
- Best For: Current events, historical reports, persuasive essays.
- Vibe: Authoritative, impactful, retro-cool.
- Why it works: It immediately draws attention to key information like a breaking news story.
Design your main title and subheadings to mimic a bold newspaper headline using a thick black marker or printed block letters. You can even add a faux “dateline” with the project date.
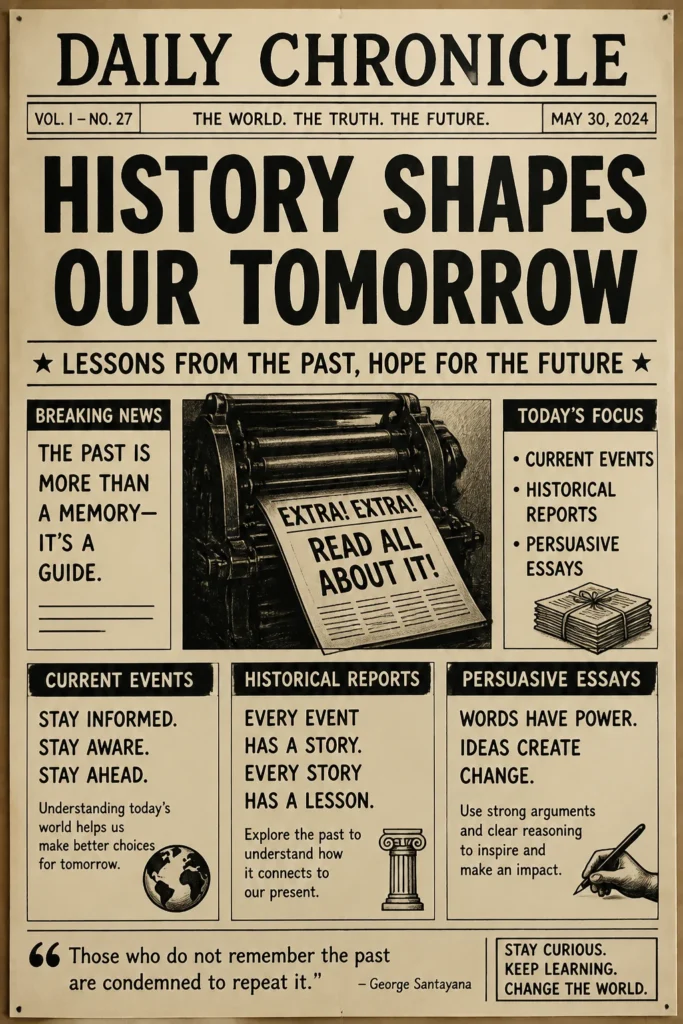
Consider a slightly off-white or beige chart paper for that vintage newspaper feel. It gives off serious “extra, extra, read all about it” vibes.
Pro Tip: Keep the actual text clear and concise; the headline does most of the heavy lifting.
6. Botanical Accents
- Best For: Biology projects, nature studies, healthy living guides.
- Vibe: Fresh, organic, calming.
- Why it works: It brings a touch of nature and life to your presentation.
Use pressed dried leaves or small, flat fake flowers glued around the edges or as dividers. If real botanicals aren’t an option, draw simple leaf motifs with a green marker.
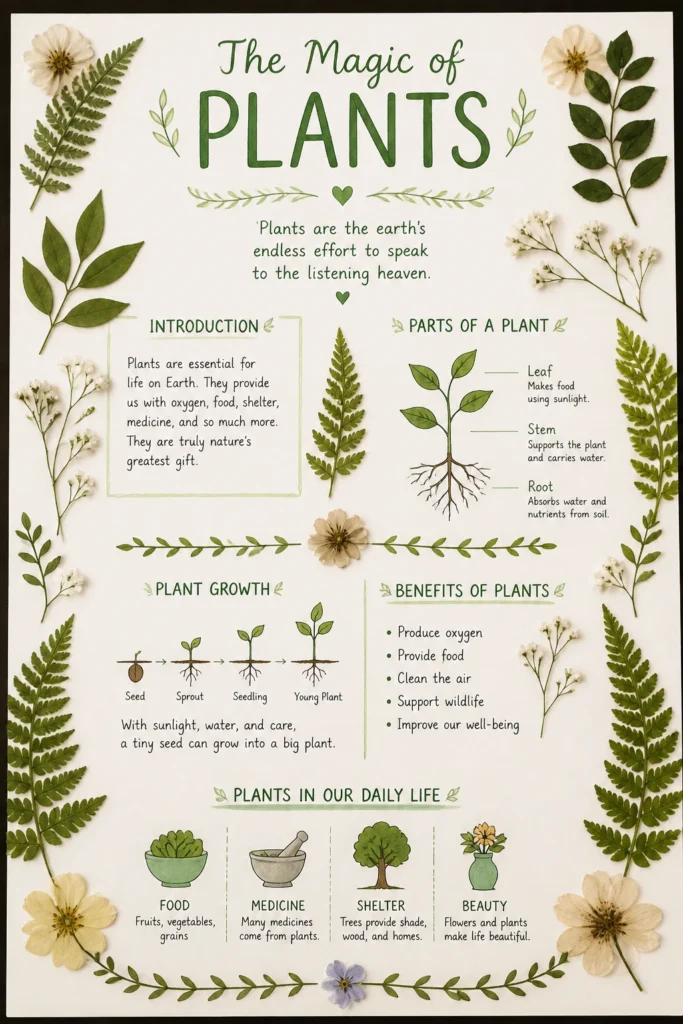
Imagine delicate fern fronds framing your data on plant growth. It’s a pretty way to connect with your topic.
Pro Tip: Use a strong, clear-drying craft glue for real botanicals to ensure they stay put.
7. Interactive Flaps and Pockets
- Best For: Educational presentations, “choose your own adventure” stories, quizzes.
- Vibe: Engaging, surprising, hands-on.
- Why it works: It encourages participation and reveals information gradually.
Cut out small “doors” or “windows” in your chart paper that open to reveal hidden text or images underneath. You can also create small paper pockets to hold index cards with extra facts or questions.
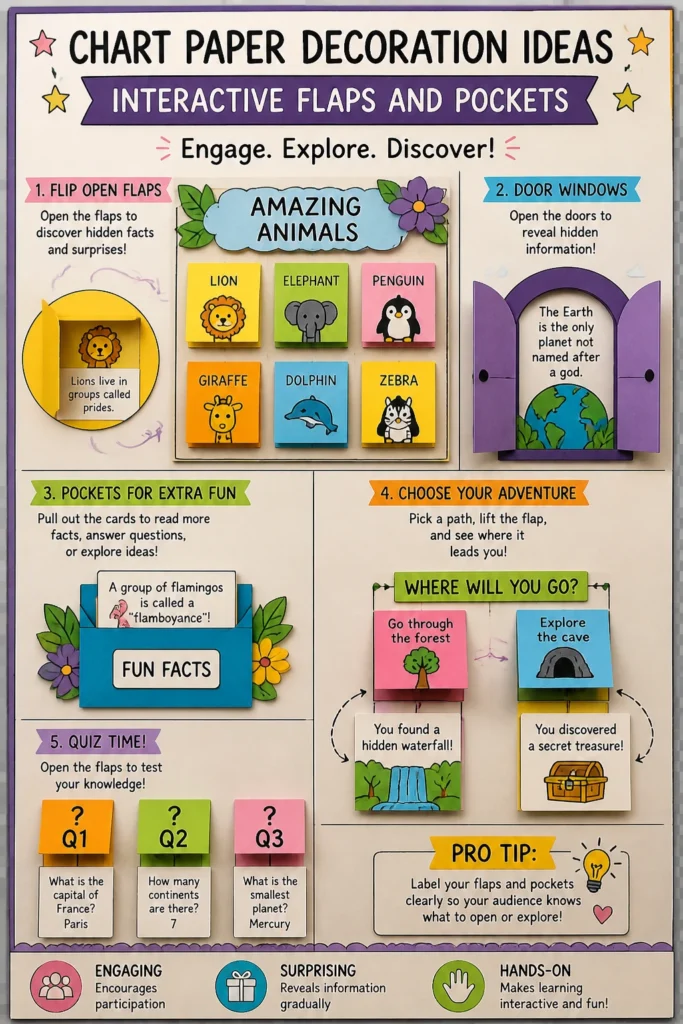
Use a craft knife carefully for clean cuts. This makes your audience actually do something, which is a total win.
Pro Tip: Label the flaps clearly so people know what to open or explore.
8. “Stitched” Border Detail
- Best For: Textile design projects, cultural studies, personal narratives.
- Vibe: Handmade, crafty, cozy.
- Why it works: It adds a unique, tactile texture and a touch of warmth.
Use a hole punch to create small holes along the border of your chart paper, then thread through colorful yarn or embroidery floss. You don’t need to be a sewing pro; simple running stitches look great.
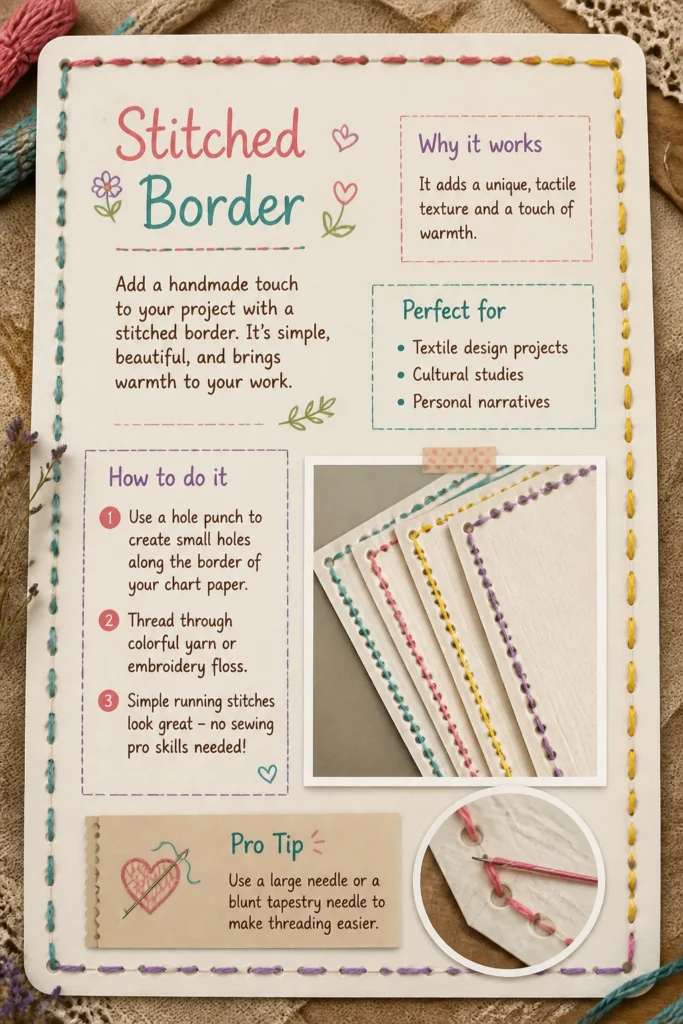
This adds a charming, homespun feel to any project. It’s surprisingly effective at making things feel more personal.
Pro Tip: Use a large needle or a blunt tapestry needle to make threading easier.
9. Vibrant Color Blocking
- Best For: Marketing presentations, design concepts, mood boards.
- Vibe: Bold, energetic, contemporary.
- Why it works: It creates distinct sections and makes information easy to digest.
Divide your chart paper into different sections using solid blocks of bright, contrasting colors from construction paper or painted areas. For example, a bright yellow section for “Key Findings” and a deep blue for “Conclusion.”
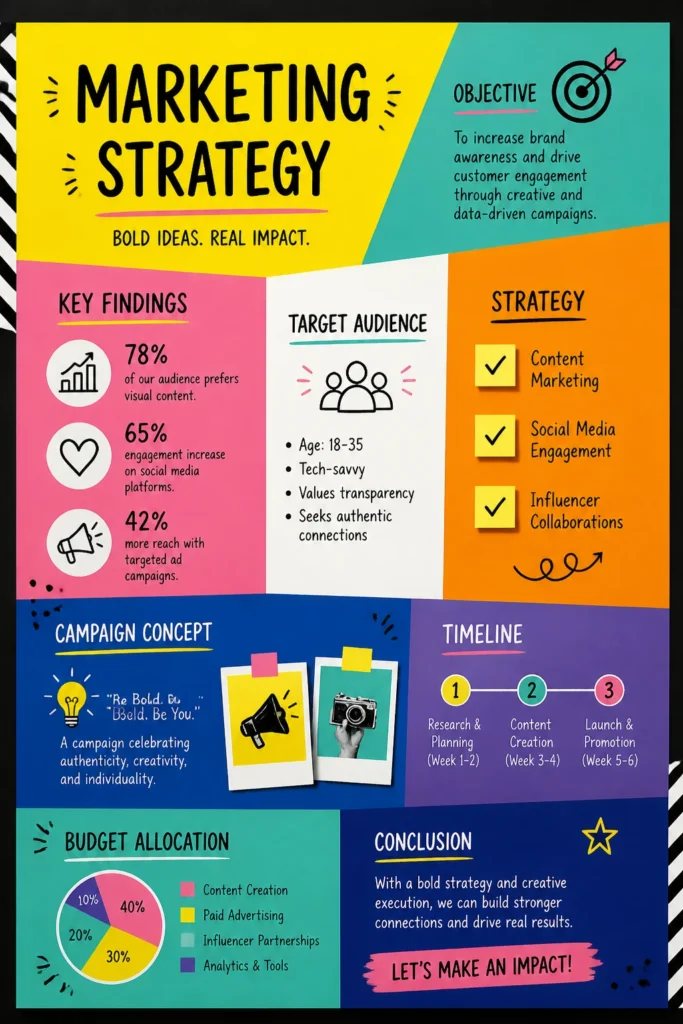
This makes your project visually punchy and organized. It’s like a visual roadmap for your brain.
Pro Tip: Use a ruler and pencil to lightly draw your sections before applying color for crisp lines.
10. Shadow Play Silhouettes
- Best For: Drama projects, historical events, abstract concepts.
- Vibe: Mysterious, artistic, dramatic.
- Why it works: It adds depth and intrigue with minimal effort.
Cut out silhouettes of relevant objects, figures, or even abstract shapes from black cardstock. Mount them slightly raised from the chart paper using small foam dots.
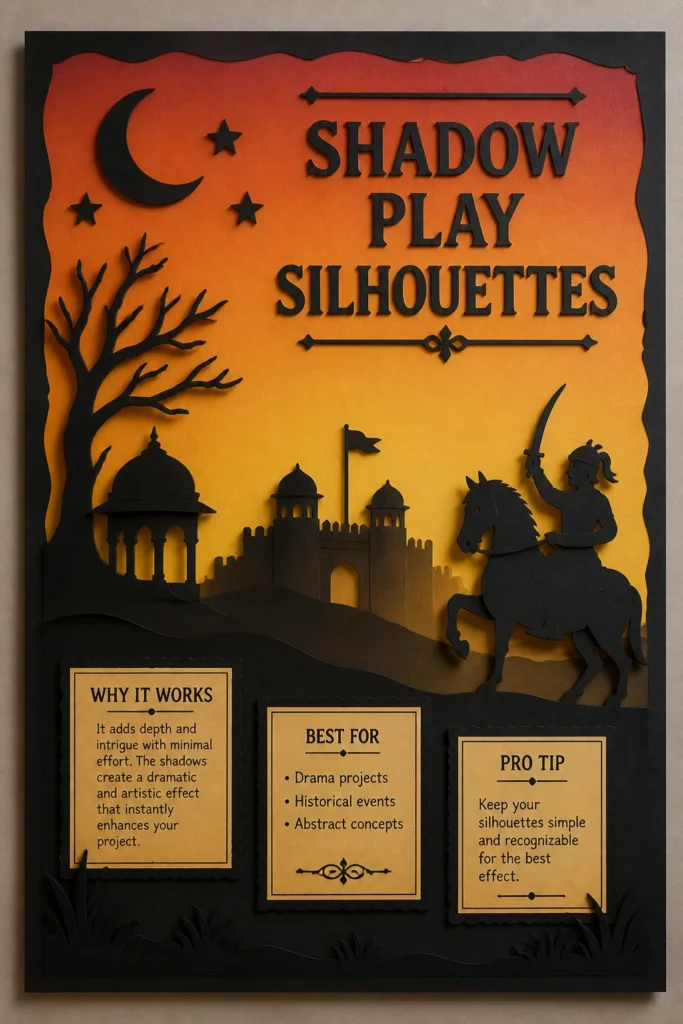
This creates a subtle shadow effect, adding a dramatic flair. Think a silhouetted skyline against a sunset-colored background; instant mood.
Pro Tip: Keep your silhouettes simple and recognizable for the best effect.
11. Textured Collage Elements
- Best For: Art history, sensory projects, personal expression.
- Vibe: Rich, tactile, eclectic.
- Why it works: It adds visual and physical texture, making the project more engaging.
Incorporate small pieces of interesting textures like fabric scraps, sandpaper, bubble wrap, or even dried pasta shapes. Glue these elements strategically to enhance your themes.
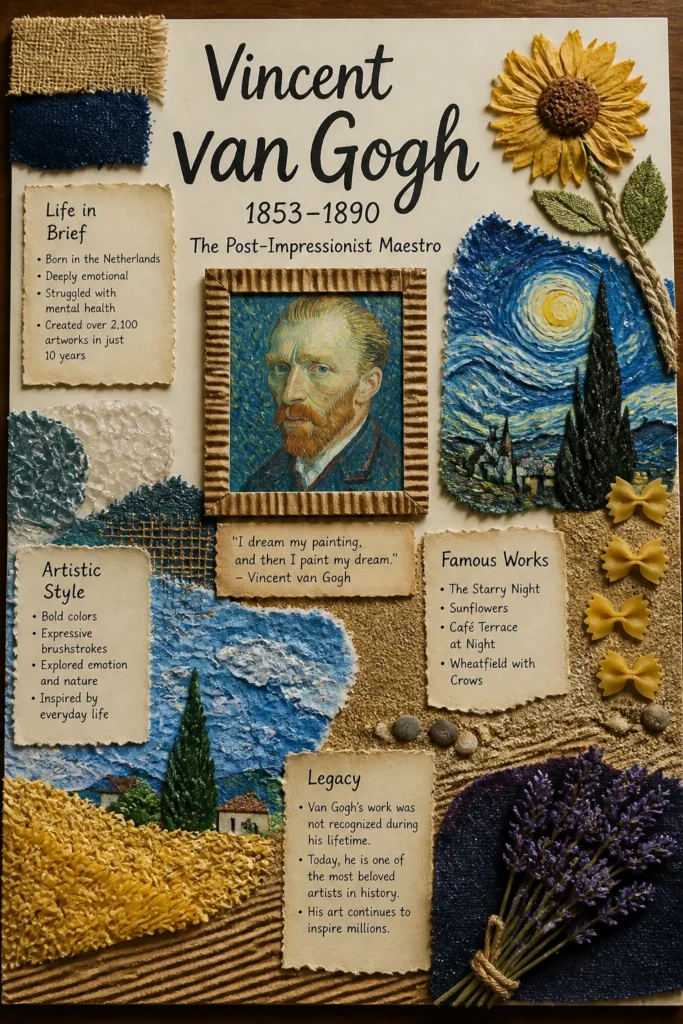
Imagine a rough sandpaper patch representing a desert landscape. Your project will literally feel more immersive.
Pro Tip: Ensure all collage elements are securely glued down so they don’t fall off during transport.
12. The Chalkboard Effect
- Best For: Brainstorming sessions, educational workshops, rustic themes.
- Vibe: Nostalgic, creative, informal.
- Why it works: It gives a cool, vintage schoolhouse feel that’s inherently inviting.
Cover your chart paper with a layer of black or dark green craft paper. Then, use white or colored chalk markers to write your headings and draw illustrations.
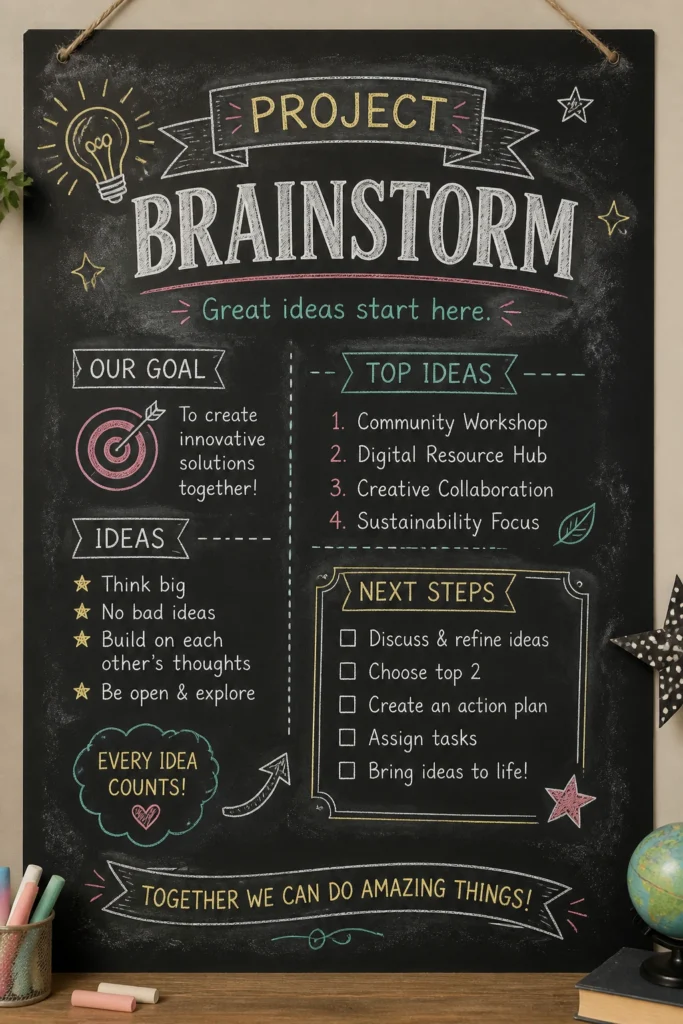
You can even smudge some areas lightly with a tissue for that authentic chalk dust look. It’s surprisingly chic and makes everyone feel a bit nostalgic.
Pro Tip: Use a ruler as a guide for straight lines with chalk markers; they can be tricky.
Our Top Recommended Finds
- A high-quality craft knife and mat set: Essential for those crisp cuts and interactive elements without ruining your table.
- Assorted pack of fine-tip permanent markers: You’ll need various colors and line weights for outlines, details, and those perfect headlines.
- Strong, quick-drying craft glue: For securing everything from botanicals to 3D elements without waiting forever for it to dry.
Which of these will you try first?
There you have it, twelve ways to transform that intimidating blank chart paper into a masterpiece. No more sad stick figures, promise!
Go ahead, pick your favorite, get creative, and make your next project presentation truly unforgettable.
Seriously, which one are you diving into first? Let me know!